
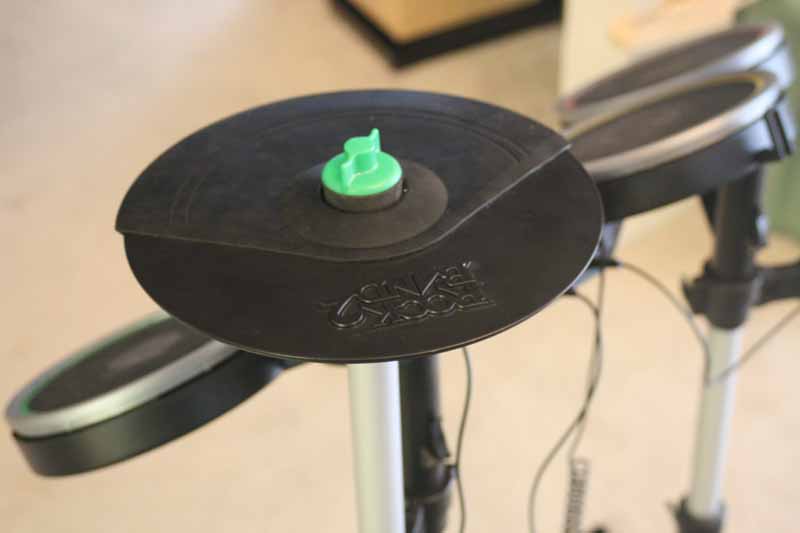
Rock Band 2 is a marked improvement over Rock Band – made largely possible by the inclusion of a killer wireless drum kit with a sturdier pedal and quieter pads. After a while, however, if you want to keep playing you’ll need to know how to fix Rock Band drums and cymbals. And the drum kit is made better by the addition of the cymbal expansion kit.
But what if they break? What if they stop being responsive or don’t offer the same performance as you would expect? You could send them back and risk getting another set that is worse or will break in an equally short amount of time. Depending on how long you’ve had them, you may actually be out of warranty. Whatever your scenario, we’ll show you how to fix and repair them – step by step – and using only basic tools you are likely to already have lying around the house.
We’re pretty sure this voids your warranty, but we’ve done it no less than two times and it’s an extremely repeatable procedure that seems to fix most problems users experience with their Rock Band cymbals. Be sure to check your warranty before you undertake any cymbal surgery…
The Trouble (Symptoms)
There are several potential problems that can arise with the Rock Band 2 Cymbal Expansion Kit. These problems, fortunately, can be classified into two distinct scenarios:
1) Loss of Responsiveness in a Rock Band 2 Cymbal
The first problem involves a simple loss of resolution, where the cymbals will lose responsiveness over time and cease to record each hit during songs. This, of course, is a major problem as it causes dropouts from the game and prevents successful execution of a song. There’s nothing worse than hitting the cymbal correctly and having it not record the note. The solution to this problem lies within the sensor itself and we’ll show you how to make it work properly.
2) Complete Rock Band 2 Cymbal Failure
The second problem you can experience with these Rock Band expansion cymbals is a complete failure of the sensor which renders a cymbal useless. If this happens, don’t sweat it – you can probably “resurrect” your expansion cymbals with some quick, but easy, surgery.
Fixing Loss of Responsiveness in a Rock Band 2 Cymbal
While the Rock Band 2 Cymbal Expansion Kit can add tons of new experiences to the Rock Band experience, the cymbals seem to have some potential quality control issues depending on which batch you get. In any case, if the cymbals become unresponsive it is likely due to the positioning of the sensors located within the plastic housing. To fix the problem, we have but to disassemble the cymbal and readjust the sensor for proper alignment.
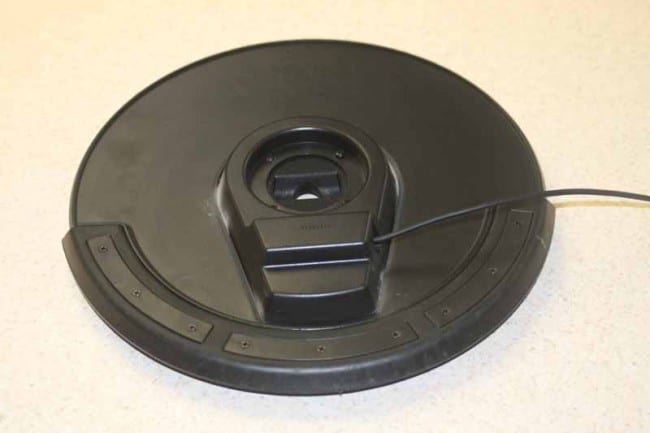
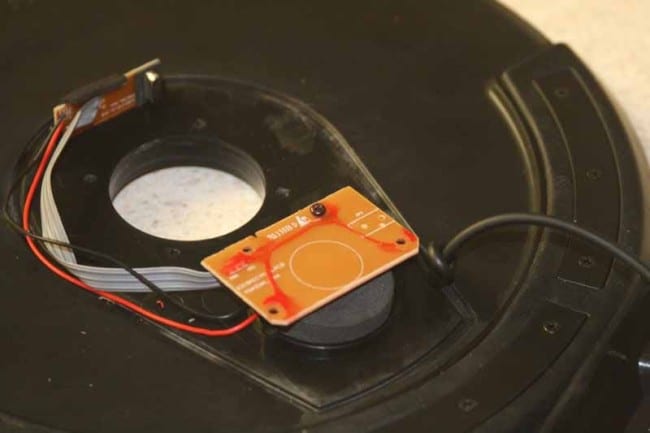
Step 1: Case Disassembly
Lay the cymbal down on a flat working surface:
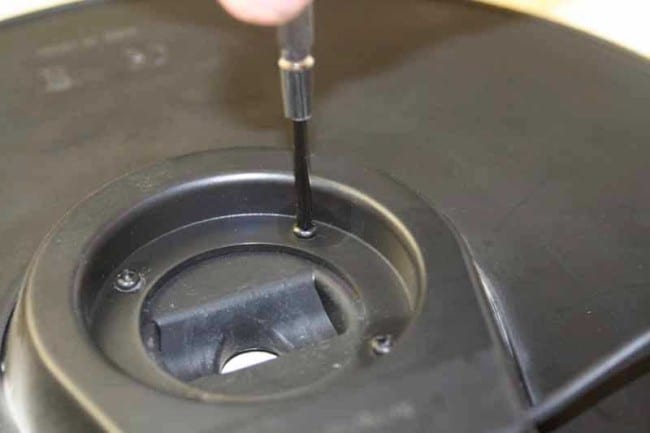
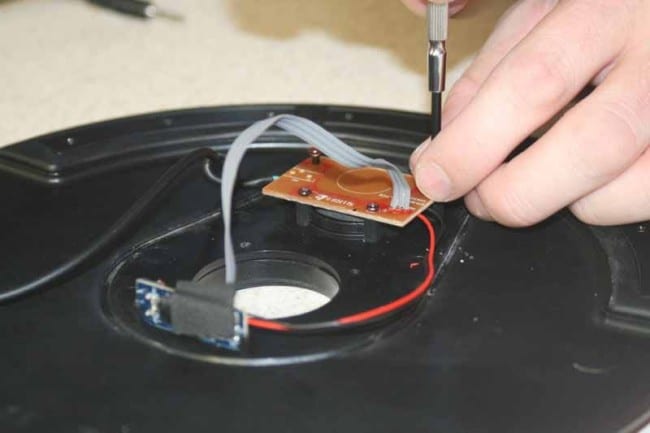
Grab a small Philips screwdriver and remove the center assembly which houses the electronics and sensor contained within the cymbal:
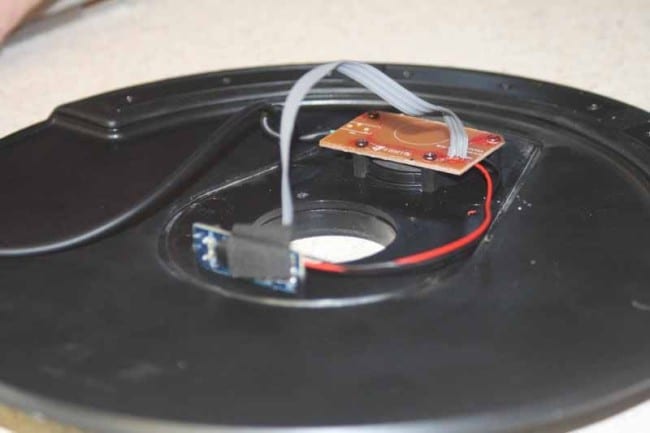
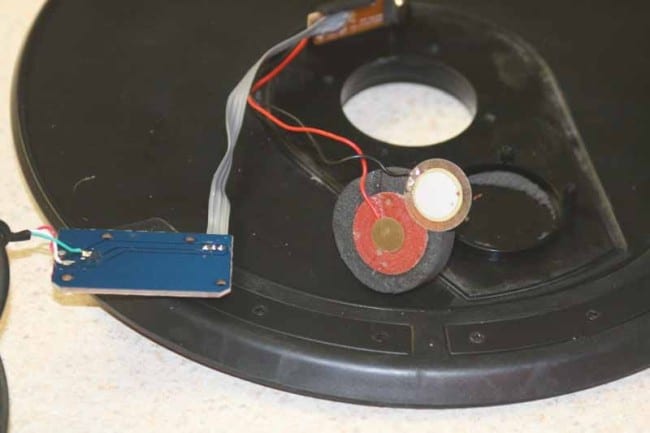
Step 2: Sensor Identification
Underneath you will find the sensor board (the sensor is underneath) and the small electronics board that handles power and control of the signals. Don’t panic—let your desire to play drive you to learn how to fix Rock Band drums and cymbals. You can make it!
Step 3: Sensor Removal
What you want to do is lift up the sensor board and detach the sensor (you’ll replace it later):
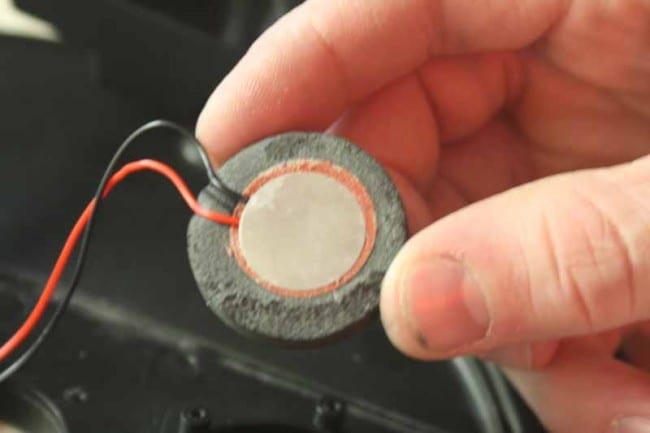
Step 4: Sensor Realignment
Note the position of the two metal plates, they are most likely misaligned, with the small center sensor being off-center from the top metal plate. What you want to do is re-align the small metal pad to the center of the red backing area. This allows the cymbal to make consistent and positive contact each time it is struck and eliminates the root cause of misfires and erratic performance:
Step 5: Replace the Sensor & Re-assemble the Cymbal
After you realign the pads, replace the sensor, being careful to guide the wires around the edge of the area where the plastic case will be re-attached to the cymbal body. Replace the four screws that hold the sensor in place and replace the plastic casing.
Step 6: Replace and Test
The only thing left to do is re-connect the cymbal and enjoy your new error-free Rock Band 2 Cymbal Expansion Kit!
Fixing a Completely Unresponsive Rock Band 2 Cymbal
At times the problem with the Rock Band Expansion Cymbal Kit is a bit more severe than mere misfires or erratic behavior. In some cases, the cymbal breaks entirely and stops sending signals to the drum kit. When this happens the solution is actually easier to fix than you might think. To get your cymbal back in working order, you’ll need a few household tools and you’ll need to add a few more steps to the above remedy to score yourself a completely repaired cymbal.
Steps 1-3: Case Disassembly and Sensor Removal
Follow the steps above to disassemble the cymbal case and inner plastic cover. Remove the sensor and examine all of the cabling. What you are looking for is a wire that has come loose from its solder connection. If you want to also check the alignment of the cymbal sensor, be sure to follow all steps above. Once you are ready to fix the bad solder connection, continue on below:
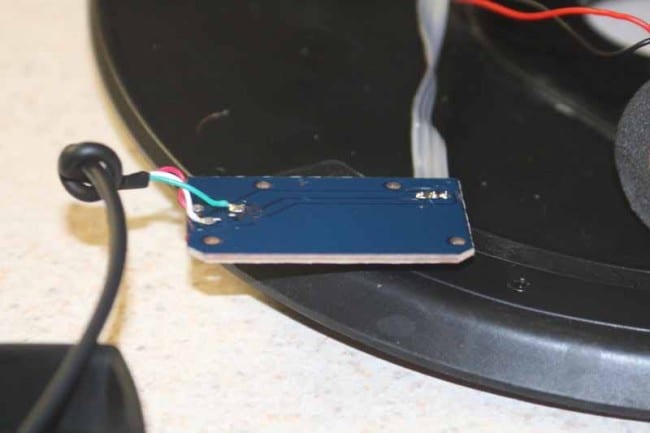
Step 4: Identify the Bad Solder Connection and/or Broken Wire
In our experience, the bad solder connection or broken wire is going to be located on the board connecting the control cable to the actual sensor. This involves one of six total wires soldered to the board. At this point you will also want to use a Sharpie or permanent marker to mark the wires and ensure that you reconnect them correctly to the board when you are finished:
Step 5: De-solder the Wire from the Board
When a single wire in a three-wire system is broken, you actually have to de-solder all three wires in order to make a stable re-connection of the broken cable. In short, you have to re-do all three. In order to accomplish this, use a soldering iron to de-solder one connection at a time. De-soldering is tricky business unless you have a solder-sucker. Without one, you have to make sure you can pull out the cable while the solder is in its liquid form. It may take some trial and error, but eventually you’ll have all three wires removed.
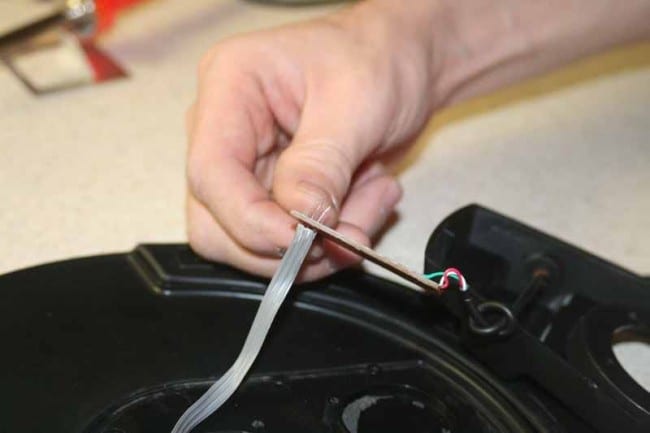
Step 6: Re-Strip and Re-Insert Wires
Once you have the wires all removed, re-strip them and use the soldering iron to ensure that all three holes are still open and ready to accept the newly stripped wires. The triple gray cable is where our bad connection was found and the wire is solid core and very thin. You can use a wire strippers for this, but to be honest, your fingernails or a small knife will do just as well. Once completed, insert the bare wires back through the three holes as shown here:
Step 7: Solder the Wires to the Board
Soldering isn’t terribly difficult. Remember, it’s not about getting the solder to melt – it’s about getting the solder to flow. If the solder only liquefies you will end up with a cold solder joint and one that is likely to break again in the near future. To assure the solder is flowing, you’ll want to draw the solder through the connection by positioning the solder tip on the opposite side of where the solder is touching the wire and board hole. This will also ensure you don’t use too much solder and short the connection between the three wires. It helps to have someone hold the board while you solder – or to have three hands, whichever seems more practical to you. A good solder joint will look like it is clean and uniform:

Step 8: Trim Wires and Re-assemble the Cymbal
All that is left to do at this point is trim the wires and re-assemble the cymbal for final testing.
Conclusion
That’s all there is to it. After completing both of the repairs, we confirmed that the cymbals were back to good working order and handed them over to the owner. He quickly reported that before, if a cymbal had loosened up on its stand, it would not register (or would double register), now they practically had to fall off the stand not to work correctly. The owner of the cymbals described them as “Better than new.” High praise indeed.
Fixing Rock Band 2 cymbals isn’t as grueling process as you’d think and it will make a decidedly dramatic improvement on your playing should you be experiencing missed notes. Of course, if your cymbal is completely dead, then this fix is sure to get you back up and rocking in no time – and save you the hassle and extra cost of having to re-purchase new cymbals.
Enjoy!
