
Whether you’re thinking about a job in construction or just want to improve your woodworking skills, you need to understand how to use a miter saw. These powerful tools speed up trim work and reduce the time it takes to make accurate straight, beveled, and mitered cuts in wood and other materials.
Editor’s Note: Check out our best miter saw article to see our top picks.
Table of Contents
- Types of Miter Saws
- How to Use a Miter Saw – Step by Step
- 1. Wear Eye Protection and Avoid Loose Clothing
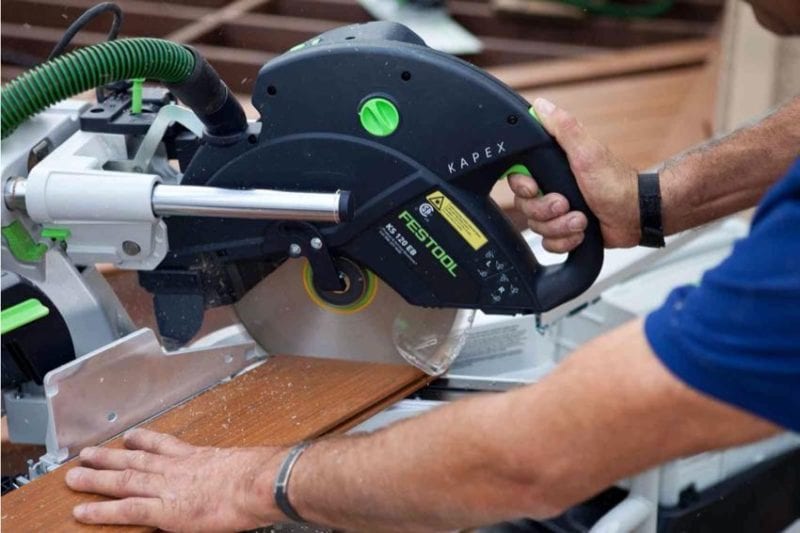
- 2. Push the Stock Against the Fence and Use a Clamp (Hold Down)
- 3. Set Your Miter and/or Bevel Angle
- 4. Support Longer Pieces of Material with a Stand
- 5. Touch the Material with the Blade to Ensure Your Mark
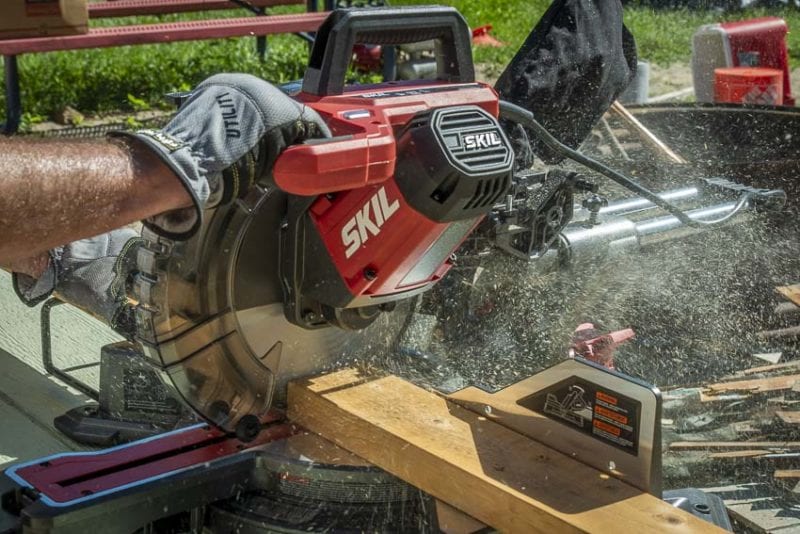
- 6. Bring the Blade Up to Speed and Make the Cut
- 7. Always Cut From Front to Back
- 8. Keep Your Free Hand Safely to the Side While Cutting
- 9. Let the Blade Come to a Complete Stop
- When NOT to Use a Miter Saw
- Additional Tips on How to Use a Miter Saw
What is a Miter Saw and Why Use One?
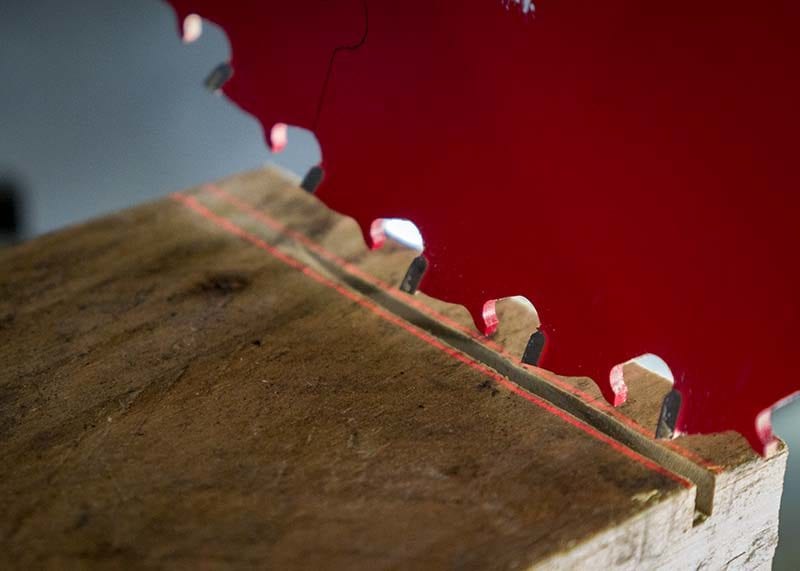
In the computer world, people confuse RAM (memory) and hard drives (storage). The same can happen in woodworking where you confuse a miter saw (great for crosscutting) with a table saw (great for ripping). In its simplest form, the miter saw makes straight, angled, or mitered cuts across the face of a board.
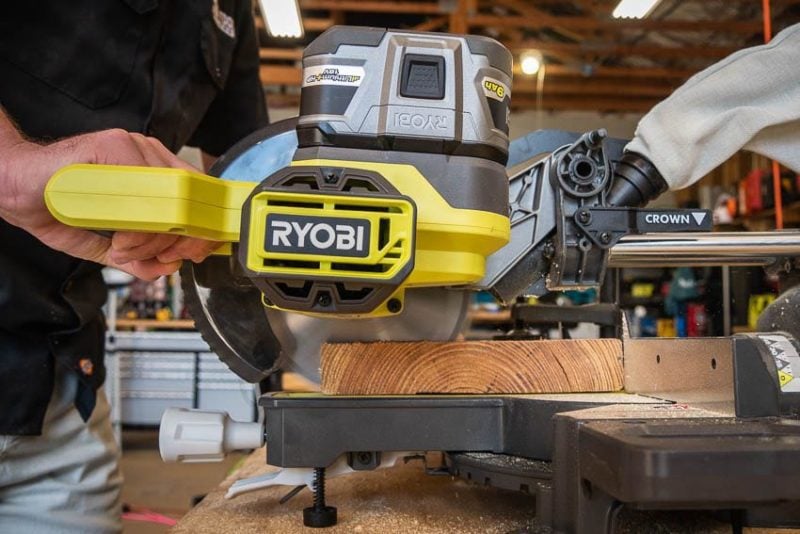
The most popular Pro models include sliding rails (or a similar mechanism) to increase the maximum width of the cut. That lets you make cuts across boards that may be even wider than the diameter of the blade. More expensive saws also allow for beveling in both directions. Finally, extendible fences and miter saw stands can aid in supporting longer trim boards.
We love helping educate apprentices just starting out in the trades and aiding the DIY crowd with self-improvement. In this article, we want to ensure you understand how to use a miter saw like a professional when doing trim work or general carpentry. Perhaps more importantly, we also want you to know when to use this particular tool.
Types of Miter Saws
We wrote an in-depth piece on understanding the types of miter saws. If you don’t have tine to read that, here’s a quick breakdown to distinguish between various configurations.
- Miter Saw: Has a mitering table that adjusts the cross-cut angle
- Sliding Miter Saw: Has a rail system that slides the blade from front to back and extends the maximum cutting width
- Compound Miter Saw: Has an adjustment left and/or right to cut through the wood at a beveled angle
- Compound Sliding Miter Saw: Gives you mitering, beveling, and sliding functions
- Dual Compound Sliding Miter Saw: Gives you all three functions with beveling to both left and right. This avoids having to flip the piece around when making bevels in both directions.
How to Use a Miter Saw – Step by Step
1. Wear Eye Protection and Avoid Loose Clothing
Before we teach you how to use a miter saw, we feel the need to remind you about safety. Follow these safety tips and keep yourself safe:
- Always wear eye protection—no exceptions!
- Avoid loose clothing and jewelry that can catch on the blade
- Mind where your hands are at all times (most saws include a warning on them to keep your hands a specific distance from the blade)
Here are a few additional PPE considerations, depending on the material you’re cutting:
- Dust mask
- Ear protection
- Dust collection
You have a powerful motor spinning a sharp blade. Be sure to maintain a healthy respect for the tool. Using these saws can get really dangerous if you lose focus. Also, we generally recommend you avoid using gloves with these saws. The blade could accidentally snag the material and pull your hand toward it. Having said that, we typically wear gloves when working on framing projects, and rarely take them off to make a cut. Just be careful!
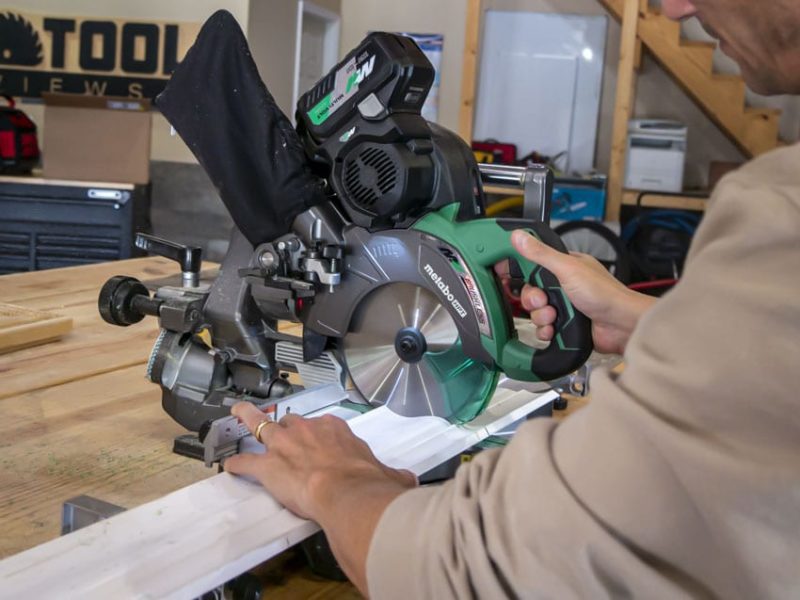
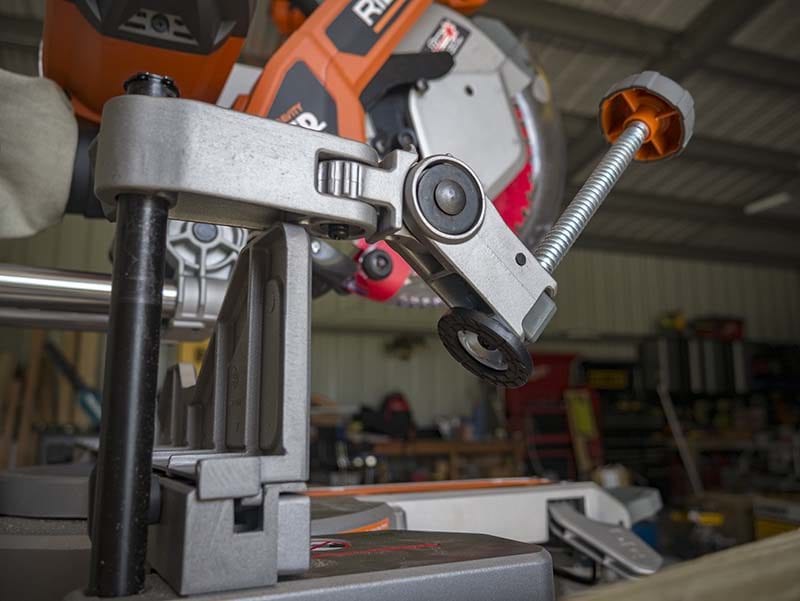
2. Push the Stock Against the Fence and Use a Clamp (Hold Down)
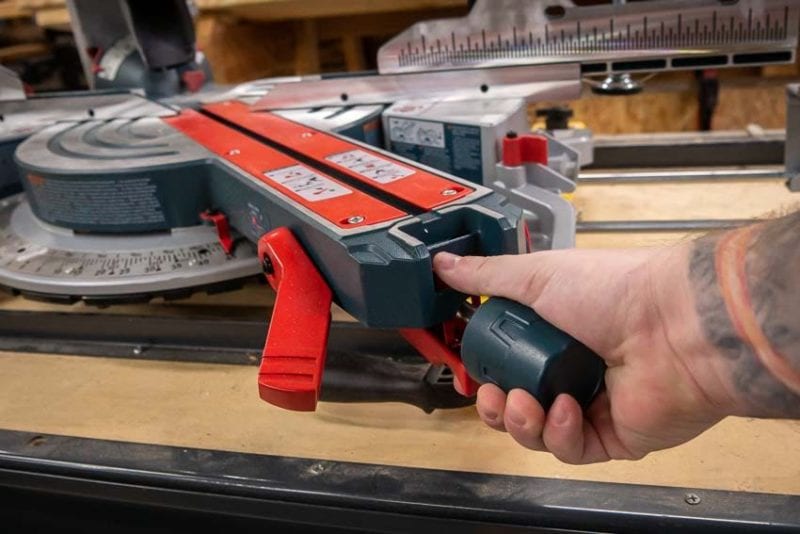
If the stock isn’t snugly against the fence, you’ll experience a kickback as the blade slams the stock back and then in an unpredictable direction. The hold down (also commonly referred to as a vertical or miter saw clamp) allows you to keep your hands away from the blade and prevent wood movement. It can be removed when cutting material like crown molding. Most clamps also move freely from the left side of the fence and table to the right side.
3. Set Your Miter and/or Bevel Angle
To make a basic miter cut, unlock the miter gauge and slide it to the angle you need. Most saws let you miter in both directions, so just double-check the cutting angle before spinning up the blade. Be CERTAIN to not accidentally activate the saw while moving the blade into position. Some people even unplug the saw when making these adjustments—particularly when the adjustment knobs live at the back of the tool. That feels a bit overboard for our tastes.
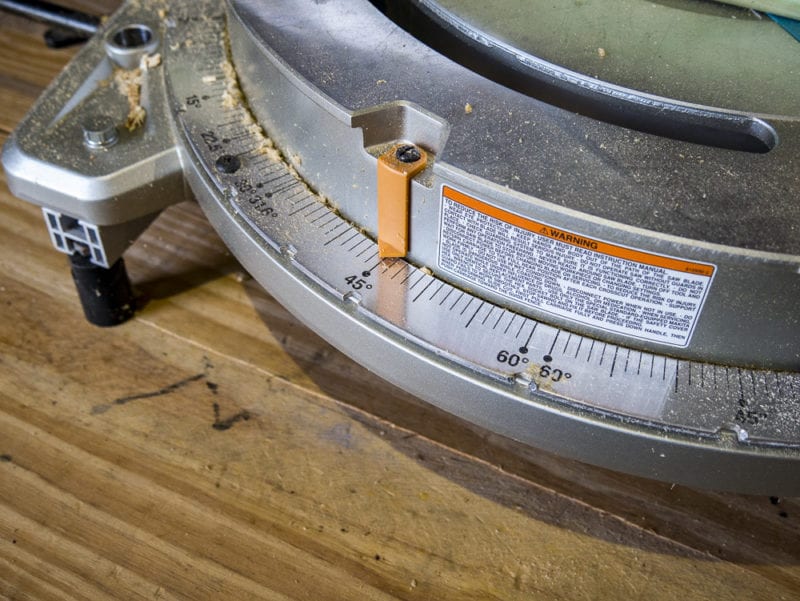
Most saws feature detents at common angles on the miter gauge. These automatically lock the saw into place. Typically, detents occur at 0°, 22.5° 31.6°, and 45°. You might find some variations from one saw to the next. If you need a different angle, just slide the arrow to the angle needed and lock down the table to keep it from moving during the cut.
When making a bevel cut, leave the miter gauge at 0° and unlock the bevel gauge. Most saws have detents to help set common angles. Most commonly, those exist at 0°, 33.9°, and 45°, but your saw may have additional stops. Like the miter gauge, you can use the lock to set custom angles in between the detents.

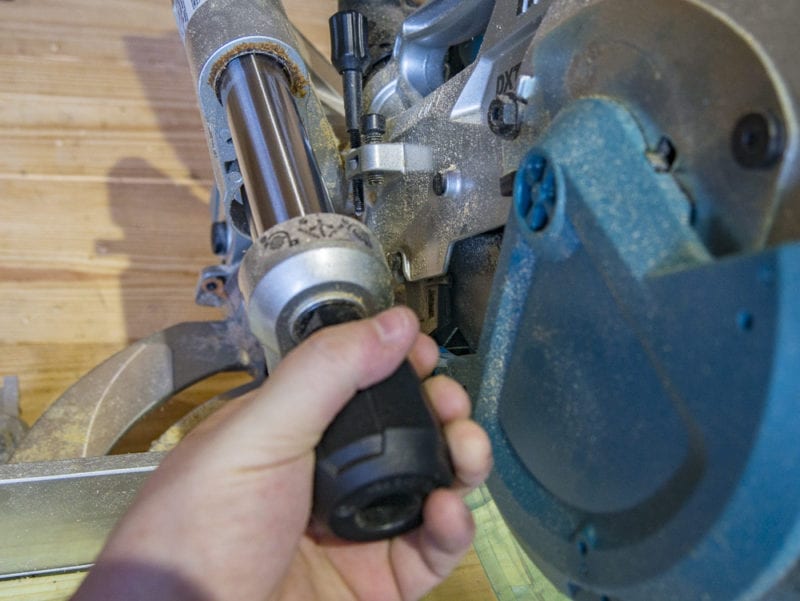
If you have a dual bevel miter saw, a release typically unlocks the right-side bevel. Your owner’s manual will help you find it quickly, or you can be like David C. Smith and spend an hour reveling in your pride.
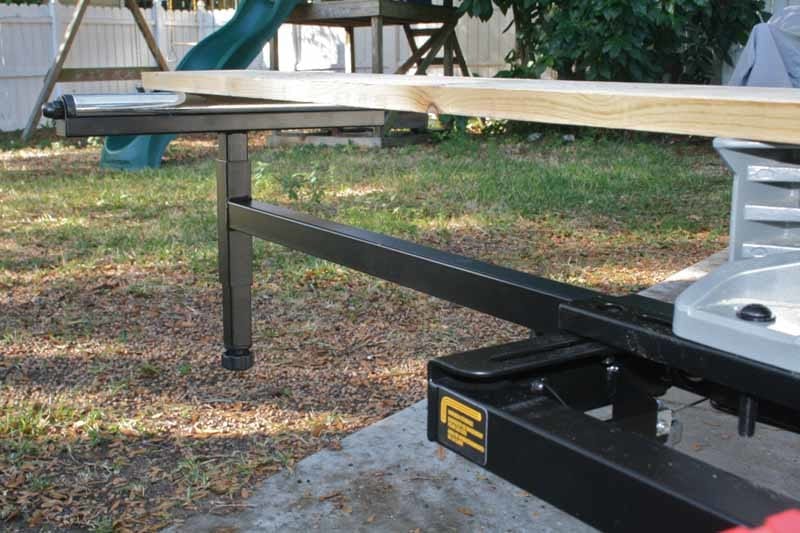
4. Support Longer Pieces of Material with a Stand
Long pieces that are cut will fall away from the saw if they aren’t supported. Your natural instinct to catch a falling object may send your arm into the blade or the blade may catch and kick the falling piece. Be sure you don’t lose control of any material during or after the cut.
5. Touch the Material with the Blade to Ensure Your Mark
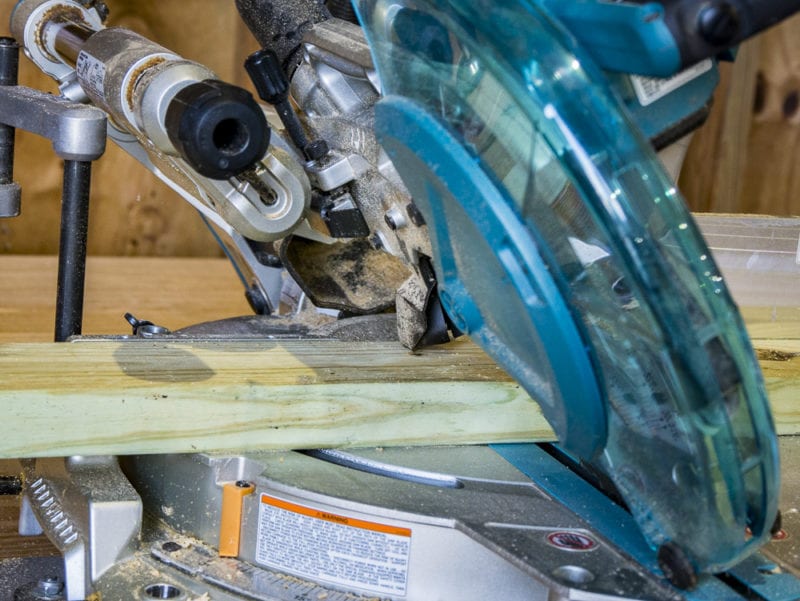
Bring the blade to the wood or material to get a visual before starting the saw. This helps ensure an accurate cut. Cutting 101 says that you’ll lose the width of the saw’s kerf in the cut, so if the blade is right on the line, the piece will end up too short. Make accurate measurements and markings that account for blade width.
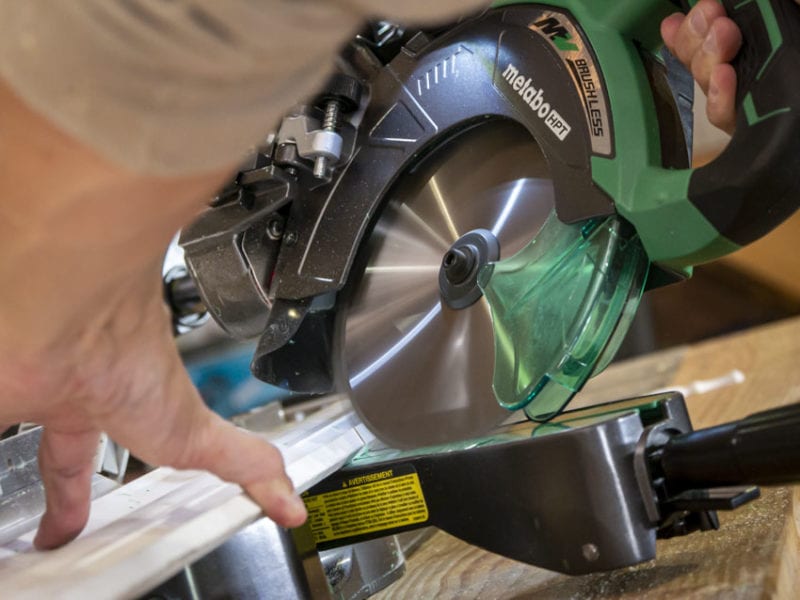
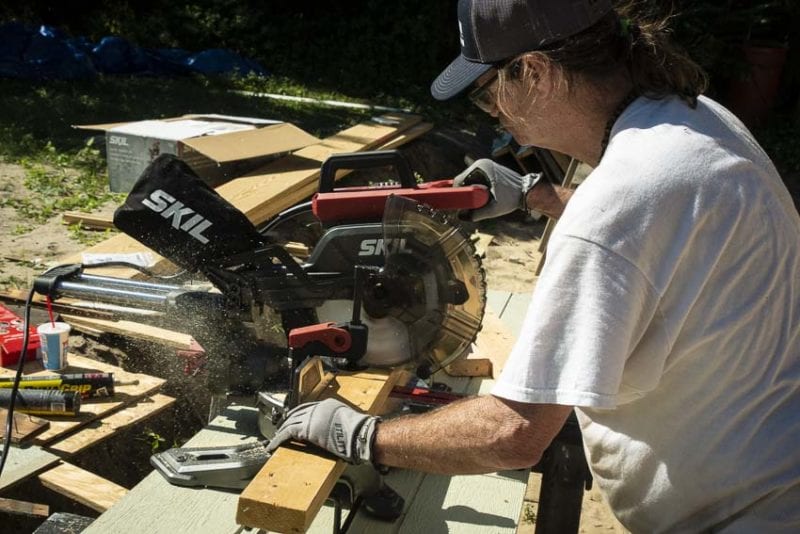
6. Bring the Blade Up to Speed and Make the Cut
If your miter saw doesn’t slide, making your cut is simple. Let the saw spin all the way up to full speed. Drop the blade to meet the wood. Then, while letting the saw maintain a high RPM, continue lowering the blade until you complete the cut.
When using the extra capacity of a sliding miter, pull the blade out towards you and start your cut at the front. Then push the blade through, allowing it to maintain high RPMs.
Once you complete the cut, let the blade come to a complete stop before letting it rise back to its resting position. Some of these tools include a blade brake that stops the blade very quickly.
7. Always Cut From Front to Back
This may seem obvious but always cut from front to back with a sliding miter saw. This matches the spin of the blade and works with you to push against the fence. Cutting the opposite direction starts to push the material back toward you. It also works to drive the blade backward. This can quickly create table saw-like kickback if it twists.
8. Keep Your Free Hand Safely to the Side While Cutting
Making a cut on a miter saw is a one-handed job if you have a hold-down. Keep your other hand out of the way. If you find yourself naturally resting your hand on the material, make sure it’s outside the hold-down clamp. You don’t want your fingers anywhere near the blade in the event the saw “bites” the wood and sends it suddenly forward. That could bring your hand into contact with the blade. Also, never cross your arms in front of you while using a miter saw.
9. Let the Blade Come to a Complete Stop
Let the blade come to a complete stop before raising the blade and motor. A still saw is a safer saw. You can still nick yourself on a tooth, but it’ll be much shallower than what you’ll get at 4,000 RPM!
When NOT to Use a Miter Saw
The first rule might be—don’t use this tool unless you have to. A miter saw works best for trim carpentry. Above all else, this is a finishing tool. If you find yourself needing to cut 2x material on a framing project—a sidewinder or worm drive may be the better choice.
We’ve seen apprentices wheel these off the backs of trucks only to have them sit around the jobsite unused. A circular saw takes care of most crosscuts and angled cuts. Why use a big heavy machine and lift heavy boards when you don’t have to? For 2X material—just grab a framing square and complete the cut right where the material sits.
Additional Tips on How to Use a Miter Saw
Before you start making those first cuts, familiarize yourself with the tool. Flip through the instruction manual (if you can find it). Learn the location of all the locks and adjustments. Each miter saw differs from the next, and even our most seasoned Pros familiarize themselves with the controls before getting started.
Bevel vs Miter Cuts and Compound Cuts
If needed, check out our article on bevel vs miter cuts. That covers the differences between making bevel, miter, and compound cuts. This article presumes you already know the difference. As an apprentice, you don’t want to mix these up!
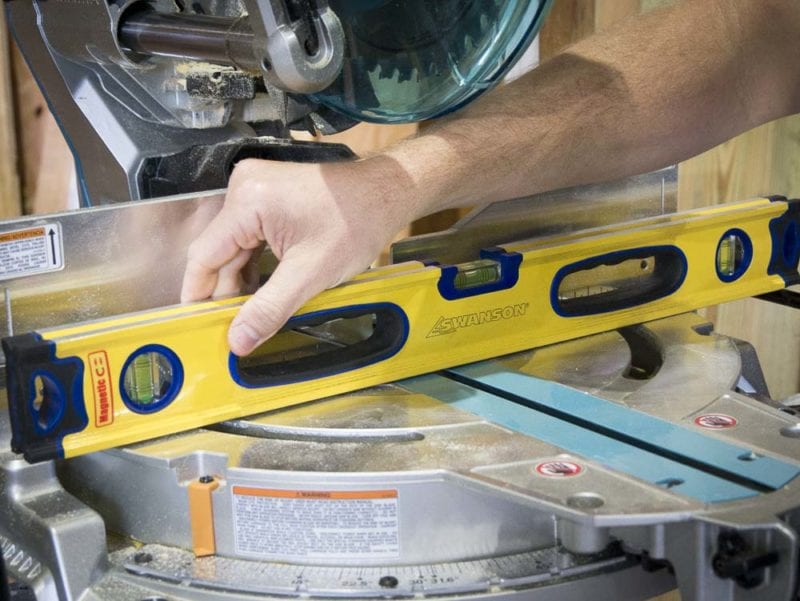
Calibrate Your Miter Saw
If you open the box to a perfectly calibrated miter saw, you might want to try your luck in the lottery. Most of these tools need at least small tweaks before you put them to use. Check out our guide on how to calibrate a miter saw to walk you through what to check.
Dust Extractor, Bag, or Bare?
Dust collection on a miter saw is far from phenomenal, but some are better than others. In a shop, do yourself a favor and connect a dust extractor or your best shop vacuum to contain the mess. Bags work as a stopgap if you don’t have or want to use a vacuum. Work outside and you can often get away with skipping both. Just check the wind direction!
We hope these tips help you get started on how to use a miter saw like a Pro! There’s more to talk about when it comes to actually setting your angles. For now, we wanted to make sure you have the basics down first. If you have any additional Pro tips you’d like to add, feel free to leave them in the comments section below.
