
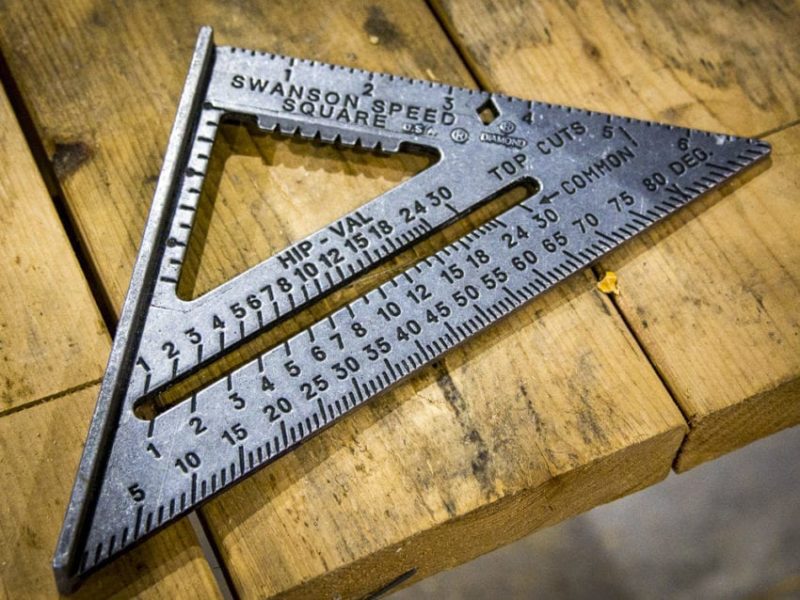
Rafter squares provide an incredible bang for your buck. They’re pretty inexpensive and they’re dead useful. In fact, any contractor worth his salt will have one handy most of the time. The reason for this is that you can accomplish a multitude of different tasks. It provides a straight edge, it allows for quick scribing, and it can find angles and pitches quickly. If you feel like you’re not getting the most out of yours, we’ve laid out the basics for how to use a rafter square.
As a point of reference, rafter squares are sometimes called “speed squares” based on the original model from Swanson.
How to Use a Rafter Square for Marking & Measuring
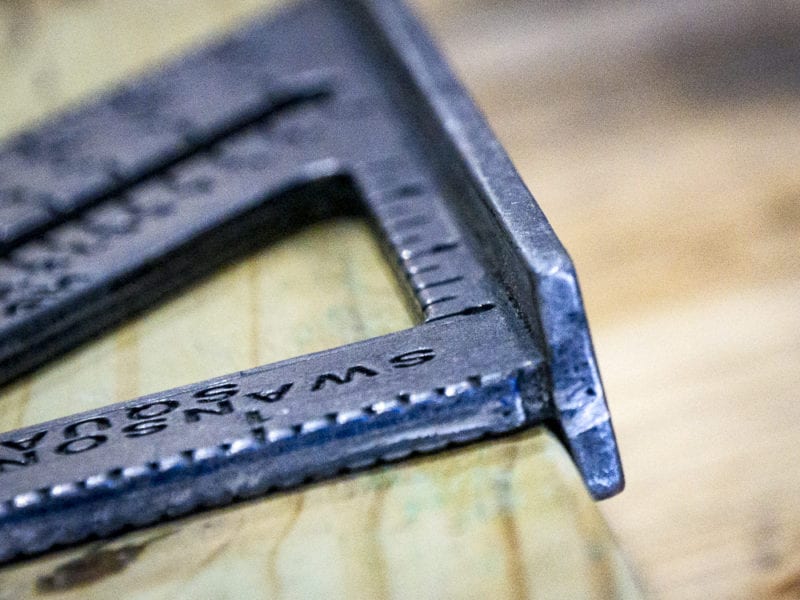
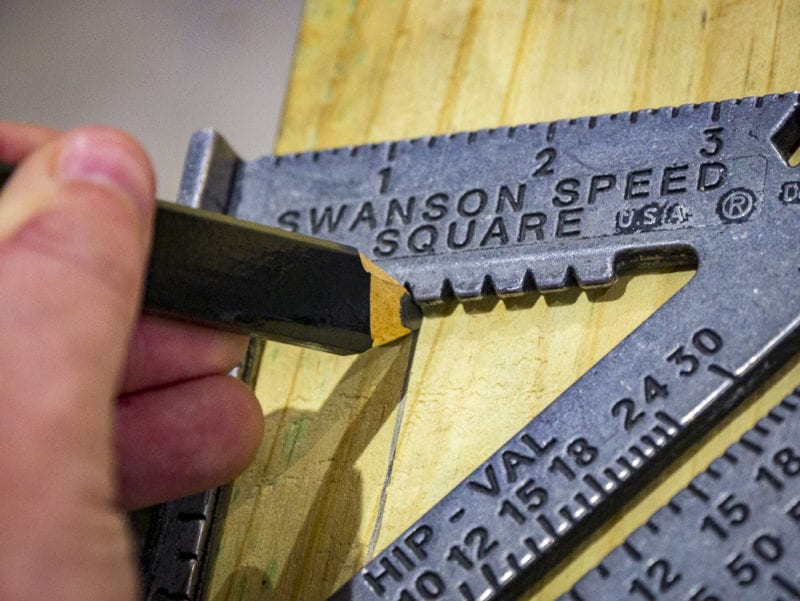
The rafter square was made for scribing lines quickly. It has a lipped straight edge that provides 90° and 45° angles. Holding the lip of the rafter square against a board, you can mark out perfect perpendicular and 45° lines. You can do this as quickly as it takes to slide the rafter square around.
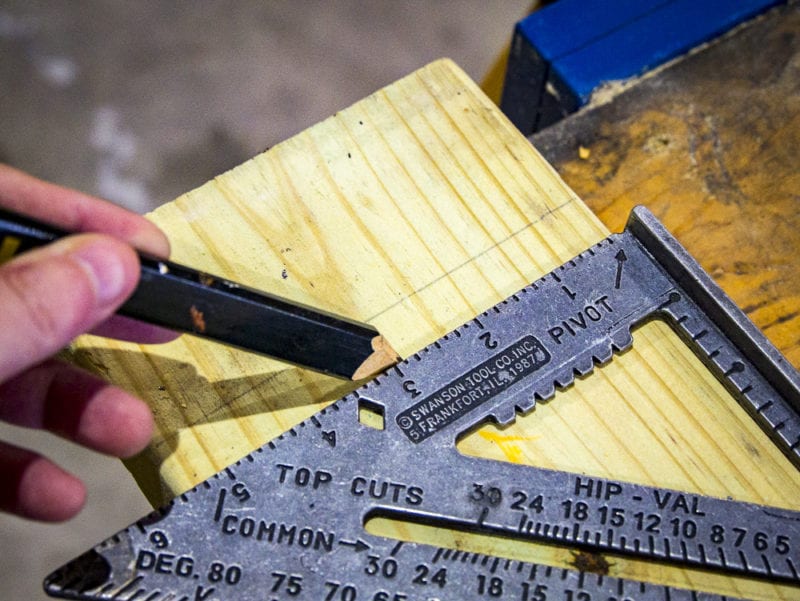
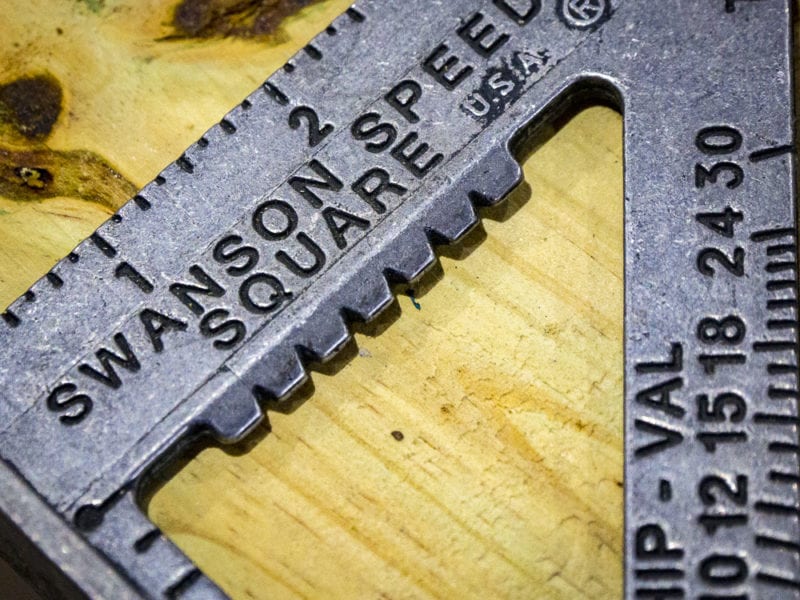
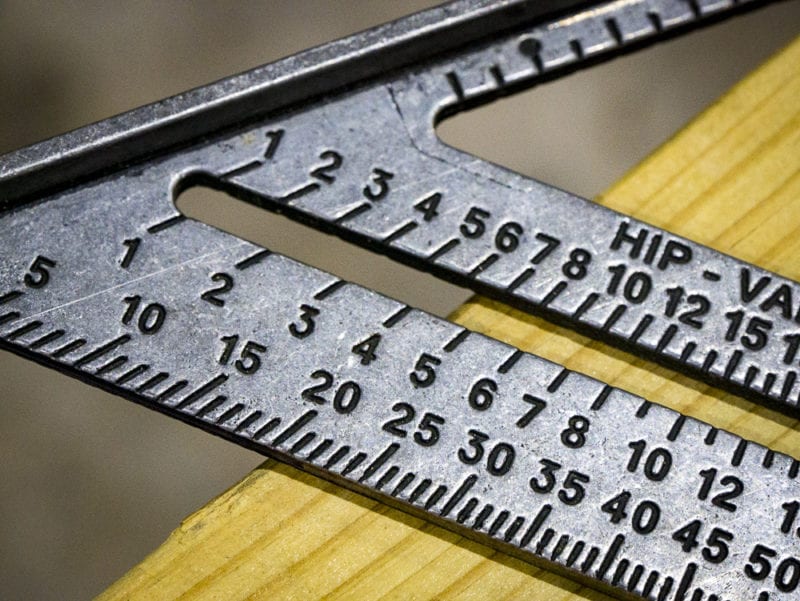
It also includes a scribe bar under its ruler. The scribe bar has notches every 1/4″. So, say you need to trim 1-1/2″ off the side of a board. Just drop your pencil into the appropriate notch and run the lip of the Speed Square down the edge of the board.
How to Make Straight Cuts with a Circular Saw
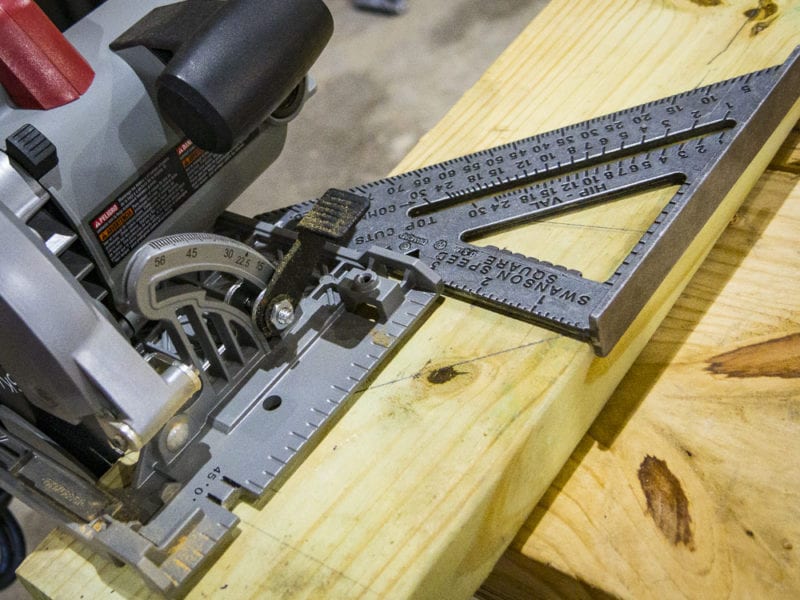
Incidentally, the lipped fence on the tool lets you use a rafter square as a guide. This helps you make straight cuts with a circular saw. No more jankety, freehanded circular saw cuts for you, my friend. Holding the rafter square in place, you’ll slide the circular saw down the edge. This results in perfect 90° and 45° cuts every time. We’ve got a video that shows you exactly how this works!
How to Use the Diamond Cut-Out
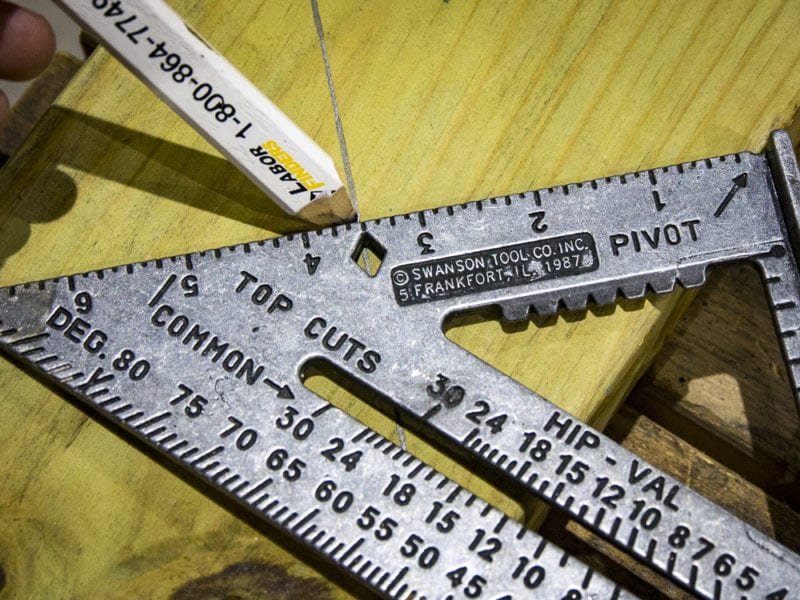
Although Swanson originally invented the “Speed Square” rafter square, the tool has plenty of other manufacturers that make something similar. The advantage of the original, however, is that Swanson includes their patented diamond cut-out, which allows the user to square from an angled line scribed on the board.
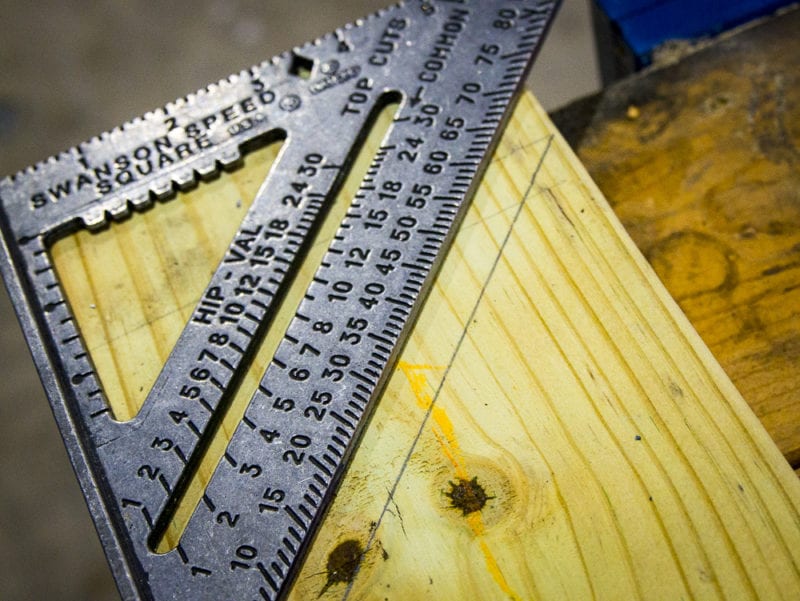
How to Use a Rafter Square for Protracting and Pitch
The bottom edge has all of your angle markings, which allows you to use the rafter square to find and mark out any angle you might need. Simply move the pivot point against the edge of your board, lining up the edge of the board with your desired angle.
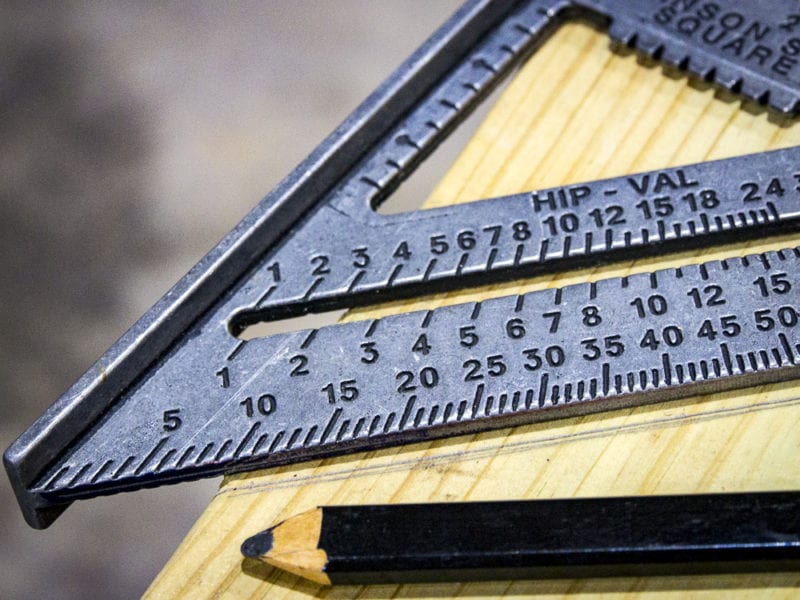
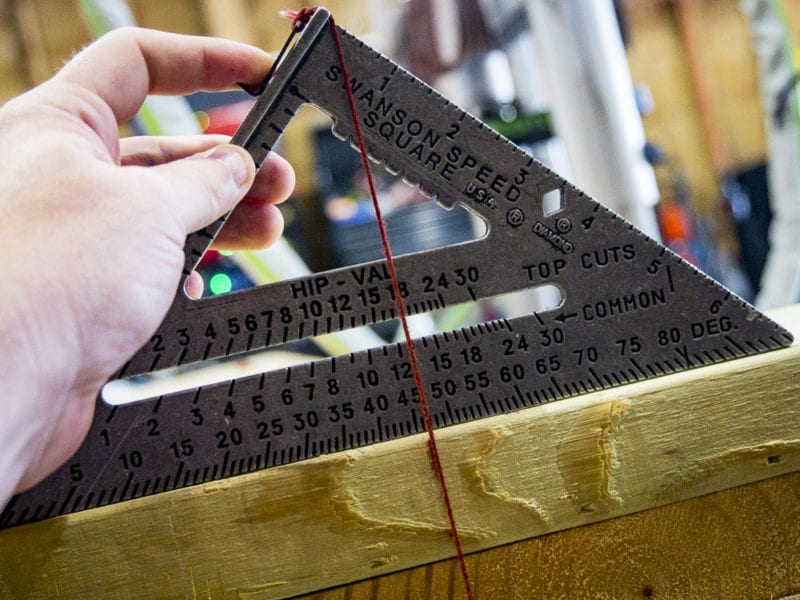
You can use a rafter square to find pitches. As a matter of fact, finding the pitch of a roof was the motivating factor for how this tool was invented in the first place, hence its name. A rafter square will have two specialty protractor angle guides on the inside of the tool with both common rafter angles and “hip-valley” angles marked out.
You can also use this tool to find your level if you’re on the job without a spirit level. Basically, you’ll set the long side of your square against your surface, and hang a plumb-bob off of the pivot point. Gravity kind of takes care of the rest, and you’ll know your surface is level if the line hangs at the 45° position.
Admittedly, this article presents more of a simplified overview of how to use a rafter square. To purchase one of these handy, multi-purpose tools, visit our friends at AcmeTools.
