
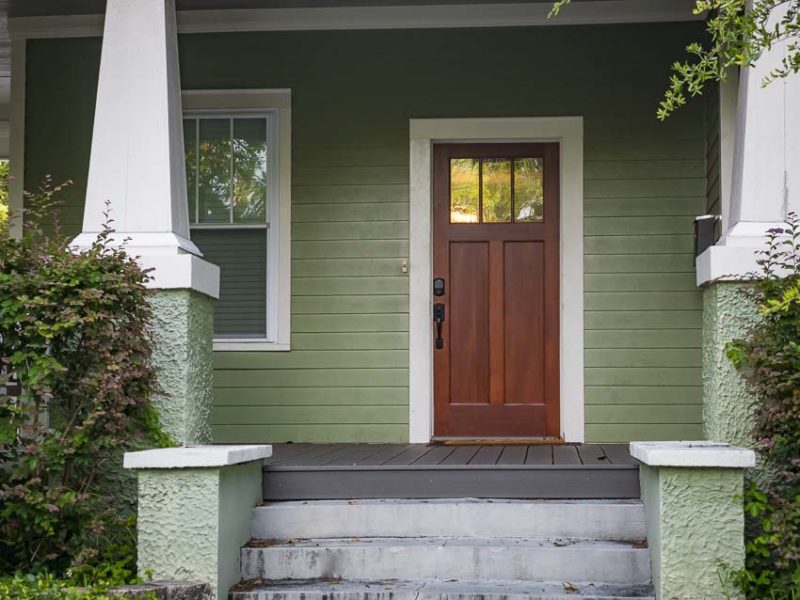
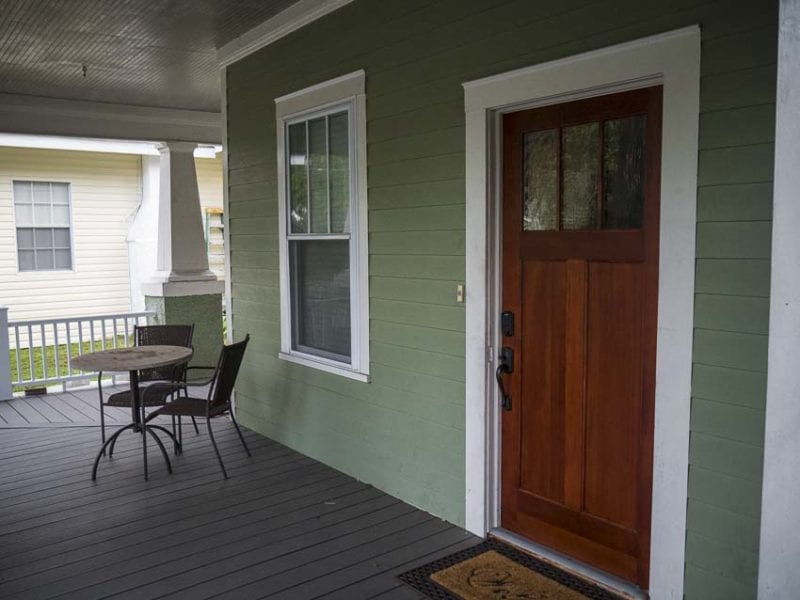
A neighbor of mine enlisted my help to put the finishing touch on his 1920’s bungalow home (a home he’s been renovating over the course of 10 years). He needed a good Craftsman-style door to match the look of the rest of the home. Somewhere in the past, the front door had been modified from the original. On top of that, a 32-inch modern door had been installed on the closed-off rear porch. This article shows you how to install a Simpson Craftsman door which we used for both. The back got opened up to a standard 36-inch width along the way. This Simpson Craftsman door installation would involve trimming and hanging the unfinished fir slab onto both existing and modified door frames. We would then finish both doors with a water-based stain and urethane.
The homeowner chose the Simpson Craftsman door because it comes in a variety of wood styles. More importantly, it really had the look and character he wanted for the home. Simpson makes doors out of virtually any wood species you want—literally from ash to zebrawood.
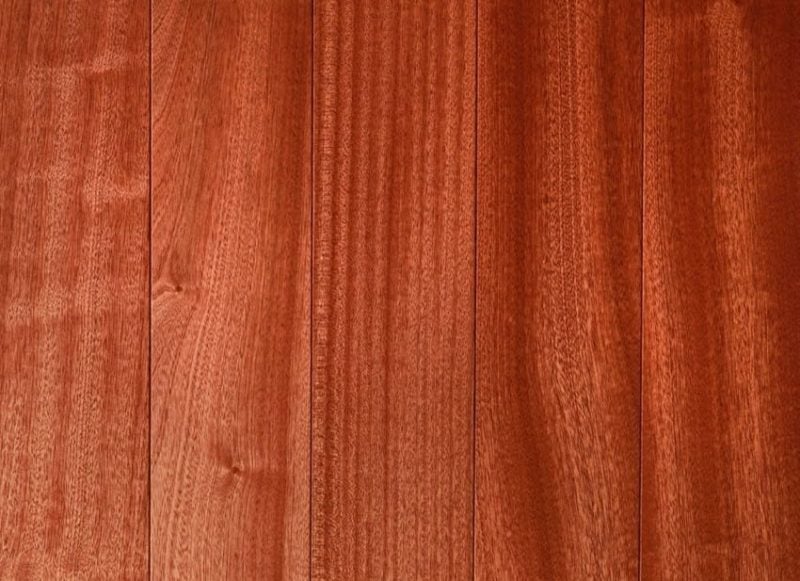
Each year they craft doors from about 100 different wood species. While their most popular wood is Douglas fir, valued for its warm coloring and natural durability, other popular wood species include Western hemlock and knotty alder. One that’s coming up fast in the ranks is sapele mahogany. This exotic hardwood comes with a distinctive ribbon grain.
What We Did
This Simpson Craftsman door installation would take care of both a front door with a covered porch as well as the uncovered rear door. Their Performance Series UltraBlock and WaterBarrier technology would handle the moisture present at the rea of the house. He went with fir because it creates a really nice finished look. Some of the other available wood species may produce a stronger, more durable door (see below for what Simpson offers).
With exterior doors you want to ensure that you hang them correctly. You also want to pay particular attention to the finish and characteristics of the door, so they don’t warp, fade, or come apart over time. In Florida, we have a particular concern for how both the sun and rain affect doors over the seasons.
Constructing a Simpson Door
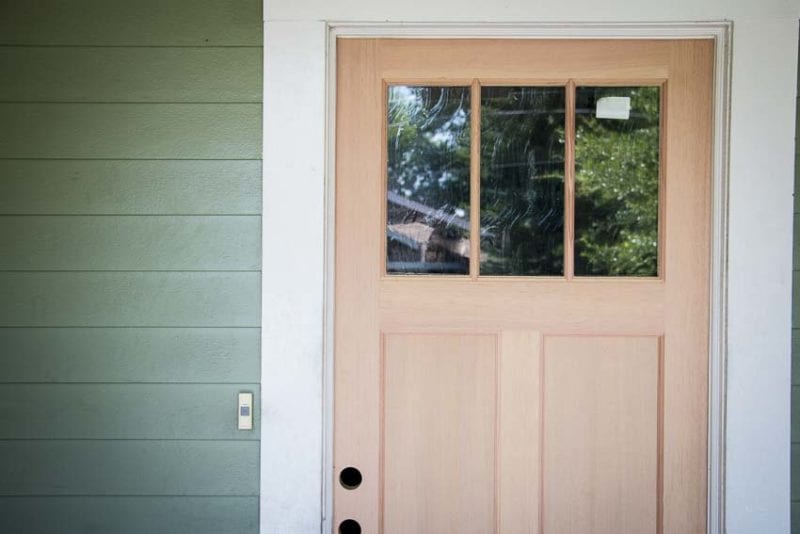
Simpson makes what are called ‘stile and rail’ wood doors. The stiles are the vertical components and the rails are the horizontal components. We installed their #36803 Craftsman doors. The stiles and rails, along with a middle rail, frame two panels, along with the glass.
Simpson constructs this door using engineered all-wood stiles and rails with dowel pins joining the stiles and rails. It’s a classic joinery technique that keeps the doors strong, straight, and a great long-term investment.
Simpson Craftsman Door Installation
When installing doors on a 1920s bungalow (often called a Craftsman-style house) you get used to making minor adjustments. For one, you need to compensate for custom dimensional lumber and unorthodox sizing. Still, for the most part, this Simpson Craftsman door installation wasn’t very difficult. I didn’t expect it to be, as I’ve been doing this for decades.
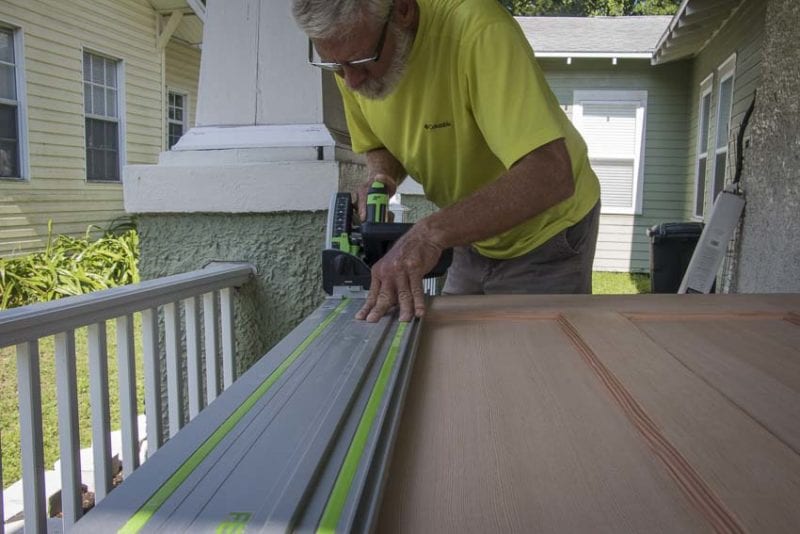
We started with the front door. We began by taking an 1/8-inch off the hinge side of the Simpson door using a Festool TSC 55 REB track saw. This was just enough to match our existing opening without having to completely rebuild the door frame.
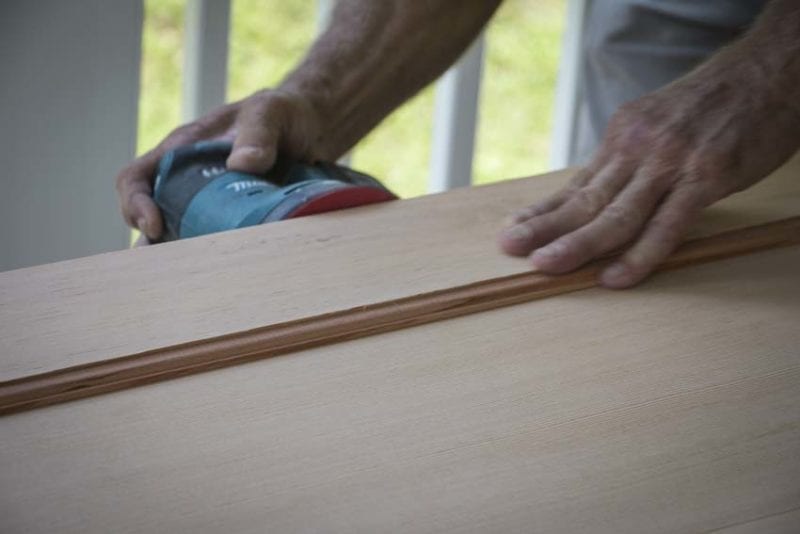
After our cut, we used 80 grit sandpaper to take down the cut edge using a Makita 18V random orbit sander. We then smoothed it out further with some 150.
Mortising the Hinges
There were only two 3-1/2 inch hinges on the original door. These old hinges were offset too far into the home for my comfort. I decided to correct that on the new door and also add a third hinge for better support. After sending my partner for a quick run to the hardware store I had three new hinges ready to go.
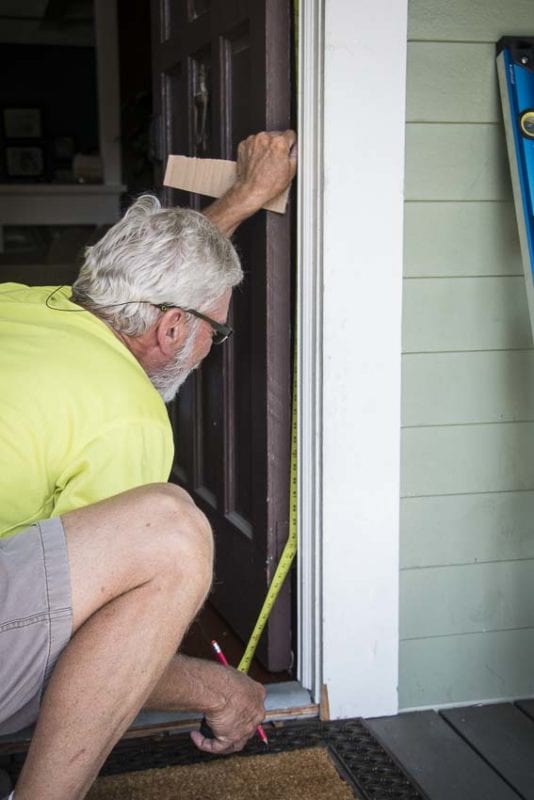
Measuring from the top, I mapped out the desired location for the new 4-inch hinges—including our new center hinge. During this time, I also adjusted the height of the door slightly. The old one had a bit too much top clearance for my tastes. Since Simpson Door basically shipped a full 36″ x 78″ slab, it would be easy to match nearly any opening—even one that’s a bit unusual (like the back door which we’ll get to in a bit).
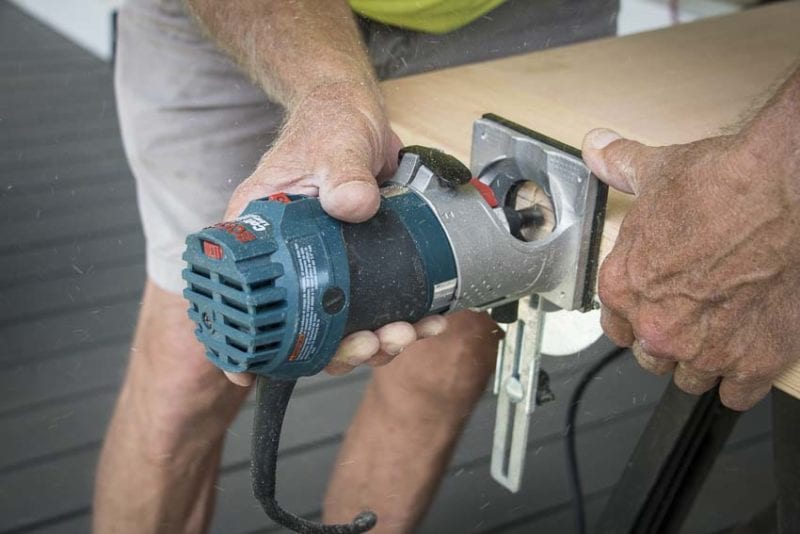
For morticing our hinges on the Simpson Craftsman door I used a Bosch Colt palm router with a stop fence to help me keep a straight line across the top of the hinge. I used a razor knife to square up the edges—at which point I was handed a Milwaukee Fastback 2 folding utility knife. That tool made blade changes a lot easier than my existing $3 special.
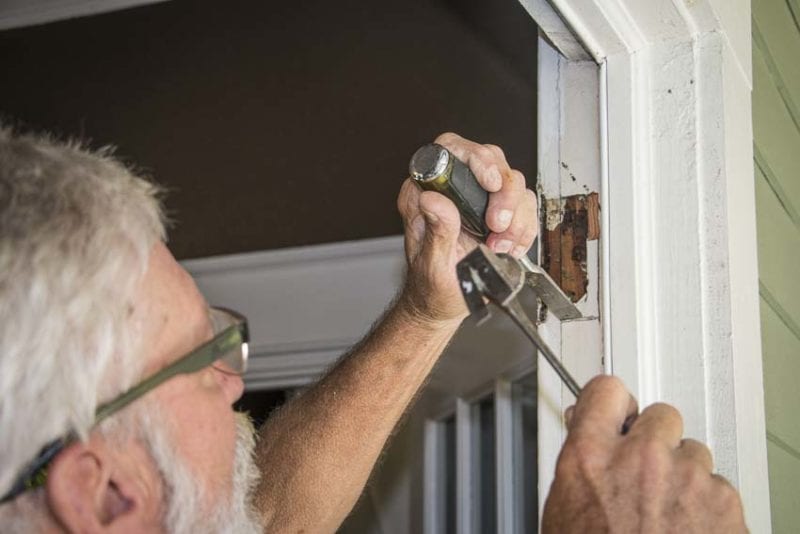
On the door frame, I began the process of widening and morticing the hinges. Cutting in hinges on old homes is a lot more work due to the old-growth wood found in the frames. It’s extremely tough to affect with a chisel and requires a lot more sweat equity.
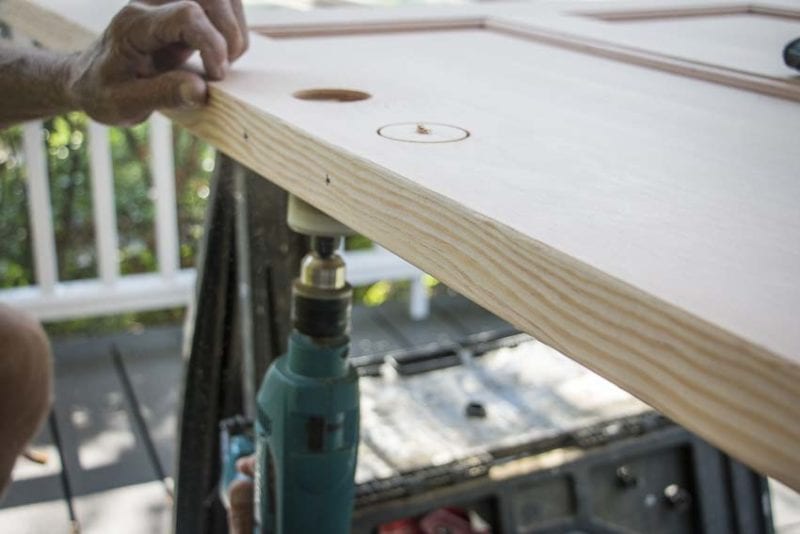
Drilling the Locksets
When planning how to install a Simpson Craftsman door slab you need to consider the hinges. The last step to getting ready to hang the Simpson Craftsman door was drilling the lockets and mortising out the latch and deadbolt with the Bosch Colt router. This was accomplished quickly, and I typically take the hole saw down just far enough to poke the drill bit through the other side. Then, coming from the reverse side of the door, I can avoid any blowout of the wood and get a nice clean hole.
Simpson 6803 Craftsman Two Panel – Three Lite Door Specs
- Series: Craftsman Collection
- Type: Exterior Decorative
- Applications: Can be used for a swing door, with barn track hardware, with pivot hardware, in a patio swing door or slider system and many other applications for the home’s exterior.
- Matching components: Craftsman sidelight (6175, 6170)
- Construction type: Engineered all-wood stiles and rails with dowel pinned stile/rail joinery
- Panels: 3/4 in. flat panel (standard), or optional 1-7/16 in. raised panel
- Glass: 3/4 in. insulated glazing
Available Wood Species and Materials
- Douglas Fir
- Western Hemlock
- Eastern White Knotty Pine
- Poplar
- Maple
- Red Oak
- White Oak
- Cherry
- Clear Alder
- Knotty Alder
- Western Red Cedar
- Ash
- White Birch
- Hickory
- Quarter Sawn Red Oak
- Quarter Sawn White Oak
- Nootka Cypress
- Sapele Mahogany
- Bamboo
- Walnut
- Ponderosa Pine
For outdoor weather protection, Simpson introduced two features that are available on its Performance Series doors. Currently, that includes their UltraBlock and WaterBarrier technologies. When you use both, you get a product that will hold up under the toughest exposures—all without losing the character and detail available from Simpson’s doors.
UltraBlock
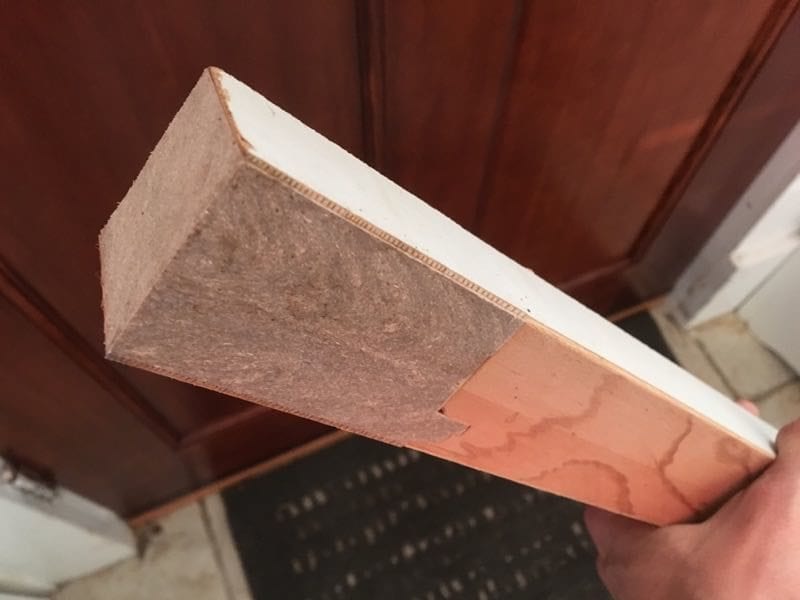
You can get UltraBlock on all 1-3/4 inch and 2-1/4 inch doors. UltraBlock technology is perfect for exterior doors and adds a water-resistant finger-jointed composite block in the bottom of the door stiles. This is where water infiltration can occur, and it eliminates bottom rail and lower stile rot as well as the buckling and swelling that precedes it. UltraBlock technology is actually included on most Simpson entry doors, including the Craftsman Collection we reviewed as well as their Masterwork Collection, Bungalow Series, Builder’s Advantage Series, and Selects Series. For all other doors it can be ordered as an option.
WaterBarrier Technology
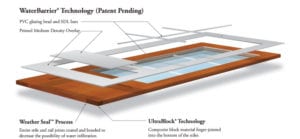
With both WaterBarrier and UltraBlock you get a 5-year warranty—without an overhang requirement. WaterBarrier is available for nearly any Simpson exterior door. It combines a 1/16″ Medium Density Overlay (MDO) with PVC glazing beads and bars that keeps water out permanently. It also minimizes the possibility of stile and rail separation. What’s great is that you can choose any of Simpson’s doors and styles—including any wood species—and you get a great-looking door with maximum exterior protection and a beautiful interior of real wood. Since the overlay has a thermoset acrylic latex primer topcoat, you can paint it immediately with water or alkyd-based paints and get excellent results. Compared to expensive aluminum and vinyl-clad doors, it gives you a great solution at a great price.
Here’s a look at both technologies via cross-section:
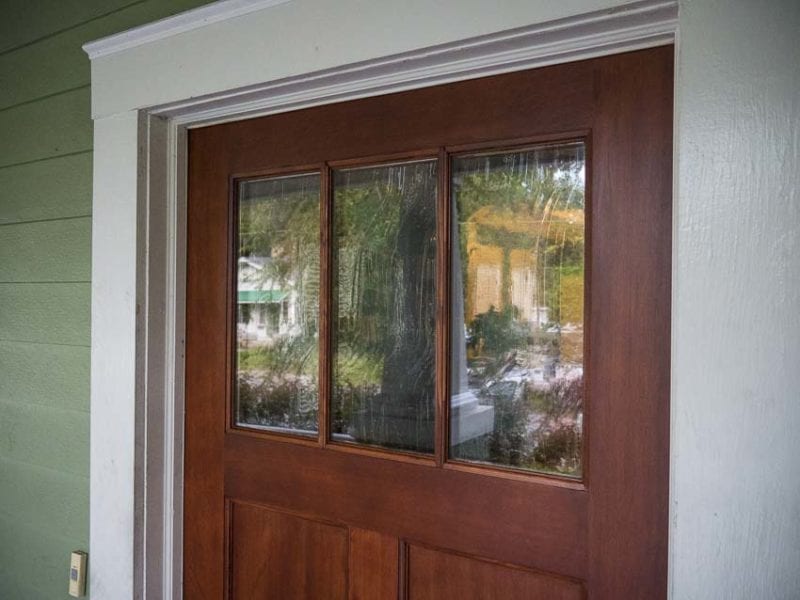
Simpson Craftsman Door Glass Options
With a two-panel three-lite door you get some options on glass. For the homeowners, the Seedy Baroque was their top choice as the clear glass lets in a lot of light, but distorts the view slightly thanks to the random bubble (seeded) appearance and a “softly raised baroque wash with freeform curve” (per the manufacturer’s description). Overall, it provides a minimal amount of privacy, and the homeowners really liked the look of it.
Staining and Finishing

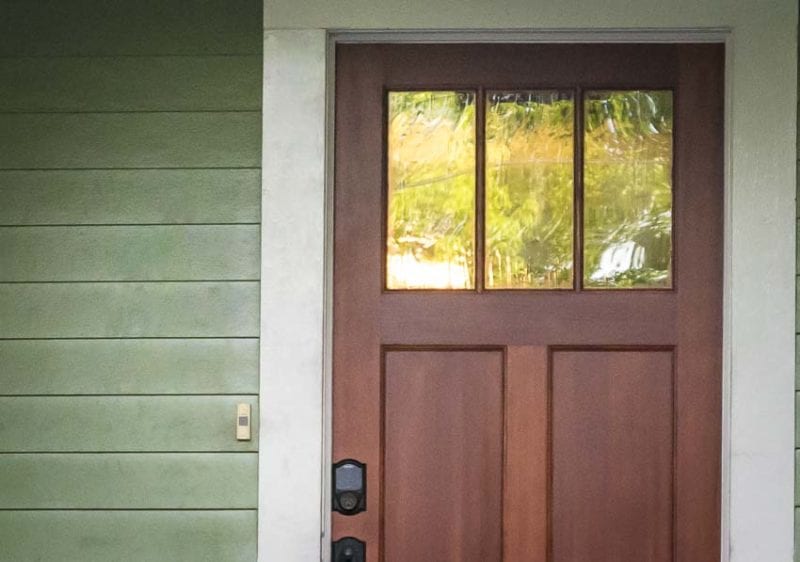
Each Simpson Craftsman door took a single coat of water-based stain that was custom mixed at a local furniture shop here in town. We went with a mahogany color that had a touch of red to give it a nice deep color.
I decided on water-based stain and urethane because I knew I’d likely end up working in the home and didn’t want the fumes from oil-based lacquers to run out the homeowners.
We did the first coat of stain on a pair of plastic sawhorses and used those again for the first coat of stain. This is again where the water-based stain and urethane worked in our favor—drying time was only a few hours whereby we could have the Simpson Craftsman door back up and hung for the homeowners.
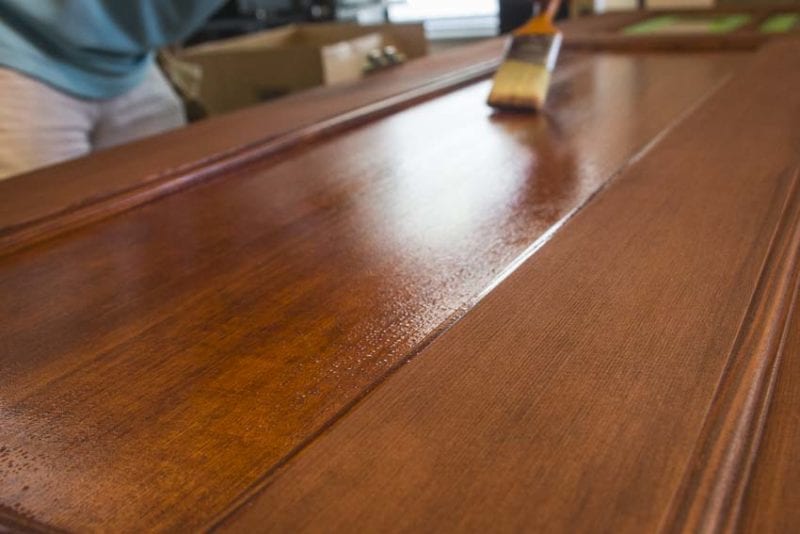
You can’t really know how to install a Simpson Craftsman door without also learning to finish it. The final urethane took three coats on the outside and inside, and I used 320 grit sandpaper to sand down the grain in between coats. We used a high-quality satin with a UV protector on the outside of the front door. For the back door, only the inside was stained and the outside door—with WaterBarrier technology—took a nice coat of paint that closely matched the interior stain. The result was a beautiful finish that went on clean and easy thanks to the thermoset acrylic latex primer topcoat that was already on the door.
How to Install a Simpson Craftsman Door Conclusion
Simpson currently sells thousands of doors each week. Of those, about 250 are custom. Since they can build wood doors in virtually any design, shape, size, and wood species, they’re a great company to contact if you have a particularly challenging design or need.
Learning how to install a Simpson Craftsman door requires patience and some quality tools. Our Simpson Craftsman door installation was very vanilla with no surprises. The doors had no warp, and they have an all vertical grain. Those are key components in a door that are not gonna walk or move on you. While fiberglass doors might be easier to work with, walnut and bamboo (which is even harder than oak) would be great to stain, and Simpson offers both. Any hardwood that doesn’t warp and which takes stain easily is a win in my book. I’d work with these doors again for any customer who wants the refined look of hardwood with the options and varied styles Simpson offers.
Pricing on these doors will vary by dealer but expect to pay around $650 for the slab (in Douglas Fir) and then add to that any glass or WaterBarrier upgrades.
For more information, check out the Simpson Doors website.
