
I was recently browsing YouTube and fell down a rabbit hole of people making their shop-vacs quieter by building a muffler box around it. They used an insulated box to reduce Shop-Vac noise with foam rubber or styrofoam. I knew I could do one better because I just so happened to have some acoustic mineral wool lying around. Mineral wool absorbs sound in concert halls, music studios, gymnasiums, etc. The result? My Shop-Vac muffler box reduced noise from 87 dB to 61 dB at 24-inches away. If you are not familiar with the decibel scale, for every 10 dB you cut, you half the perceived volume. Cut another 10 dB, and you cut that in half again (1/4 of the original).
When I get done showing you how to reduce Shop-Vac noise, the volume level will go from that of a noisy vacuum to less than the volume of a microwave oven.
Editor’s Note: Want more wet/dry vacuum coverage? Check out our Best Shop Vac article to get our top picks of the year!
Table of Contents
Who is this Project For?
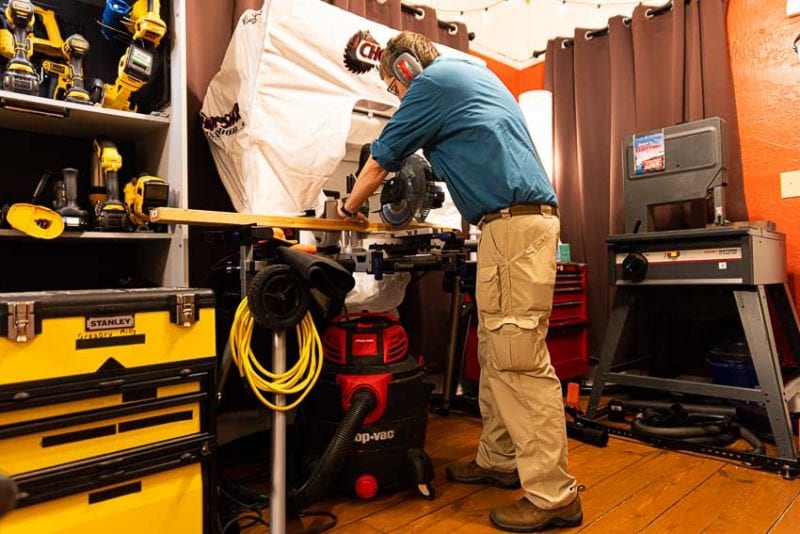
This Shop-Vac muffler project is for someone using their vacuum as a dust collector. It should sit in one place in your shop and not move. It stays hooked up to your miter saw or table saw. Because of the ultimate size of the box, this project is not for someone who is using their shop-vac as a portable vacuum or dust extractor. If you want to take your shop-vac to the car or basement, this is not the project for you. We show you how to reduce Shop-Vac noise on a tool you don’t mind leaving in place.
However, if you have a small shop, with the price of shop-vacs, you could easily buy a second tool just to hook up to your saws, add an automatic switch, and it would be well worth the investment to make one shop-vac quieter.
But What About Overheating?
Making your shop-vac quieter to reduce noise does no good if you kill it. Overheating the shop-vac was the first thing I thought of when I saw people doing this project. Everyone doing it claims they have not had an issue with overheating. I let mine run for 15 minutes, and it got warm, like it always does, but not overly hot. I would not want to let it run for an hour as shop vacuums should not run continuously. If you are working so fast that your dust collection system needs to be running continuously, you need a real dust collector.
A Quieter Shop-Vac! I’m Sold. How Do I Build It?
For materials, you will need the following:
- 1 sheet of MDF or 3/4” plywood (2 if you have a huge shop-vac)
- 2 furring strips, 8’ long
- 4 pieces of 2-inch thick Roxul Rockboard 60 Mineral Wool Board
- Wood glue
- Screws, biscuits, pocket holes or your preferred method of assembling wood cases
- 2 1/2-inch hole saw (yours may vary)
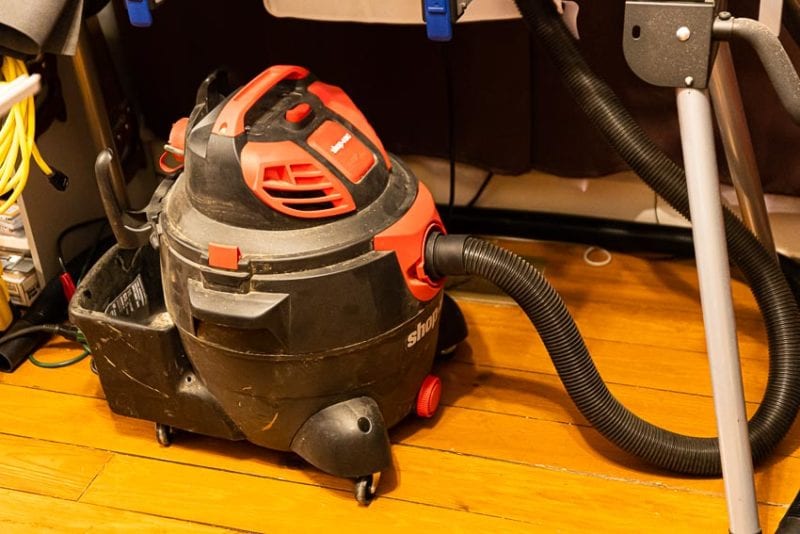
To get started, we need to make your shop-vac as small as possible. Remove any unnecessary parts. This includes the wheels, the handle, accessory tool holders, etc. All of that unscrewed on mine. There was a protrusion on top designed as a cord wrap. I used a reciprocating saw with a metal cutting blade to remove that in about 3 seconds.
How to Size Your Shop-Vac Muffler Box to Reduce Noise
Once you have your vacuum as small as possible, it is time to measure your shop-vac. Take the width and add 4-inches on each side for a total of 8-inches larger than your vacuum’s width and depth. Give yourself an extra inch or two on the front where the hose connects if your shop-vac has a very complex or hard-to-attach hose.
You need 4-inches on each side because you will have 2-inches of mineral wool inside the box, plus 2-inches of air space around the shop vac for ventilation and airflow.
Layout Your Cuts
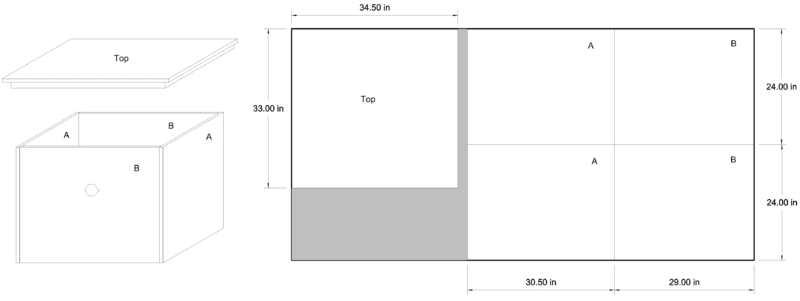
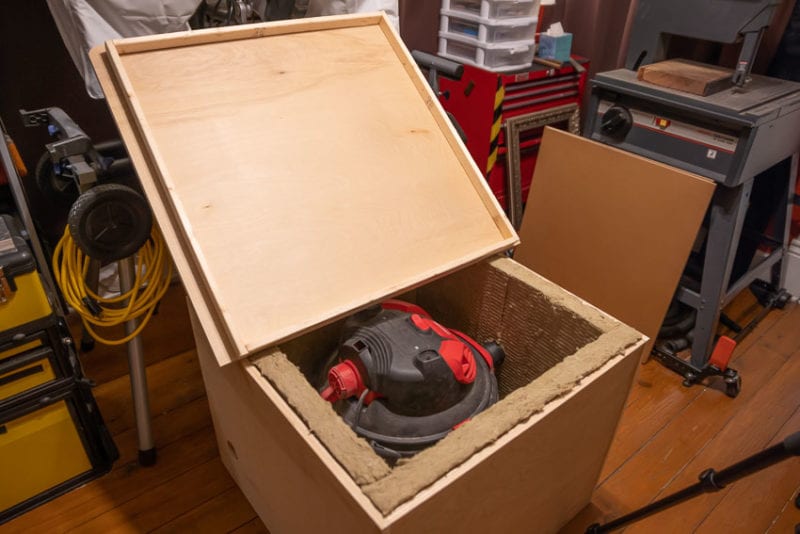
I laid out the cuts on a single sheet of plywood as indicated below for my shop-vac. It is a 16-gallon genuine Shop-Vac brand vacuum from around 2015. My box does not have a bottom to save material and height. My vacuum just sits on the floor with the case around it. I did this for height considerations because I was trying to fit it underneath a miter saw stand. Feel free to add a bottom if you need one, or even casters so you can move it around.
Assemble the Box
Next, assemble the box using biscuit joints, screws, pocket hole jigs, or whatever means you prefer. Just make sure to use glue all the way down the seam to make it as airtight as possible.

Cut the Holes
After that, cut the holes for your vent, hose, and power cord. Air comes in the hose and needs to go out of the box through a vent. The vent can go anywhere, but I chose to put mine hole where I can feel the air coming out of it just to make sure it was not overheating while initially testing it. In other words, I did not put my vent in the back where I couldn’t reach or where I might accidentally cover it.
I put the hose and the cord side by side, so I did not need to drill a large hole for the power cord. I could run the power cord through the hole for the hose first and then install the hose. To locate the hole for the hose, remove the hose from the vacuum, put the shop-vac in the box, then put a pencil in the hole of the shop-vac hose. Now trace the circular outline of the hose on the inside of the box. My shop-vac hose required a 2 1/2” hole saw to drill the hole. I then drilled a 3/8” hole just to one side and chiseled out the waste between the two holes so I could run the power cord.
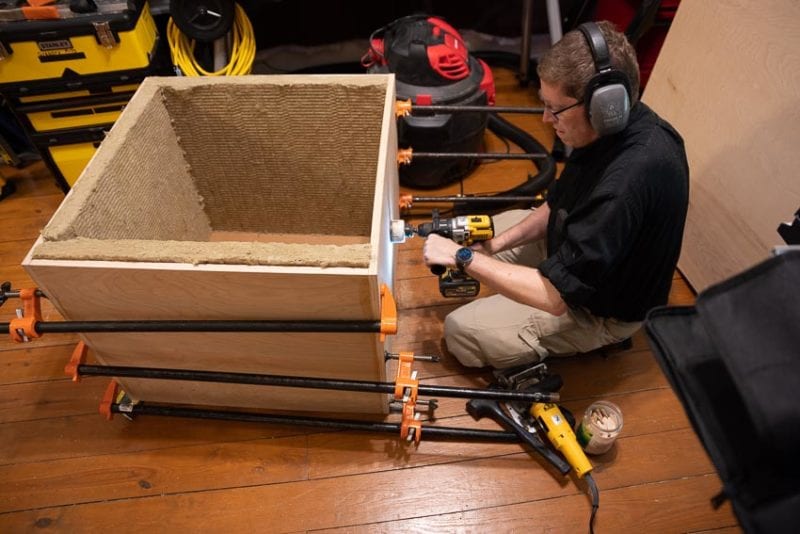
Insert the Mineral Wool
Cutting the mineral wool was an easy task with a utility knife or sharp pocket knife (though it won’t be sharp after you finish). I cut it tight enough that friction holds it in place. I then used the hole saw to cut right through both the vent hole and the hose hole to create holes in the mineral wool.
Just a tiny V-shaped notch is enough to make space for the power cord in the mineral wool. The mineral wool is key to making this shop-vac muffler quieter than other boxes.
Add the Top Cover
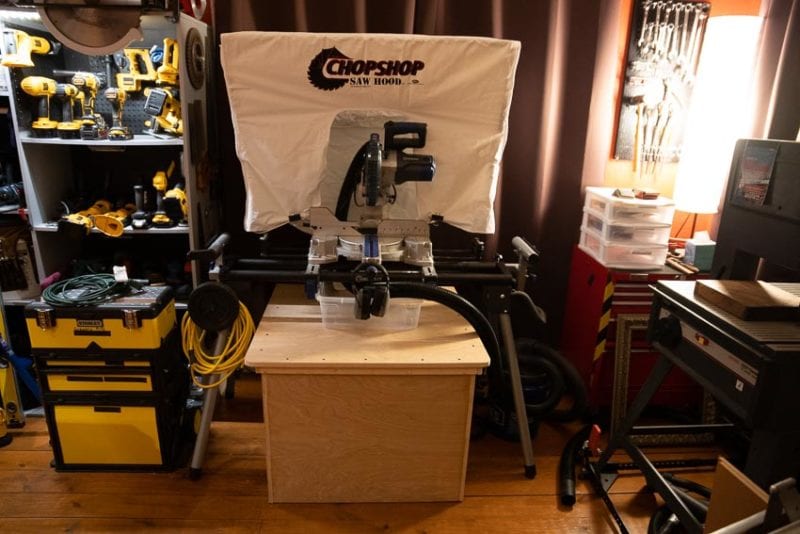
We’re almost done with our process of how to reduce the noise of your Shop-Vac. Now comes the final assembly! Run the power cord, then run the hose through and connect it to the shop-vac. Turn on the vac, leave it unplugged, and you are ready to put the top on. Center it all the way around.
The next step is to take the furring strips and cut them to create a seal all the way around the top once you have it centered. I screwed it in vertically, starting on one side. Work your way around the top from underneath. When I finished, I had a top I could lift on and off that’s more or less airtight.
Plug the vacuum in and try it out. The muffler (or hush box) should make your shop-vac quieter by a significant margin. It may not be silent—but it should be much quieter.
Add-Ons to Make It Even Better
That’s how to reduce Shop-Vac noise with a home-built muffler, but wait, there’s more. There are two add-ons you can add to this project to make it even better. The first is a cyclone filter which makes the shop-vac more efficient since all the heavy particles fall into a bucket outside the box. It makes it so that you practically never have to change the filter or open the box. The most well-known is the Dust Deputy. Though for now, I am using the cheaper Woodstock Mini 2-Stage Separator. It sits on a 5-gallon bucket and dumps the sawdust into the bucket.
The second add-on is an EToolCity automatic switcher, which turns on the vacuum every time you start your power tool and then turns it off about 15 seconds after the tool stops running. This is a huge help because you never have to think about turning your shop-vac on and off. In my case, I have it hooked up to my miter saw, so it only runs for a few seconds at a time and then shuts off. This automatic switch alone makes my studio dramatically quieter. It’s well worth the price.
Conclusion: A Quieter Shop-Vac
Is this project worth your time? Hopefully, it helped you understand how to reduce Shop-Vac noise. If you try to keep noise in your shop to a minimum, then yes. If you always use dust collection when using your tools, then yes, I think it is worth your time to make your shop-vac quieter.
