
Living in Florida means keeping cool indoors. If you have a new AC unit, but you still have difficulty getting the temperatures lower, radiant barrier insulation can help. Installing Reach Barrier Silvertanium radiant heat blocking material helped us reduce the amount of heat entering the attic space in a large residential home. It’s made in the USA, and we love the durability of the product. For this application, the Reach Barrier 3023 Silvertanium radiant barrier made the most sense.
The Problem of Radiant Heat
The problem of radiant heat is a big one in the South. All of our AC ductwork lives in the attic. It gets subject to 140-degree (or higher) heat during the hot summer months. If that seems counter-productive, you’re spot-on. Heating up the very ductwork that carries cool air throughout your home makes no sense.
Radiant barrier blocks a large majority of the heat radiated by your roof and studs—directing it out of the attic. It does that by preventing up to 95% or more of the radiant UV heat from penetrating the barrier material. When combined with proper ventilation, the heat gets funneled back out and through your ridge or other vents instead of working its way into your attic and through your blow-in or rolled insulation.
Reach Barrier 3023 Silvertanium Radiant Barrier
Reach Barrier 3023 Silvertanium reflective insulation works perfectly for attics. It provides a radiant barrier with a non-laminated reflective insulation product. Where multiple-layer laminated products might delaminate and fall apart with time, Silvertanium holds together. It also resists oxidization or degradation from the elements over time.
Installing Reach Barrier in the Attic
Before you do anything, calculate the amount of insulation you need in your attic space. Multiply the square footage of your attic by 1.7. That gives you the proper amount including overlaps.
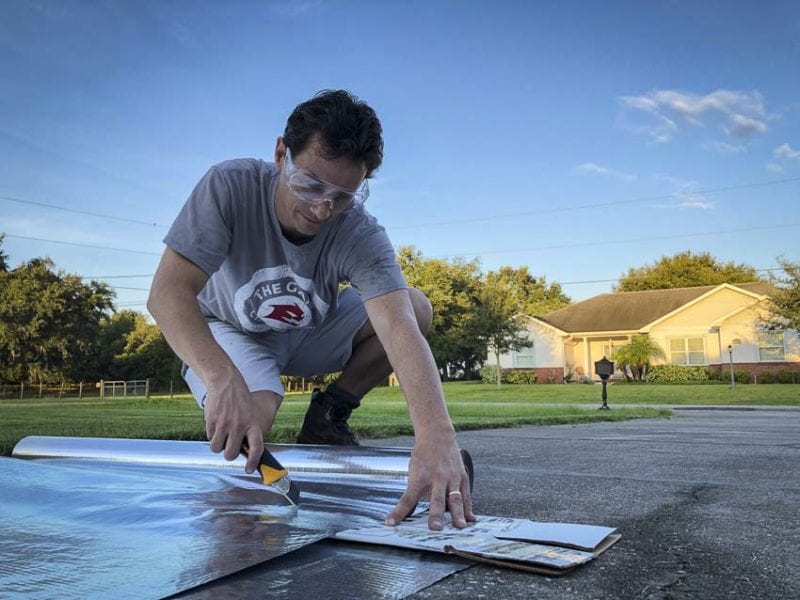
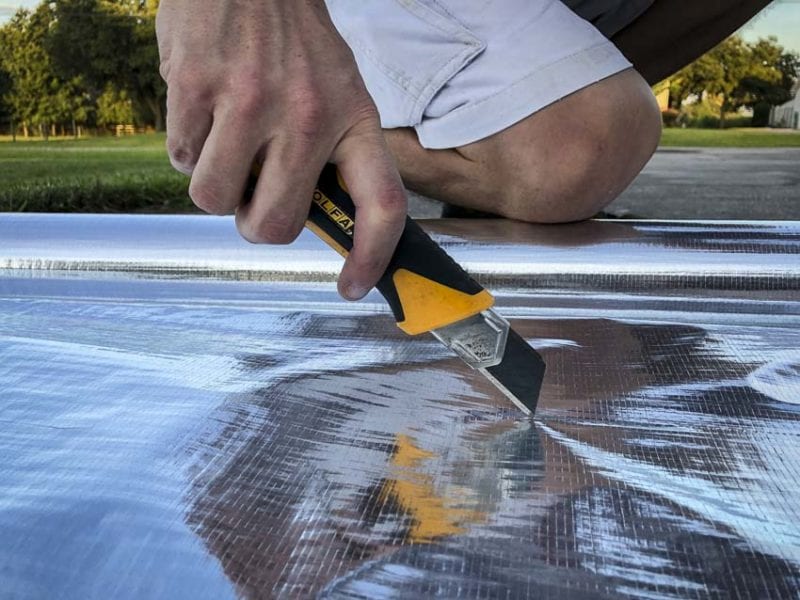
Cut to Length
Installing Reach Barrier in the attic involves rolling out lengths of 48-inch tall sheets of radiant barrier across the roof trusses. Since the 1000 sq-ft rolls are quite heavy, we recommend cutting them to length before you get into the attic space. You can cut them easily with a razor utility knife. We used an OLFA X-Series utility knife, but anything will suffice.
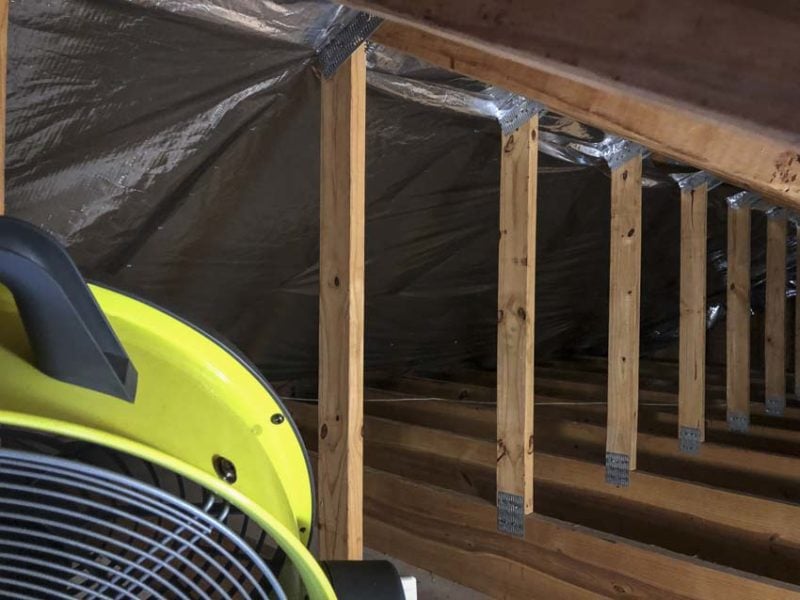
Start 4-6 inches from the floor of the attic and work your way up. You staple the Reach Barrier to the attic roof joists or rafters.
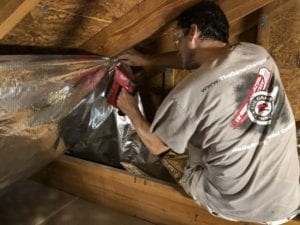
Start at the Bottom, but Staple from the Top
Starting with the bottom row allows the overlaps to properly route heat behind the Silvertanium radiant barrier instead of allowing it to easily escape. You can quickly layout the first row by using a broom handle with tape marking the 50-inch mark. You can also use a tape measure.
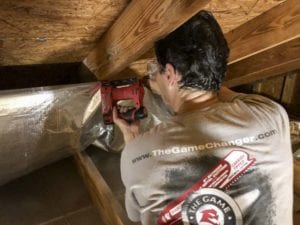
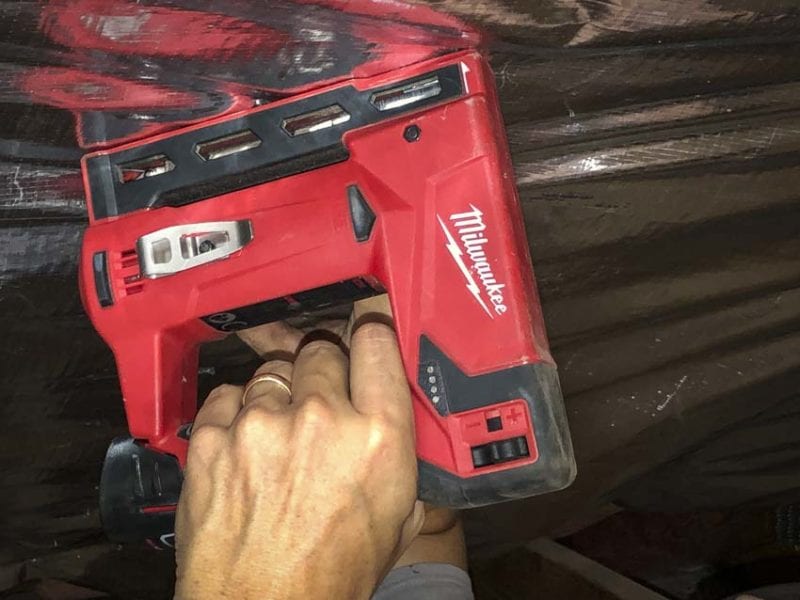
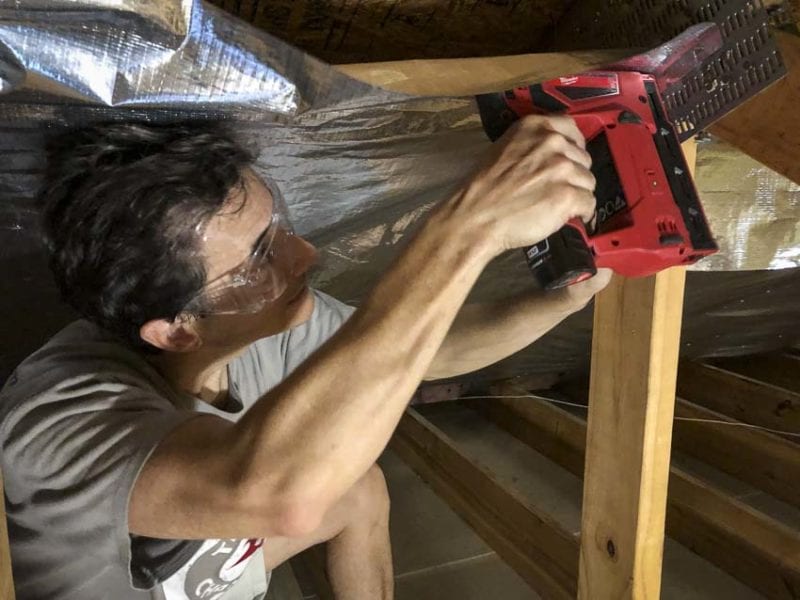
In either case, you want to make sure you work level across the attic so the material stays straight. We used a Milwaukee M12 crown stapler to quickly and easily fasten the material to the rafters. I recommend using this or a pneumatic stapler over a hand stapler. After stapling thousands of nails by hand, your palms and fingers will thank you.
Overlap Your Layers
Make those overlaps 2-3 inches. When you get to vents, allow for a horizontal path across all roof joists so the hot air from other non-vented air spaces can escape. If you have a ridge vent, leave an inch or so exposed at the top so the airflow moves properly. This also ensures the attic is still allowed to vent to the outside.
For vertical supports, simply staple around them and make vertical cuts as needed to clear the material.

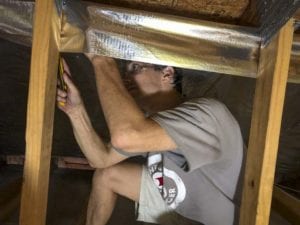
Then you can staple them along the sides and continue upwards to higher sections of your attic roof.
It Doesn’t Have to Be Pretty
The biggest thing to remember is that you’re going for coverage. Sure, you want to keep everything straight—as much as possible. In the end, though, the goal is to cover up the inside of the attic roof. Just make sure you’re letting air in from below and out through the ridge or other vents. Be sure to block the side walls as well—at least any sides typically facing the sun.
Most electric companies provide historical numbers for your energy use. When you’re done, you can begin comparing the following month or two of energy use to see the financial impact of the radiant barrier.
If you (smartly) installed the radiant barrier during the colder months, you may not see the biggest changes until summer hits. That just gives you something to look forward to.
Reach Barrier Silvertanium Specifications
- Model: 3023
- Design: Non-laminated reflective insulation
- Composition: Two-sided single-layer highly reflective metallization
- Perforated for breathability
- Made in the USA
- Meets all ASTM standards
- Buy it online
Reach Barrier also makes products for insulating your garage doors and water heaters. Be sure to check that out as well if you visit their website.
