

Making a raised garden bed or flower bed is a great way to grow things when you have poor soil conditions. It also helps when you have limited space or just want to create a very manageable area for planting. We will show you every step needed to know how to plan and make a raised garden bed that should last for well over 25 years or more.
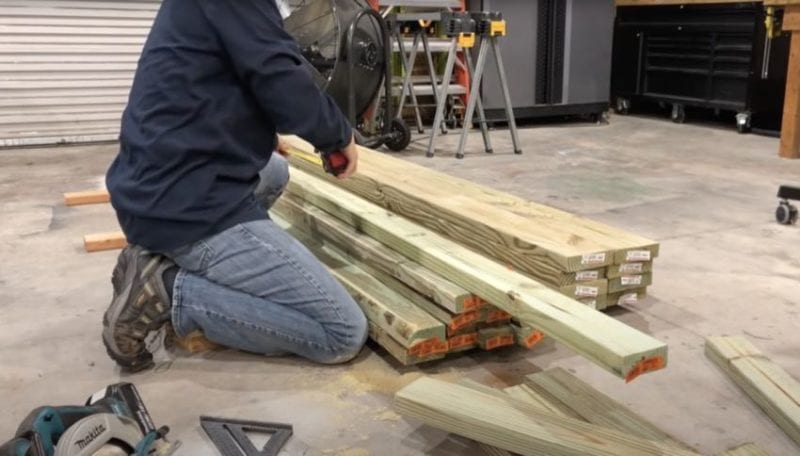
1. Collect Your Lumber and Supplies
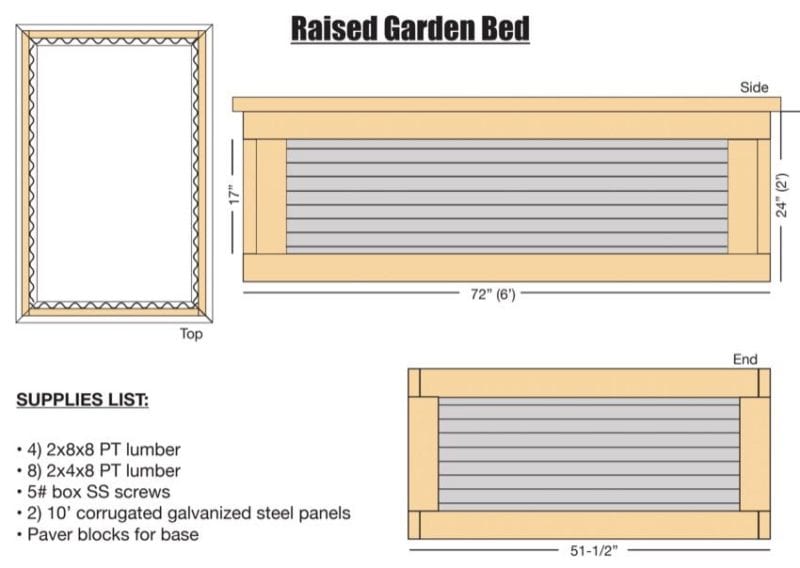
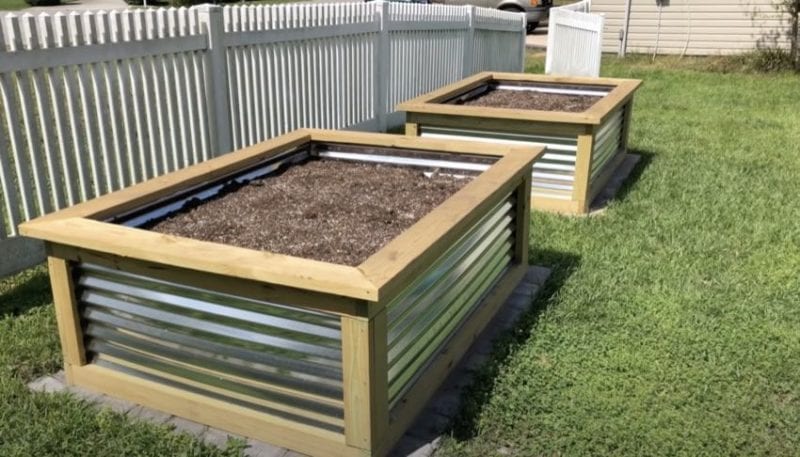
Our raised garden beds each measure roughly 4 x 6 feet (51.5 x 72 inches to be precise). You can think of the structure as a box without a top or bottom. We designed this raised garden bed to be small enough to allow you to easily reach the middle of the box. If you have very short arms you may want to consider shortening the 51.5-inch side.
To build a single box you need the following supplies:
- 4) 2x8x8 PT lumber
- 8) 2x4x8 PT lumber
- 5lb box of 3-inch long stainless steel screws
- 2) 10 ft. corrugated galvanized steel panels
- Paver blocks for the base (optional, but highly recommended)
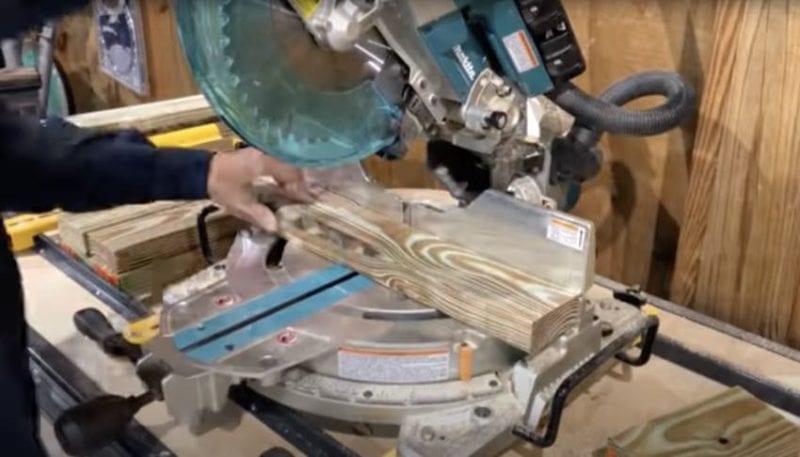
2. Cut All Your Lumber to Size
The easiest way to do this project involves cutting all of your lumber at the same time. Instead of building as you go, we’ll prepare all of the pieces and then move on to the assembly once we have everything ready.
You only have three different sizes of wood for the main frame. Here are your cuts:
- 8) 17 in. long 2×4 pieces
- 4) 72 in. long 2×4 pieces
- 4) 48 in. long 2×4 pieces
For the shorter pieces, you can use a miter saw if you have one handy. We set a stop for ours so that we could make the same length cuts over and over again. That made quick work of all the repetitive cuts.
That’s it! The 2x4s make up the entire frame of the raised garden bed. Inside, we’ll place and fasten the corrugated steel. But for now—let’s cut the pieces needed to make the main boxes. After you cut the above pieces you can move onto the next step.
And remember—if you want to make two raised garden beds, double everything we talk about. These instructions focus on making a single garden bed to keep things simple.
3. Assemble the Raised Garden Bed Top and Bottom Frames
You may want to move outside near the final location for this step if you aren’t already there. Begin by fastening together the bottom rectangle of the bed. Use those 3-inch stainless steel screws. Those will last the test of time and resist rusting. Of course, if you live near the beach—all bets are off!
Use a large rafter square to make sure you keep the box squared up as you fasten the boards together. Before you attach the vertical pillars, go ahead and make both the top and bottom frames. Remember—we’re trying to be efficient by doing as many repetitive tasks as possible!
4. Building the Vertical Pillars
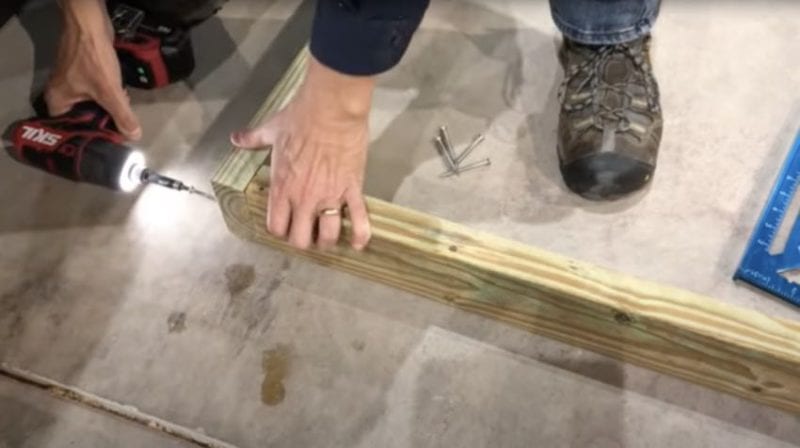
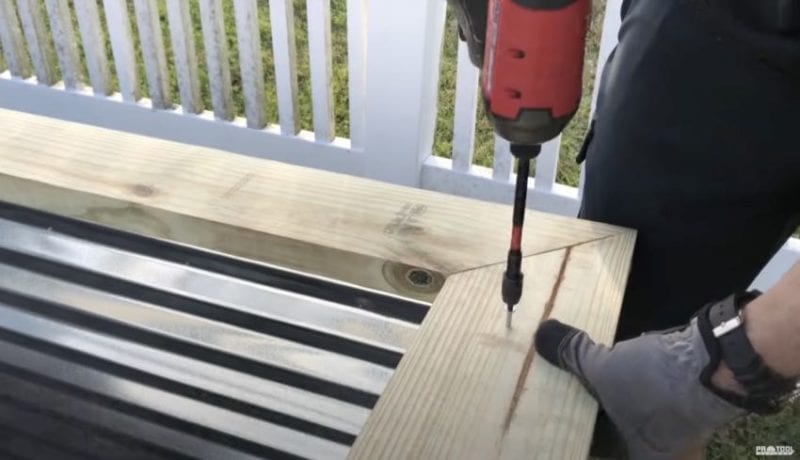
Because we’re going to have two 17-inch vertical pieces that attach to each other before they attach to the top and bottom frames, we want to go ahead and prepares those first. Start by placing three screws along the edge of one of those short boards.
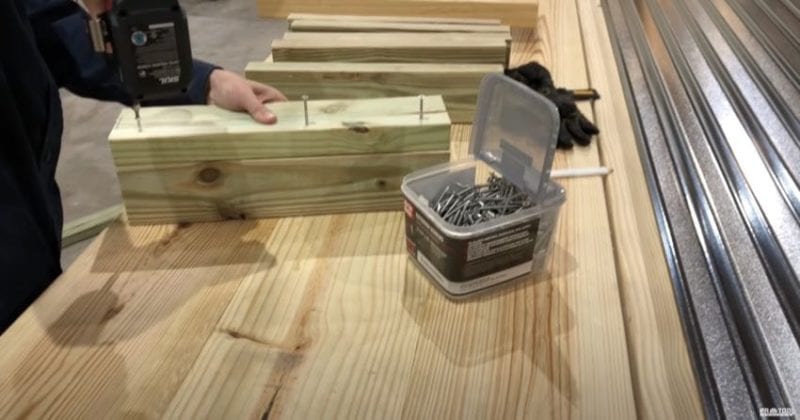
We used an impact driver to attach the boards together.
5. Attaching the Vertical Pillars to the Top Frame
Once assembled, attach the vertical pillars to the bottom frame. Do this by pre-drilling holes with a 1/8-inch twist bit. Follow up by screwing the vertical pieces to the bottom frame.
6. Attach to the Bottom Frame, Level and Square
Now, did I mention you were attaching the pillar to the top frame? I wasn’t lying. Once all four dual-pillars are attached, it’s time to get a friend to help you flip the whole thing over and set it on top of the bottom frame.
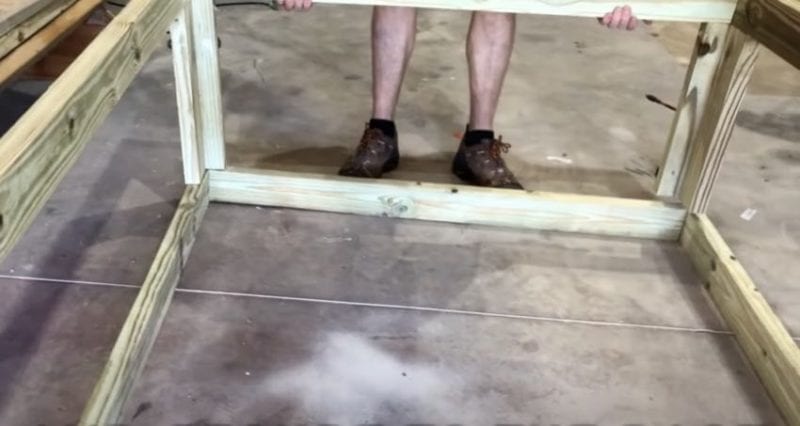
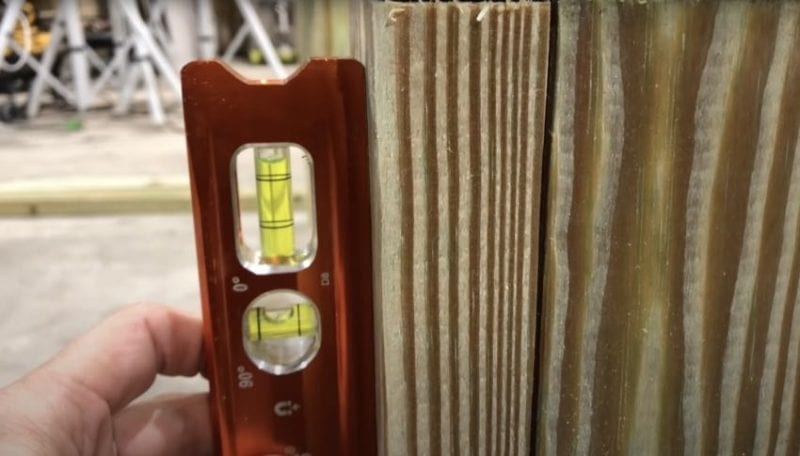
Then level and square everything up as best you can. Begin your drilling and fastening process again. Before tightening the final fasteners, however, do one more round of squaring everything up.
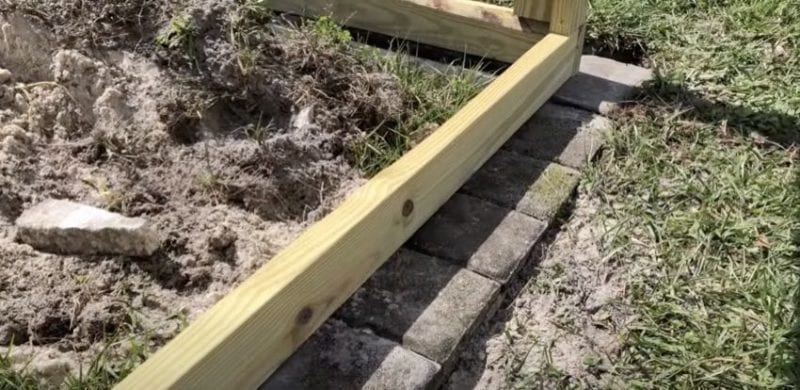
7. Prepare the Base for Your Raised Garden Bed
Once you are ready to place your raised garden bed you want to mark out its final location and prep the area. You can use a tape measure and spray paint, or some other marking material, to create an accurate outline of where the box will sit.
If you want to set the box on the ground, it needs to be level. That might mean digging a “trench” for the 2x4s to sit in so they don’t wobble or tilt.
We actually decided to put our raised garden bed on a ring of pavers. This would keep the pressure-treated lumber off the ground—extending the life of the bed. This could be a project on its own. Suffice it to say, you need a level surface for where this glorious masterpiece will reside. That takes some prep of the area so the raised garden bed sits flat on the ground.
8. Cut the Corrugated Steel to Size
After placing your frame, you can begin cutting the corrugated steel to size. It goes inside of the frame. The idea is to separate the dirt from the pressure-treated wood entirely. This is what makes these 25-year or more raised garden beds.
Cut these panels using a pair of metal shears if you can. Metal saws make a real mess.
9. Secure the Corrugated Steel to the Wood Using a Stapler
We recommend the use of a narrow crown stapler to secure the corrugated steel to the inside of the pressure-treated raised garden bed frame. A couple of great cordless tools we like include the Ryobi P360 narrow crown stapler and the Milwaukee M18 narrow crown stapler.
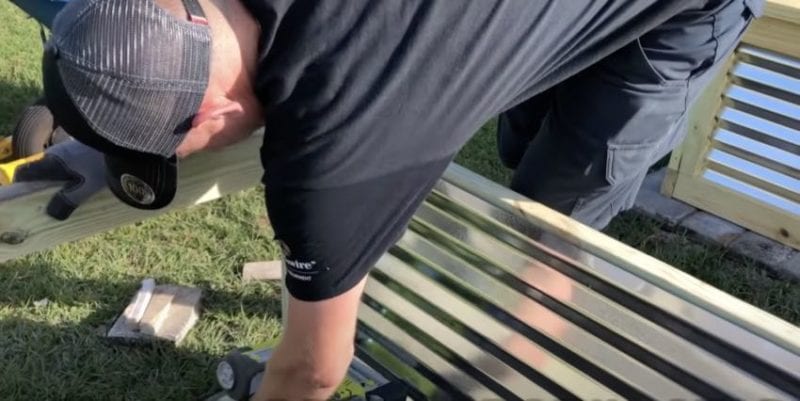
The height of the corrugated steel should allow it to drop slightly below the frame into the ground. This is a good thing, but you may need to dig out a little. It ensures the runoff water passes completely by the pressure-treated wood and into the ground for drainage.
Before filling the box with dirt, we actually recommend running a large bead of silicone along each of the four corners. This further keeps water from getting past the steel and hitting the pressure-treated lumber.
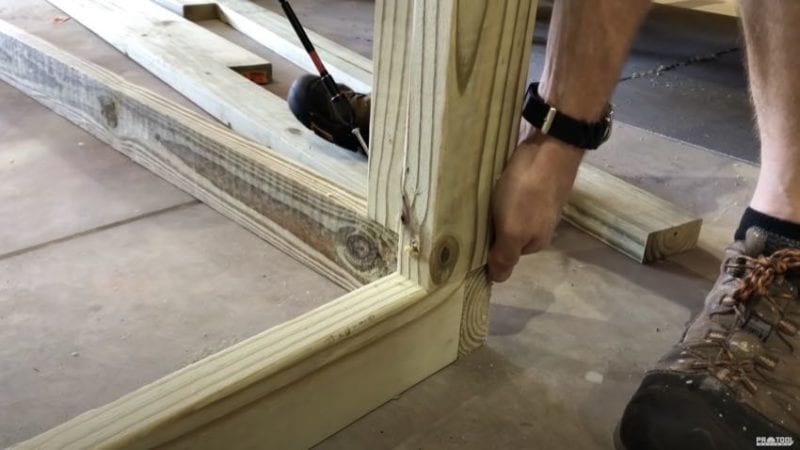
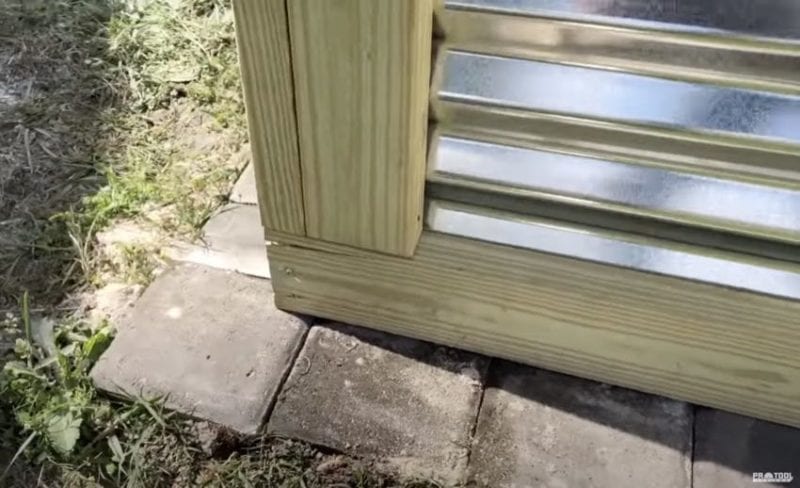
10. Place Your Top Pieces
Rather than pre-cutting the top 2×8 boards, we actually placed them on top and marked them in place. Once we knew we liked the amount of overhang, we cut them to a 45-degree miter. Pre-drill the ends and then secure them together with more stainless steel 3-inch screws.
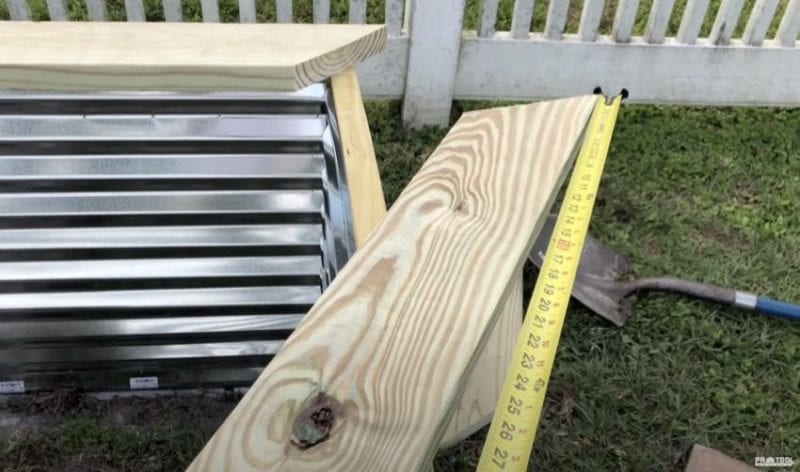
You also want to screw these 2×8 boards down from the top into the frame along the perimeter. In general, we liked them to sit more or less centered on the frame. That lets you have just as much inner overhang as outer overhang.
When we were done with our raised garden beds, you could easily sit on the top and not feel like it would go anywhere.
11. Fill with Topsoil and Enjoy!
The last step involved filling the raised garden beds with topsoil. Hopefully, you can locate some cheap fill dirt and then just top it off with nice garden soil to grow your vegetables or plants. You also may want to consider integrating some gravel for proper drainage. Broken rocks might suffice equally well.
As a tip, use a hose to wash down dirt when you fill it and release any areas that might be problematic later or create large voids. If you need recommendations, check out our best garden hose article for inspiration.
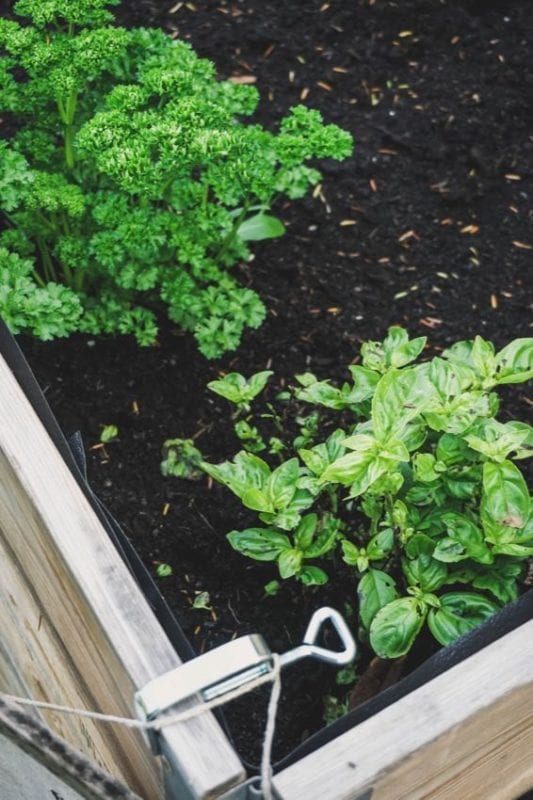
What Do You Want to Grow After Making Your Raised Garden Beds?
We presume that when you make a raised garden bed you know what you want to grow. In fact, that really determines a lot about what your finished product should look like. If you only want a flower bed then you can likely design a much more shallow bed than if you are growing something with a large root system or something that grows mostly or completely underground like carrots.
Hopefully, this article on how to build a raised garden bed helped you on your path to gardening bliss. Have any suggestions or modifications to our plans? If so, leave them in the comments below.
