
When you own a 1920’s bungalow home, you quickly become familiar with renovation. Unfortunately, people don’t always make the right choices. This home already had its exterior renovated using HardiePlank® Lap Siding. They failed, however, to use the same bug- and rot-resistant material for the window trim. Instead, windows were trimmed using pine and then primed and painted. Years later, that trim began rotting profusely. We opted to replace the pine trim with HardieTrim® Boards to give them the same rot-resistance offered by these fiber-cement products. If you find yourself in a similar situation, knowing how to replace wood window trim with HardieTrim Boards can ensure you only do this sort of renovation once.
Gathering the HardieTrim Materials
We reached out to James Hardie Building Products Inc. and they were kind enough to supply us with enough HardieTrim® Boards to replace all of our window trim. Since the former windows had exterior sills, we needed to transform them into a more rain-friendly facia style. This also worked better with the traditional HardieTrim look.
PVC vs HardieTrim Boards
When you want rot-free window trim you have a couple of obvious options: HardieTrim or PVC. The reason we reached out to James Hardie and not a PVC manufacturer had to do with heat. In the Florida summer, heat causes PVC to expand significantly. In the winter months, it contracts. You can get a difference of as much as 3/16 of an inch in some climates. While you can combat these issues with a high-quality window/trim caulk—I prefer a material like HardieTrim that doesn’t have as much movement and also provides various texture and color options.
Supplies List
For this project we used the following materials:
- 22) 3.5″ width HardieTrim Boards 5/4 Smooth – Primed for Paint
- 16) 5.5″ width HardieTrim Boards 5/4 Smooth – Primed for Paint
- 1) 11.25″ width HardieTrim Board 5/4 Smooth – Primed for Paint
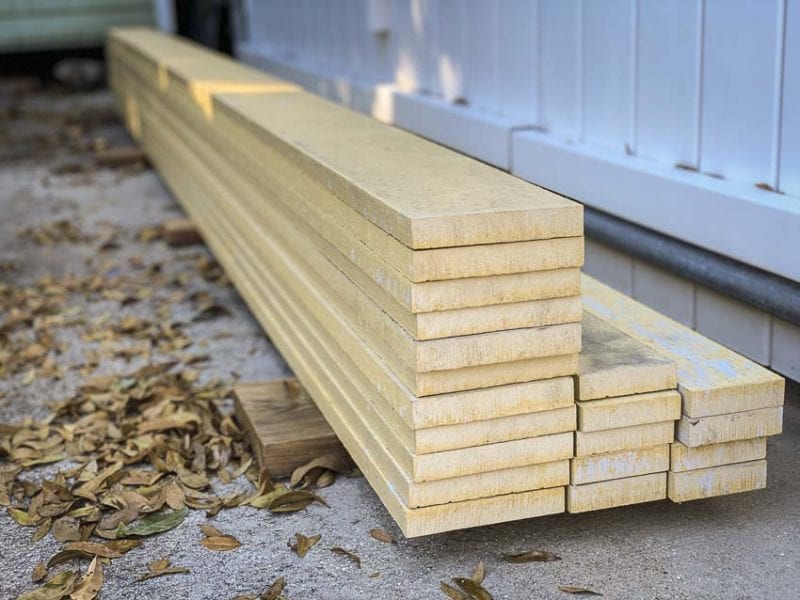
HardieTrim 5/4 boards measure around 1-inch thick so they work particularly well against HardiePlank lap siding. The thickness allows them to extend past the edge of the plank trim pieces, making for a nice finished look. Each board measures 144-inches in length and has a primed finish with no texture. We picked them up directly at the local factory in Plant City, Florida.
About James Hardie
James Hardie is the inventor of and foremost world leader in modern fiber cement technology, as well as a market leader in Europe for fiber gypsum products. Found on more than eight million homes, James Hardie continues to set the standard for manufacturing, innovation, marketing and distribution of premium fiber cement products across the globe.
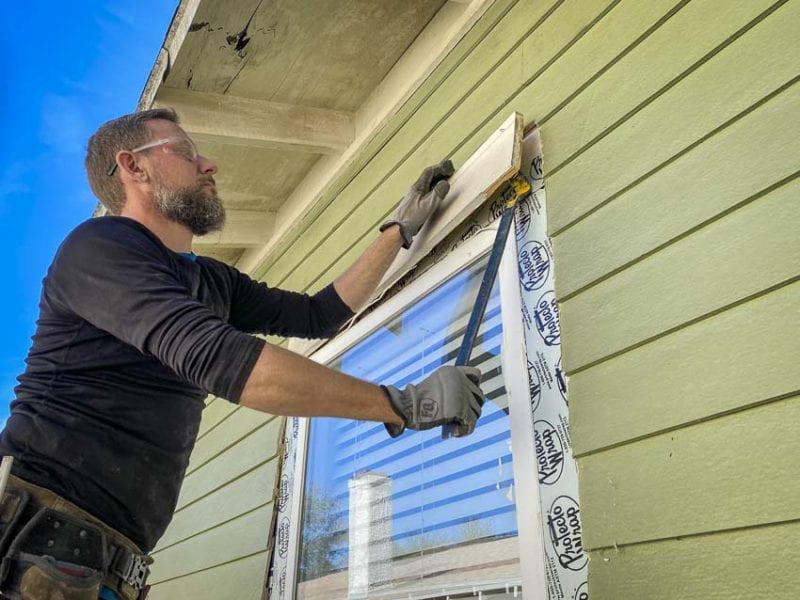
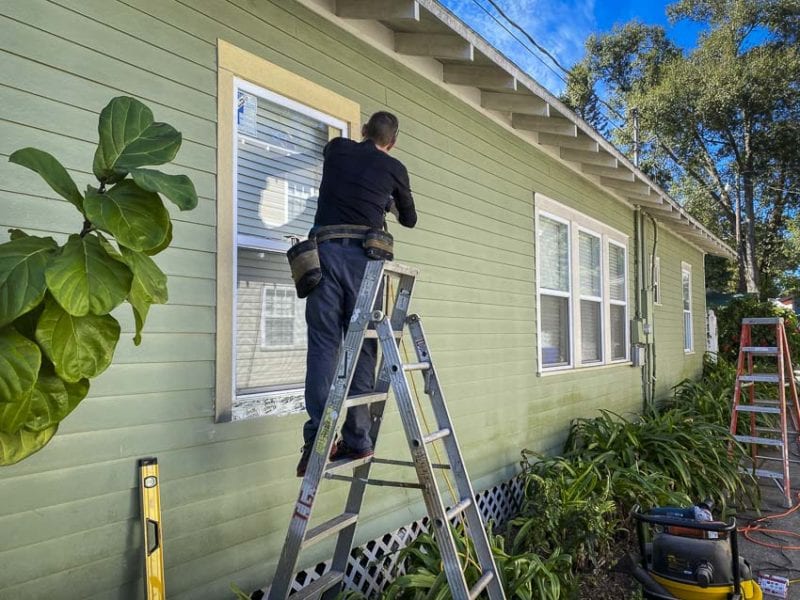
Removing Old or Rotted Trim
Pulling old trim off the historic home involved carefully cutting the caulk seams with a razor knife and then prying it up with a flat bar. Whenever possible, we used additional material to spread out the pressure at the fulcrum. This helped us avoid breaking any of the existing HardiePlank siding. Doing that would have resulted in a lot of unwanted labor.
Replacing Window Trim with HardieTrim Boards
Typically, when you install HardieTrim boards, you do so before installing the siding. This lets you run the siding right up against the boards—giving a very nice finished look to the home. It also makes it easy to paint the trim since it stands above the siding. With our 1920’s craftsman bungalow, the siding stands out a good bit, so we went with the extra-thick 1-inch 5/4 HardieTrim boards to get the desired effect.
Cutting HardieTrim Boards
Once we removed all of the old wood trim, we were ready to measure and cut the new boards to fit. With each board length coming in at 144-inches (12 ft.) we found we could work efficiently in creating our trim. In the end, we had very little extra material left over. To cut the HardieTrim material we opted for the use of Diablo Fiber Cement blades. Named “HardieBlade”, these blades feature just four carbide teeth on the 5″, 6-1/5″, and 7-1/4-inch sizes. The 10-inch blade has 6 teeth and the 12-inch blade has 8.
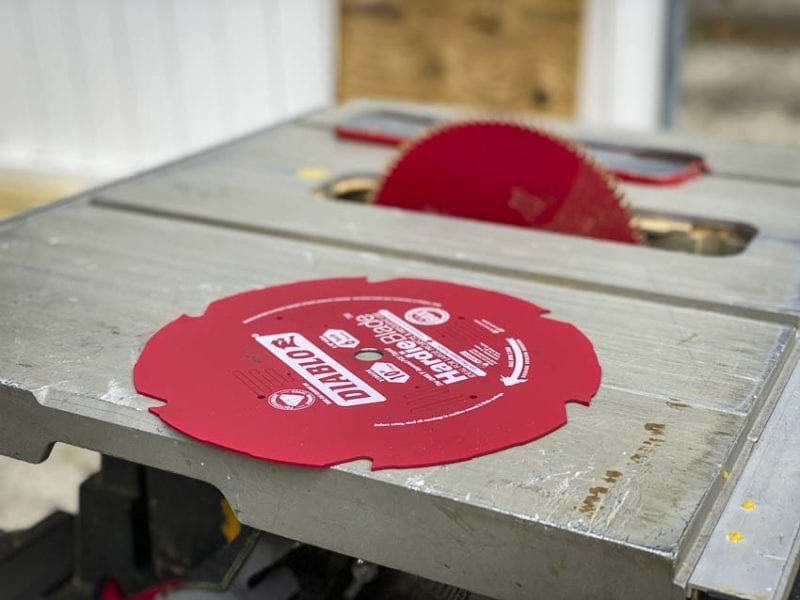
About Diablo HardieBlades
I’ve cut a lot of HardiePlank and HardieTrim. Over the years, I’ve used every type of blade and every “trick” recommended by professionals. That includes using abrasive blades, flipping a saw blade backward, etc. Nothing allows saws to cut James Hardie material as quickly and consistently as the Diablo HardieBlades. While the blades cost between $41 and $90 each—they’re worth every penny. Your time is money, and these blades cut cleaner, faster, last longer, and make far less of a mess than any other saw-based solution we’ve used.
Shop Diablo HardieBlades at Acme Tools
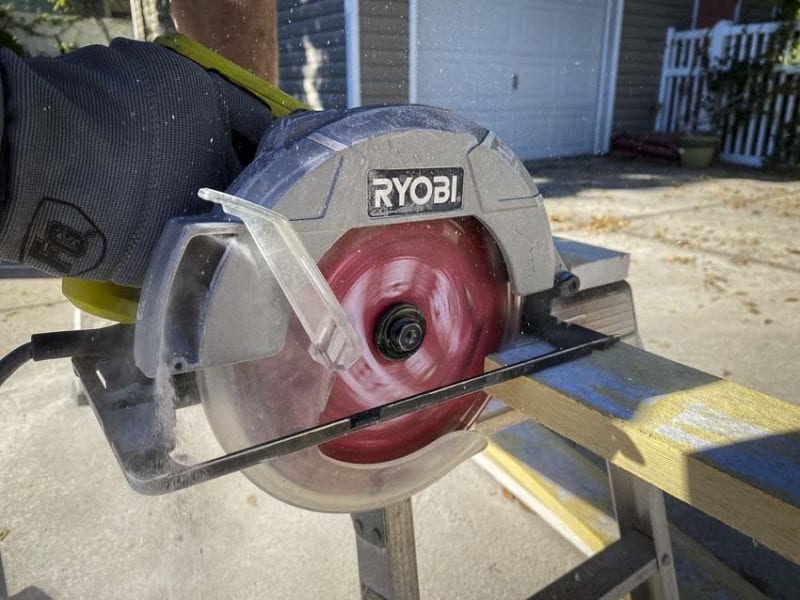
Mostly we did crosscuts on our trim, and an old corded Ryobi circular saw did great for this work. The HardieBlades produced some dust, but nothing like what you’d see with an abrasive saw. If you want to control the dust, the use of a sufficient dust extractor and a circular saw with a dust collection port should do the trick.
For a great circular saw that handles dust control, check out the corded Makita 5057KB here.
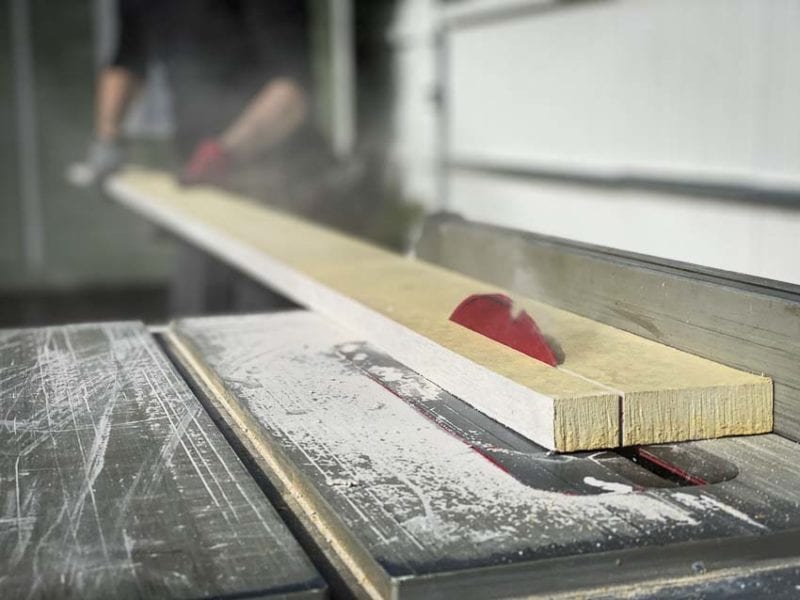
Ripping HardieTrim Boards with a Table Saw
When working on some corner pieces, we found a rip cut was necessary to get the correct width. For this, we turned to an old Bosch 10-inch circular saw we keep around for rough jobs that might create a mess. This saw has been going strong for almost a decade now, and it has plenty of power to rip even HardieTrim boards. The 6-tooth 10-inch HardieBlade ripped through each 12-foot piece of HardeiTrim like it was a 5/4 decking board. If you haven’t picked up on our love for these blades—here’s another use that made us lifelong fans.
Replacing a Sill with Hardie
Since our old window trim featured a wood sill—most of which were rotting—we needed a solution to replace that with a standard piece of HardieTrim. The former sill measured just 1.5-inches in height whereas the new trim material would be 3.5-inches. We decided to use a 4.5-inch angle grinder to cut out the HardiePlank siding so it could accommodate the new trim pieces. We ran a dust extractor beside the blade while it cut to collect a majority of the dust.
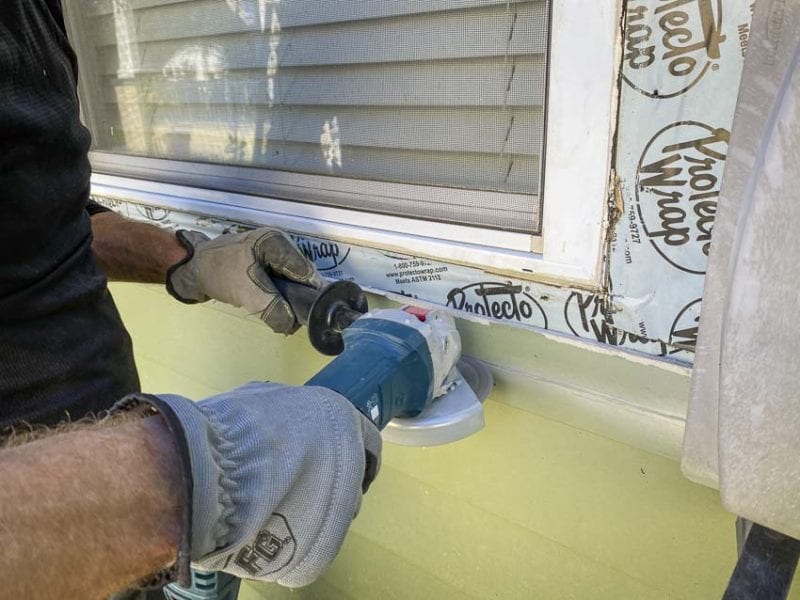
This proved easier than we expected, and we quickly had the space opened up for our new boards. We also found that we could make a shallower cut that helped us avoid going through the peel & stick below. Once the cut was complete, we snapped off the section of the plank and moved to the next phase.
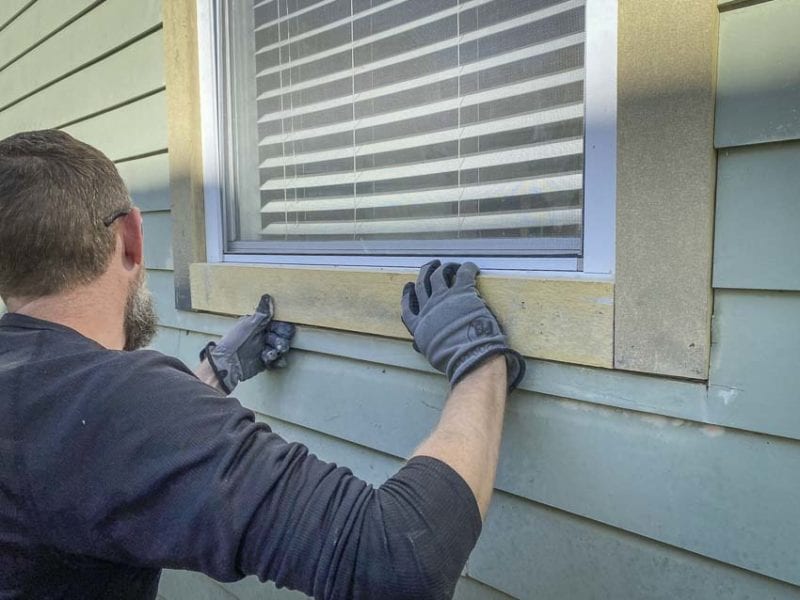
Installing the New HardieTrim Boards
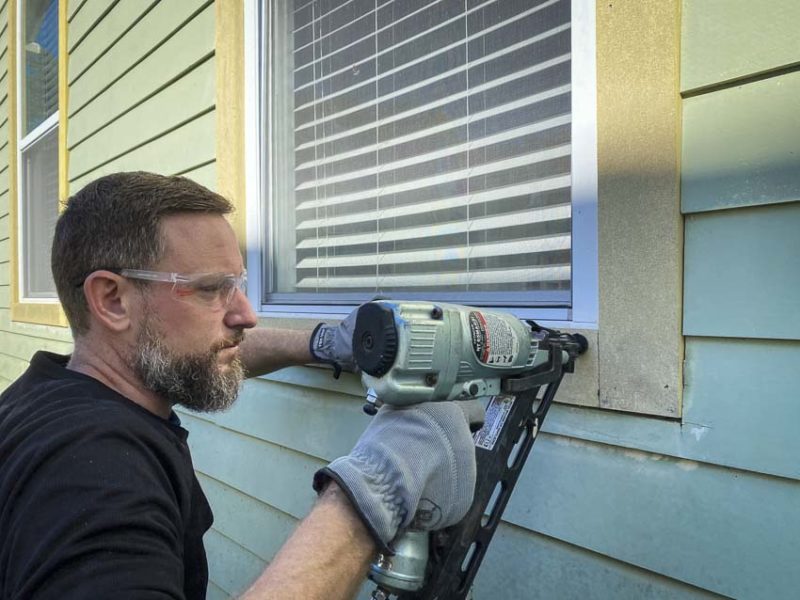
We chose to face-nail the new boards, placing a couple of nails every 16-inches or so. They laid nice and flat, and we lined them up so that the top “post” went across the two vertical pieces which extended all the way to the bottom of the framed out trim. The bottom piece replaced the former sill and nestled between the two verticals.
Using a 15-gauge pneumatic nailer, we popped in our nails and moved to the next window.
Caulking the Seams
I don’t many people who enjoy caulking. We chose OSI Quad Max Window, Door, and Siding Sealant. It runs around $99 for a 12-pack of tubes, but it does occasionally go on sale. This particular sealant is paintable, has excellent durability, and flexes with both temperature expansion and material movement.
The downside is that it takes a bit more force to get it out of the tube—even more so if the tube isn’t at room temperature. Our recommendation is to go with a battery-powered tool like the Milwaukee cordless caulk gun. It will make your life much easier in the long run and you should get lots of use out of that tool as a painter or home renovator.
Painting the HardieTrim
After caulking the seams around the new Hardie window trim, the painting comes next. We went with the same colors we had previously, however, we switched to a more robust level of paint from Florida Paints (their Seaside line). This paint should hold up better to the fierce Florida sun and weather.
Wrapping It Up
If you want a material that will last, HardiePlank and HardieTrim should rise to the top of your list. HardieTrim boards are a fiber cement product, so they don’t rot and they don’t get eaten by termites or carpenter ants. Aside from the multitude of available colors*, we also love the durability Hardie products offer for those of us in hurricane-prone areas. Using HardiePlank and HardieTrim is like wrapping your home in a thin layer of concrete! It also doesn’t burn or melt.
* James Hardie’s proprietary baked-on ColorPlus® Technology finish resists fading, discoloration, chipping and cracking and is backed by a 15-year limited warranty.
As a building product, it has a lot going for it over wood or PVC. Builders want products that have the flexibility and look they need to match their architectural designs. Hardie does a great job providing the options and sizes needed to tackle almost any style of building. Given that it’s used on historic homes and also modern housing—that’s a testament to the flexibility and enduring nature of this material.
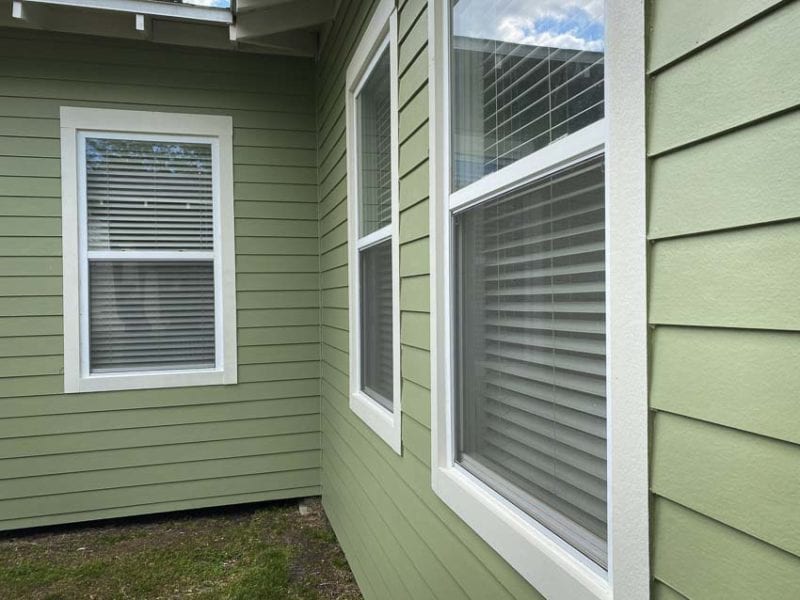
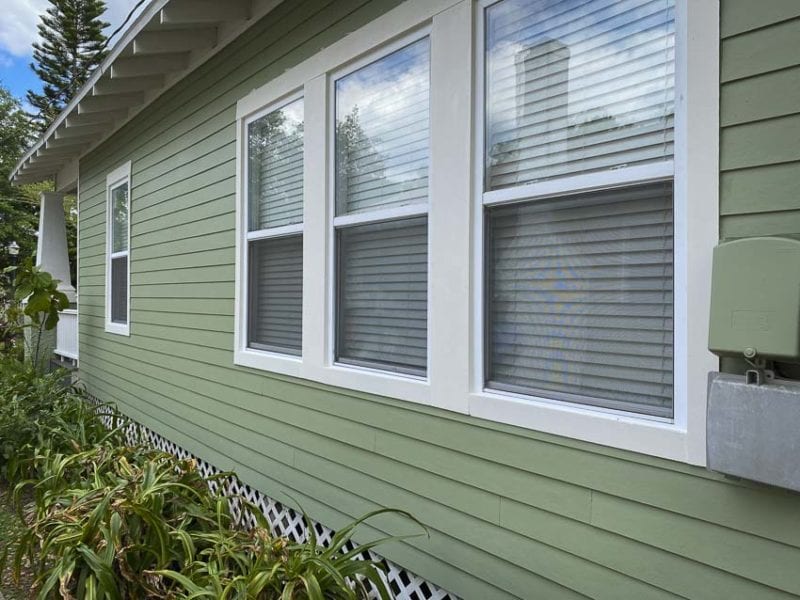
We think the final result speaks volumes, and we’re looking forward to not having to worry about further rot or degradation around the windows of this beautiful historic downtown bungalow.
Acknowledgment
James Hardie provided the HardieTrim boards for this article, but no other compensation was involved. If you want more information on James Hardie Building Products, please visit their website.
