
The Pocket Hole Jig is a brilliant little tool that helps you create joints. We show you how to use a Kreg Jig to make pocket holes perfectly every time. It’s hard to deny the visual appeal of a wedged tenon, tight dovetails, a double bridle joint, or maybe just a simple rabbet joint with different woods. If you’ve yet to develop those skills or you need to quickly create strong joints that aren’t for show, there’s hope for you!
Table of Contents
Why Use a Kreg Pocket Hole Jig?
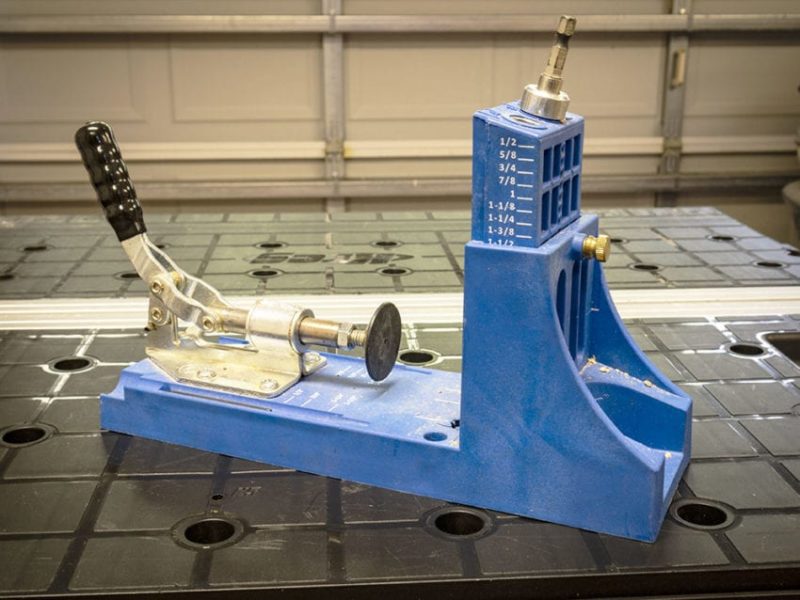
Woodworking joinery takes many forms that are as beautiful as they are practical. This Kreg pocket hole jig helps you make pocket holes that look great and provide a very strong hold for drawers, shelving, and more.
When you know how to use a Kreg pocket hole jig, pocket hole joints become easy and quick. While dowel joints and biscuits might give some additional strength, they also require a bit more work. You also spend some time waiting for the glue to set up. For many applications, you can make beautiful and dependable joints using a pocket hole.
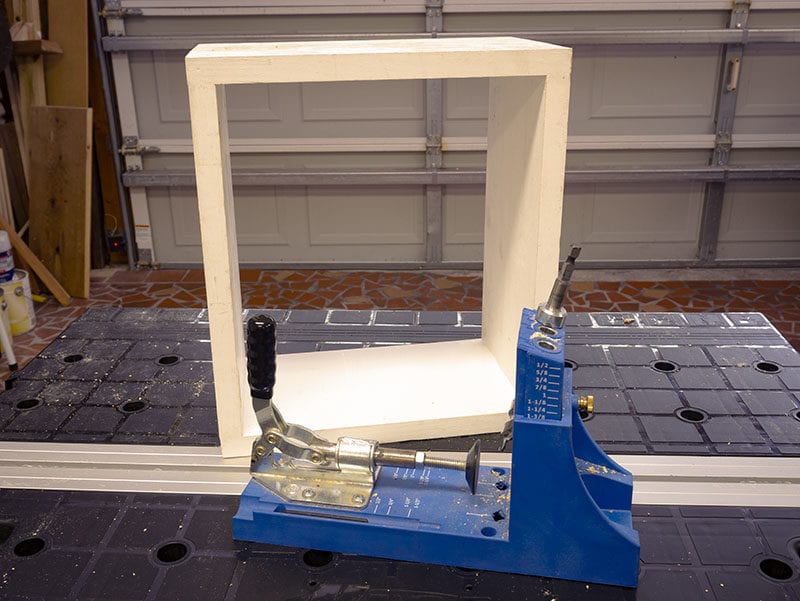
Secure the Pocket Hole Jig to Your Work Surface
Before you can begin, you need to first secure the jig to your work surface temporarily using a clamp…
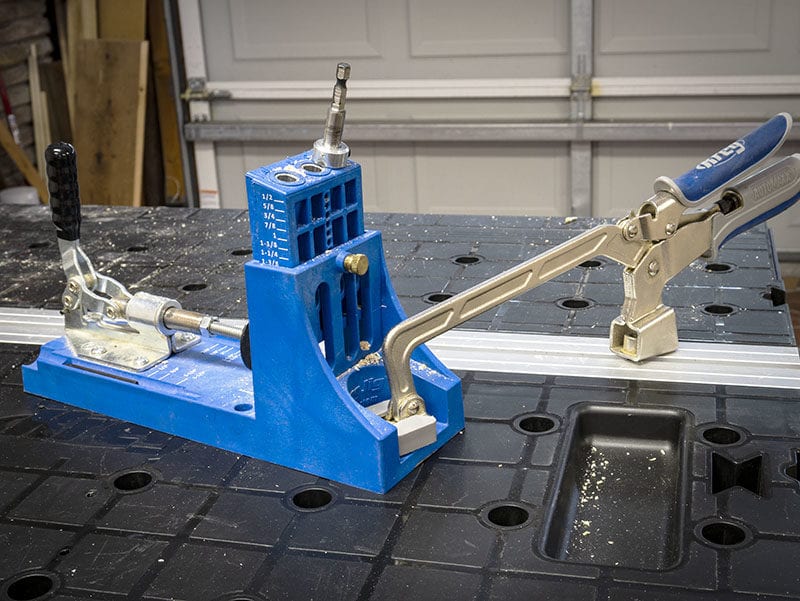
…or more permanently using the four screw holes in the jig’s body:
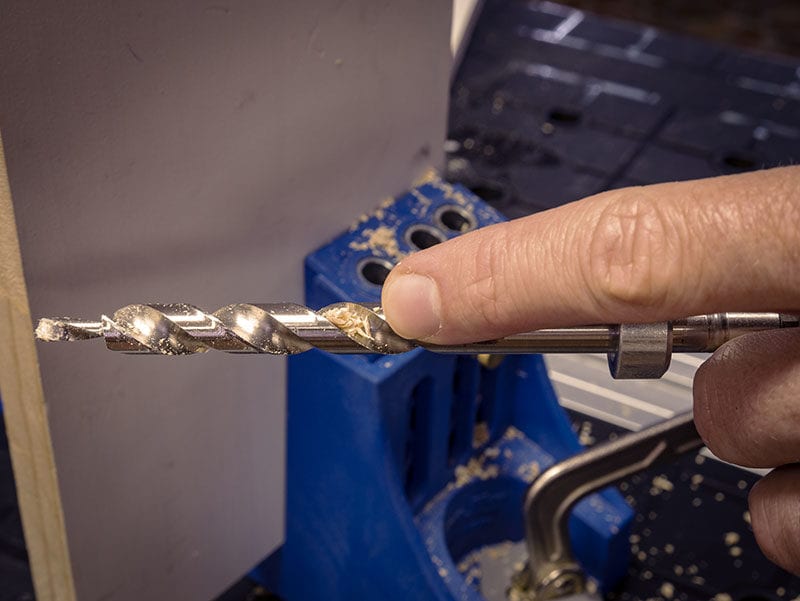
Adjust the Stop Collar of the Step Bit
Adjust the stop collar of the step bit to the material’s thickness using the gauge on the Kreg pocket hole jig (our example uses 3/4-inch material). The stop collar hits the jig and limits the depth of your drill bit so you don’t break through the other side.
Be sure to use the shoulder of the bit as the reference—not the tip.
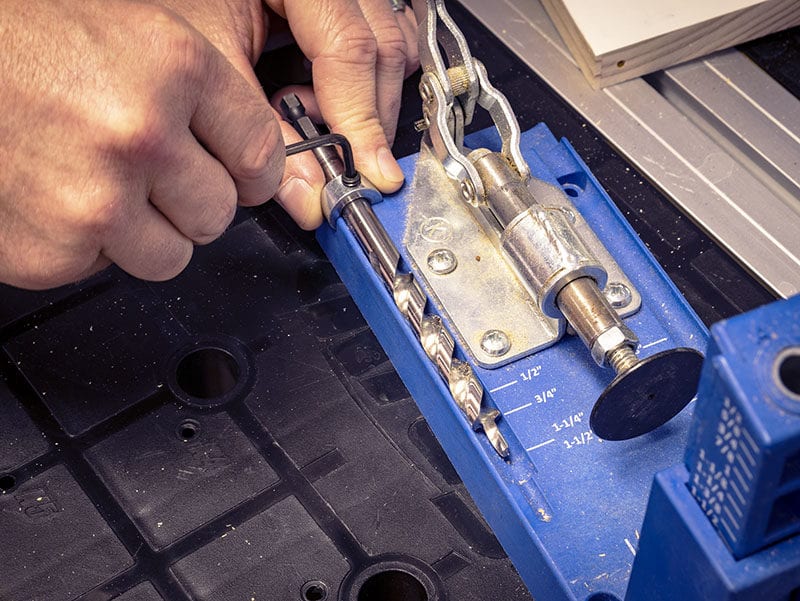
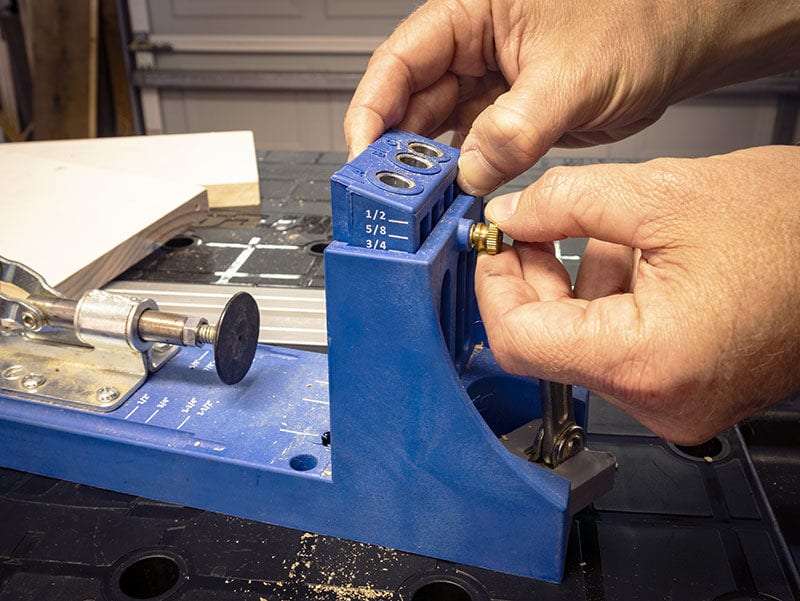
Set the Drill Guide
Next, you want to adjust the drill guide to match the material thickness. Markings on the side let you easily find and set this. A set screw lets you secure it without needing any additional tools. This works along with the stop collar to ensure you achieve the correct drilling depth.
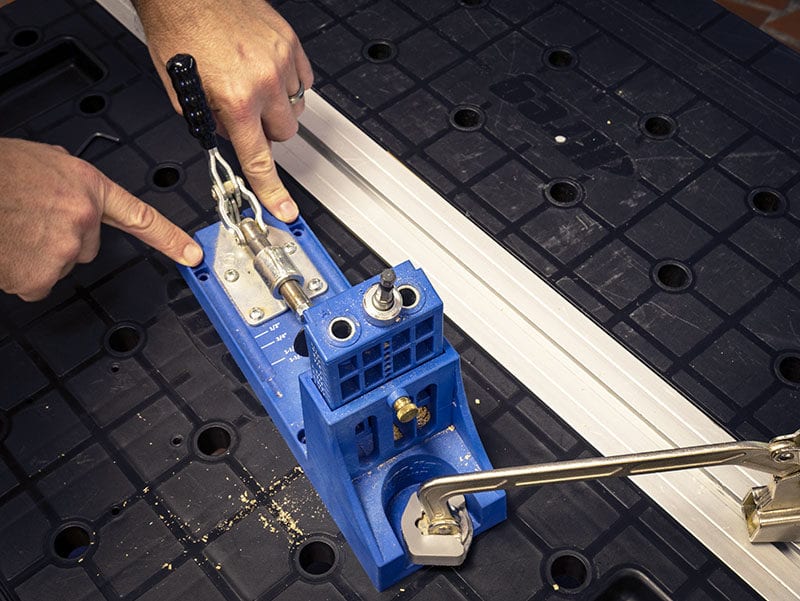
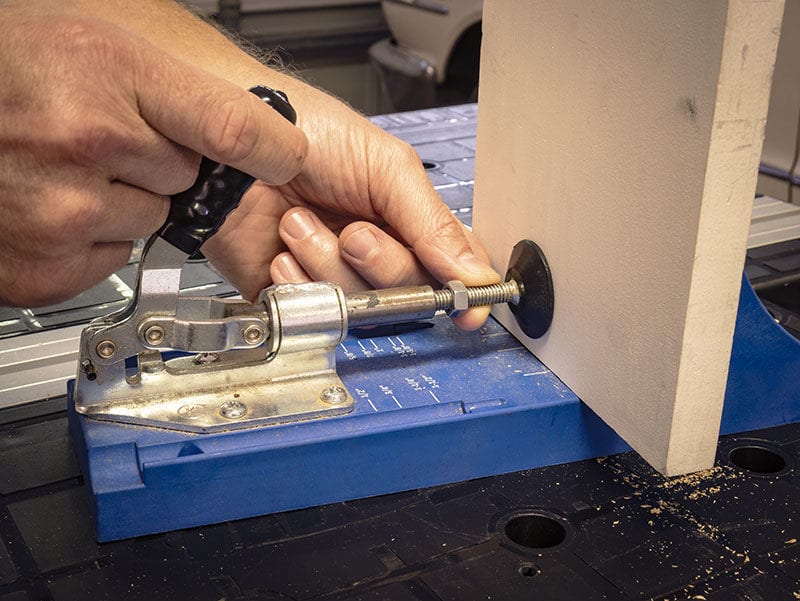
How to Set the Clamp on the Kreg Jig
After you set the drill guide, you next adjust the jig’s clamp to the material thickness. This may be the easiest step in the entire process.
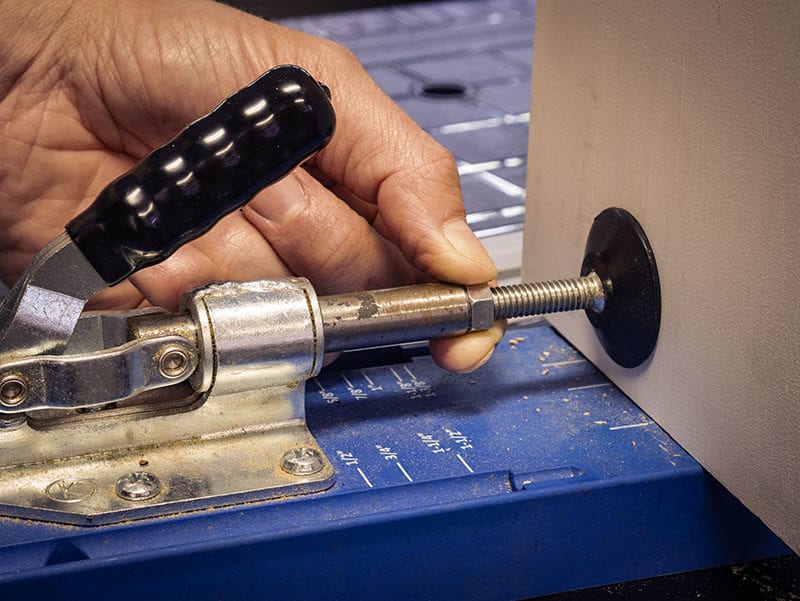
The Kreg Jig may seem to require a lot of adjustments, but together, they put the bit exactly where it needs to be for a successful pocket hole joint.
After setting the clamp, hand-tighten the lock nut to keep it from backing out.
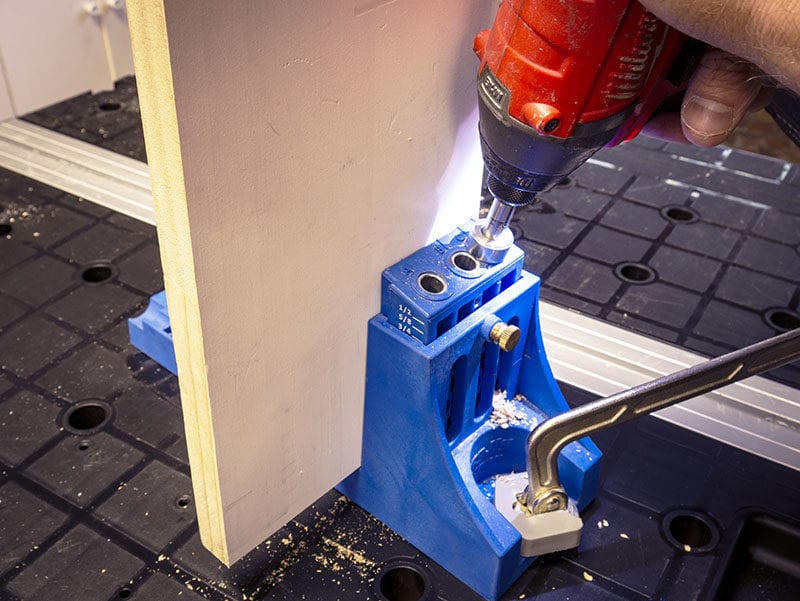
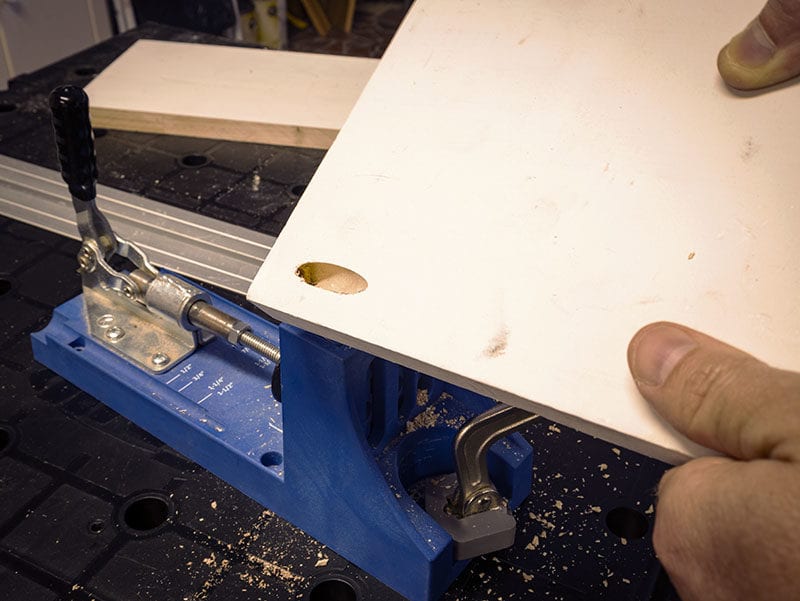
Drill the Pocket Hole!
As you drill the pocket hole, waste comes out of the bottom of the drill guide. Some more expensive Kreg pocket hole jigs even include dust collection. We like the simplicity of this system. Go for the higher-priced models if you can benefit from the additional features they offer.
For manual systems, clean out the step bit’s flutes if they build up with wood.
The finished product!
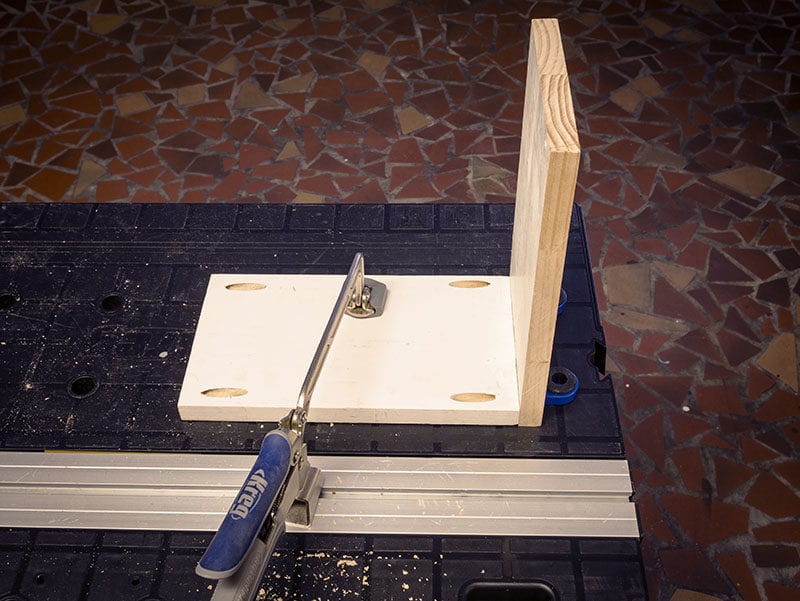
How to Secure Two Pieces with Pocket Hole Joints
Keep in mind that the screw’s angle of approach will pull the pocket-holed piece at that angle. You need to clamp or secure the pieces together while screwing in order to ensure a properly aligned joint. I typically use a clamp and some bench dogs. You could also use a pair of Kreg 90-degree corner clamps.
I always recommend using square-drive pocket hole screws. They drive quickly and easily without stripping. Make sure you have the appropriate length and thread type for the material. These are available from Kreg Tool as well.
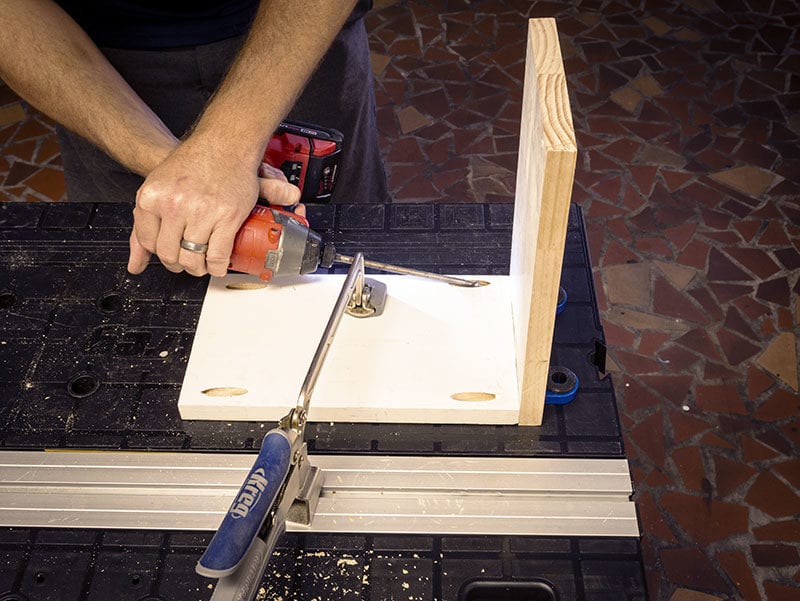
You can use a drill, but a cordless impact driver on the middle setting works wonders for this type of work.
Final Thoughts
Believe it or not, those are the steps. Anyone can make perfect pocket holes with this jig. It just takes a few minutes to set up properly, and you can pretty much automate the process for perfect drawers, shelves, and more.
And that’s how to use a Kreg pocket hole jig. Practice a few times on various pieces of scrap material to get the technique down, then have at it! We’d love for you to share the projects you’ve made with us. Happy creating!
