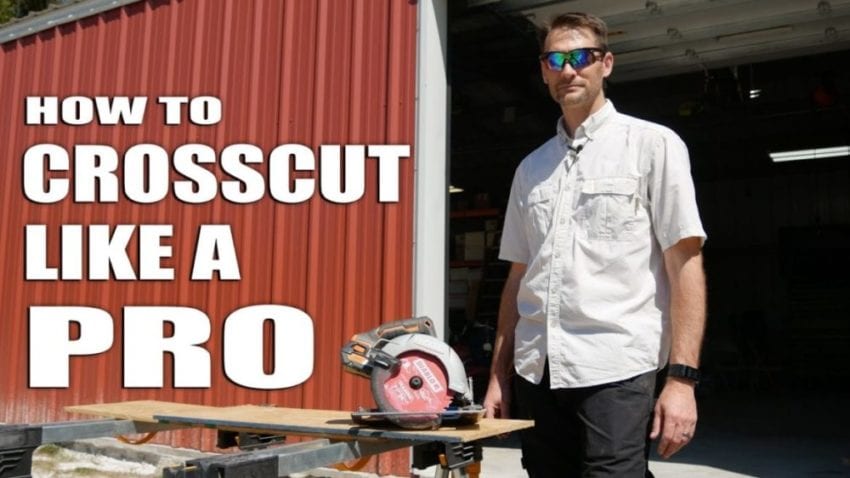
One of the things we love about apprenticeship is the idea that seasoned veterans pass on knowledge to the new guys. And let’s face it – we’re constantly learning new things! In this video, we look at how to make a perfect cross cut. So set up your sawhorses and grab a scrap piece of 2 x 6 to practice on along with the following tools:
Grab These Tools Before You Start
- Rafter Square (Speed Square) – We like the Empire Level Laser Etched Rafter Square
- Tape Measure – Milwaukee Compact Tape Measures offer a nice reduction in size
- Pen or Pencil – Milwaukee Inkzalls are handy
- Circular Saw – We used the Ridgid Gen5X Circular Saw for this video
How to Make a Perfect Cross Cut
Step 1: Measure
Use your tape measure to mark where you need to cut the board. Put a mark on both sides of the tape to give you a more accurate indication.
Step 2: On Your Mark
Pull your rafter square against the back of the board to ensure your line is square with the length of the board and not the width. Line up the edge of your square with the marks you made in the last step and create a full line.
Step 3: Get Set
Use the cut line indicator on the front of your circular saw to line up the blade with your line. Then pull your rafter square against the back of the board and slide it over to the foot plate to use as a guide for your circular saw.
Step 4: Go!
Pull the trigger and make your cut securing the rafter square in one hand and operating the saw with the other.
Why it Works
You can use a fence for your circular saw, but you’ll be cutting parallel to the width. If it’s not perfectly square to start with, your cross cut won’t be either. Normally, you’d square it off on a miter saw, but the rafter square method give you the same accuracy if you don’t have one handy.


