
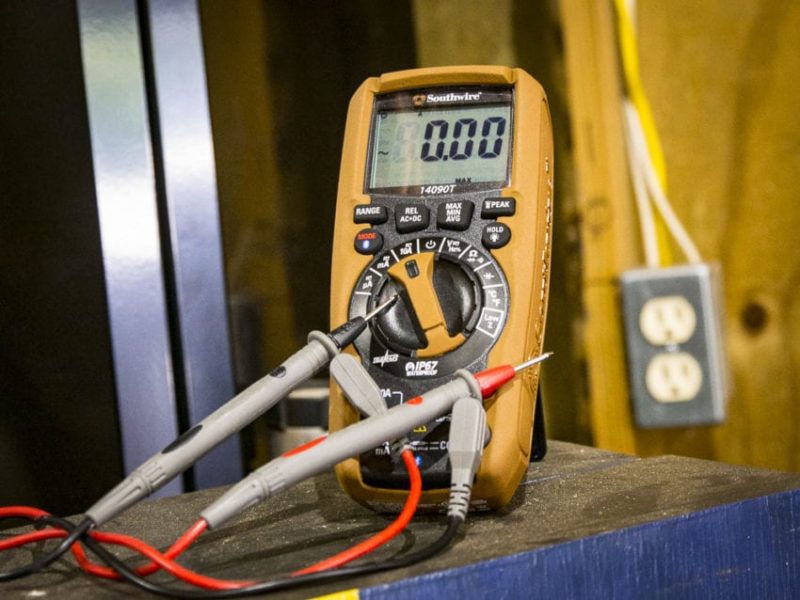
Testing voltage follows a simple process. For those of you new to electrical testing, we asked our resident Pro how they might teach an apprentice how to use a multimeter or voltmeter. Once you know how to use a multimeter, you can move on to troubleshooting and fixing electrical problems, verifying power at outlets, checking continuity, and more.
Table of Contents
How a Multimeter Works
First things first, multimeters (voltmeters) typically work as analog devices. Every Pro uses a multimeter for troubleshooting, but even a homeowner benefits from the use of this tool at some point.
You can pick up a basic multimeter for less than $20, and they’re widely available. In this article, let’s assume you want to use a multimeter.
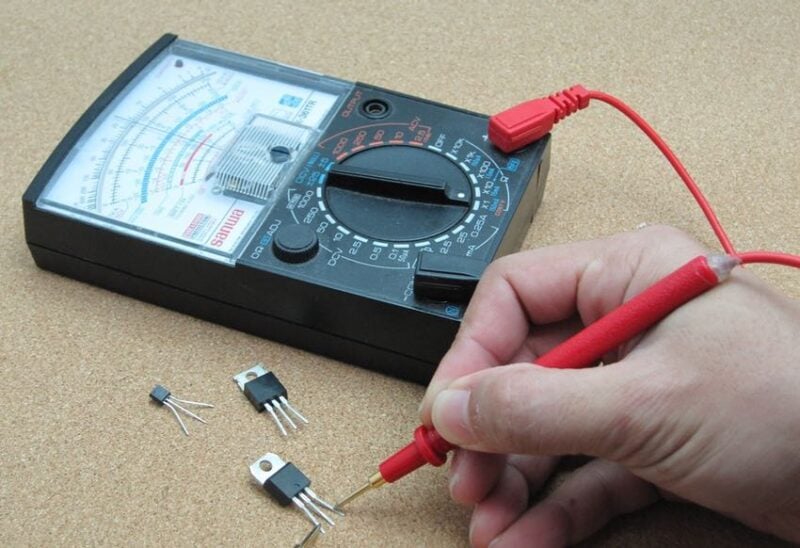
Analog vs Digital Multimeters
The difference between an analog multimeter and a digital multimeter comes down to the display and what they measure. An analog multimeter measures voltage (volts), resistance (ohms), and current (amps). The dial on the display (which looks like a VU meter) reacts with magnetic fields created by changes in the electrical current detected by the device.
A digital multimeter (DMM) gives you a digital readout but also offers additional functions. For example, a digital multimeter includes internal electronics that include converters, comparators, encoders, and logic controllers. Because the results are digital, a digital multimeter has the potential to be much more accurate and precise when taking measurements. That extra precision has to do with the increased resolution afforded by the advanced digital components, error correction, and processing.
Understanding How to Use the Multimeter Dial Settings
Almost every multimeter uses a large dial to set the mode. It can look pretty intimidating—but we can help walk you through everything you need to know. No matter which brand you use, several key features exist on every dial. You just have to know where to look and you can easily get to the mode(s) you need.
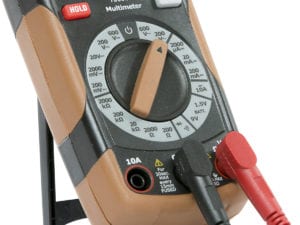
Multimeters with Manual Range Settings
Some multimeters break each measurement area on the dial into sections with specific dial points for differing scales.

On multimeters with manual range settings, set the dial above the maximum expected voltage. Many of these measurement tools have a few options marked out for various voltages. This changes the sensitivity of the meter, letting you take a measurement without damaging the tool. If the tool shows no range settings, your voltmeter likely uses an auto-ranging feature.
If your meter lacks an auto-ranging feature, no worries, just set it higher than what you expect the voltage to be. For example, if you plan to test a wall outlet (in the US), which runs around 120V, set the meter at 200 V~. If you have no idea what to expect, set the voltage on the meter to the max setting.
Just for your own edification, household batteries typically operate at 9V DC or below, while a fully charged car battery runs at up to 12.6V DC. An alternator typically charges the vehicle’s 12V battery at ~14V.
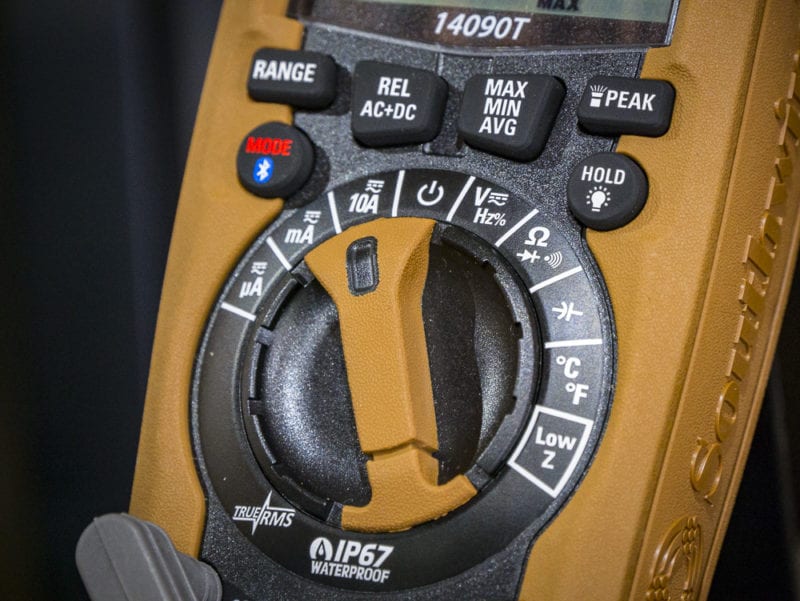
Multimeters with Automatic Range Settings or Buttons
Other multimeters simply direct you to the general measurement type and let a “Range” button control the scale. Some even set the scale automatically. By “scale” we mean the difference between measuring volts (V), millivolts (mV), or microvolts (µV).
Editor’s Note: When testing power tool batteries, a voltmeter shows you that 18V and 20V Max battery packs put out the exact same voltage.
Walking Through Each of the Main Dial Settings
Let’s walk through each main dial setting so you understand what the symbols and designations mean. This should help you get to the correct mode so you can use the multimeter properly.
Measuring Voltage with a Tester
- V~ (AC Voltage)
Use the”V~” AC voltage setting for measuring or testing AC (alternating current) voltage. AC voltage is the voltage found at any outlet or plug in your home that supplies power to devices like your refrigerator, computer, TV, etc. It should be somewhere around 120Vac. AC voltage is denoted with a V followed by a squiggly line (~). The reason is that alternating current periodically reverses direction. - V— (DC Voltage)
The “V—” DC voltage setting lets you measure DC (direct current) voltage. You measure and troubleshoot batteries and portable electronics using DC current. The reason is that most household electronic devices take the 120V AC wall voltage and immediately convert it to DC before powering the sensitive internal processors, screens, and other systems. You will also find DC current when measuring the voltage on the battery in your vehicle.
Author’s Note: Sometimes manufacturers combine both AC and DC Voltage onto a single dial setting or position. When they do this, you typivally need to press a “Mode” button to switch between AC and DC voltage modes. The LCD screen should give you an indicator by switching between the visible V~ and V— modes.
How to Use a Multimeter to Measure Resistance in Ohms and Continuity
- Ω (Resistance)
You set the multimeter dial to Ω to measure resistance. This is handy for continuity tests (though many multimeters have a dedicated mode for that, which beeps). You also measure resistance during many electronics troubleshooting steps on a circuit board. Electricians can also use a multimeter to test ground resistance when sinking ground rods for electrical panels. - Continuity
The symbol for continuity looks like an arrow pointing right into a plus sign (see above). You may also see a “speaker” symbol or something that indicates you will hear a tone or beep. Use continuity to troubleshoot potential breaks in a line. Attach each of the multimeter leads to - opposite ends of the circuit. A beep means you have a “closed” circuit, so the part of the wire or cable you can’t see is somehow connected in a loop.
Using a Multimeter to Measure Current (Amps)
- A (Current, in Amps)
You measure Current (amps) in order to troubleshoot various electrical systems. Measuring current lets you know things like how much power a particular circuit is drawing—all other things staying consistent. A multimeter only measures current by “breaking” the circuit. It has to be in line. If you want to measure current draw without breaking a circuit, you need a clamp meter and a solitary “hot” wire—like what you might find in a breaker panel.
Using a Multimeter to Measure Current (Amps)
- Temperature and Advanced Functions
Depending upon which digital multimeter you have, additional features and options may exist for measuring temperature (with special probes). That’s beyond the scope of this article, but these features can further help with troubleshooting.
Note that digital multimeters and voltage meters differ from non-contact voltage testers (NCVs). The latter only light up and/or beep when you get near a live circuit. More advanced NCVs tell you the type of voltage detected (low voltage, high voltage, etc) by separating the LEDs into voltage ranges.
Inserting the Multimeter Test Leads
Your multimeter includes at least two test leads, one red and one black. Each has a probe on one end and a plastic-covered metal jack on the other. The latter insert into the appropriate colored slots on your multimeter.
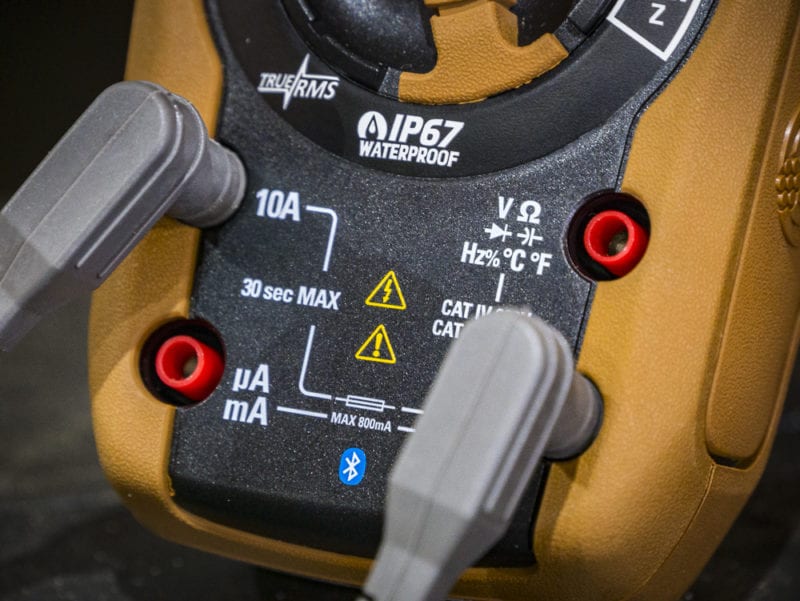
The black-colored jack will always plug into the port labeled “COM” (common). When measuring voltage, the red jack will plug into the hole labeled “VΩmA” or similar. Often, you can find several “Red” ports that differentiate between Voltage (V) and Current (A, mA, or µA).
Also, note the maximum voltages (AC and DC) supported by your meter or tester. Typical ranges include 750VAC and 1000VDC. You also want to ensure you have a CAT II meter or above.
Since you can ONLY measure current (amps) inline, you need to pay attention to the maximum capabilities when using your digital multimeter or voltmeter in this manner. For example, many models only support up to 800mA. If you set the meter to measure current and put it in line with a current over the maximum amount, you will likely pop the integrated fuse—and possibly break the tool.
It goes without saying that this is also very dangerous!
Measuring Voltage
Safety First
Safety is key when learning how to use a voltage tester. When dealing with electricity, it doesn’t take a whole lot to stop a heart. When touching a live circuit, keep your fingers clear of the metal probes. Also, keep the probes from touching each other during use on live circuits.
Also, as mentioned above, be sure your probes are properly inserted into the meter. This means using the high voltage port for measuring 120VAC circuits in your home. It also requires you to set the range, if applicable, to the high voltage mode (see above).
Jamming Metal Probes Into Hot Outlets
Basically, you test voltage in circuits by attaching the leads in parallel. Working from the earlier example of testing wall outlets, take your black (negative) test lead and insert it into the larger vertical slot of your outlet. Most black probes have a retaining bump built onto them so that you stick it in and let go.

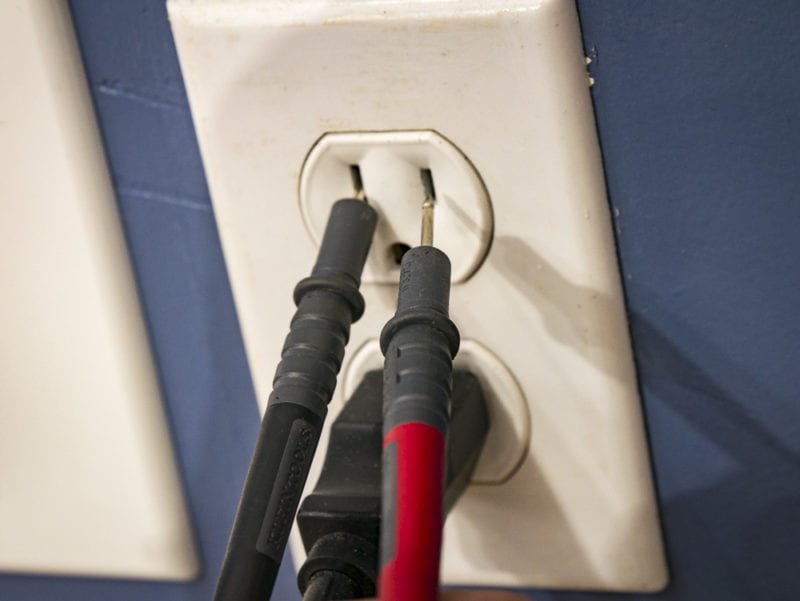
Next, you’ll touch the red lead to the positive hole. This will be the smaller vertical hole on a 120V 15A outlet. Check the reading on the meter. You should get a reading of around 120V. However, if you get an overload reading (“OL” or “1”), you’ll need to raise the range on your multimeter.
How to Use a Multimeter for Testing Batteries
This procedure is also pretty simple. On a battery, you’ll have the multimeter set to read DC voltage (V–). Touch the black lead of the voltage tester or multimeter to the negative terminal, and the red lead to the positive terminal. If you get no reading on your meter, check to see if your meter has a switch labeled DC+ or DC-. Switch the position if it does. If it doesn’t, reverse the positions of the red and black probes.
Still not getting a reading? Drop the voltage setting by one step until you do.
Measuring Current (Amps)
You will notice as many as two other spots on a multimeter for measuring current (amps). There are two primary things to understand when measuring current.
- You always measure current in series with a load; that means the current goes through your meter
- You need to set the multimeter to the proper setting, including having the probes inserted into the proper ports
Take care to follow the instructions for the maximum amount of current the meter can handle. If you don’t, or you connect to the wrong port, you can blow the internal fuse or even fry the meter.
How Most People Fry Their Multimeter
Most of the time, when people ruin their multimeter, they measure current with no load. That means they set their meter to Amps, plug in the red probe to the spot marked 10A…and then promptly stick the probe tips into an outlet or otherwise in parallel with a high-current circuit.
That blows your meter—or at best, the internal fuse. You just applied a load of 0 ohms to a high-current power source. Always measure current in series with the load. That means you place the meter in series with the hot leg.
Voltage is a sort of “potential” measurement. It’s what’s available. Current doesn’t actually exist until you create a load for it. What you never want to do is create a load with zero resistance (your meter).
Pay attention to your meter, what you’re measuring, and how you have your probes connected, and you’ll do fine.
Multimeters vs Voltmeters
Multimeters include the same features as voltmeters but also test current, resistance, and continuity. Sometimes, with the right probes and sensors, multimeters also capture additional information like temperature.
Going back to the voltmeter, or voltage meter, it measures the difference in electrical potential between two nodes of an electrical circuit. Admittedly, that sounds pretty complicated and technical. However, it takes just a few steps to master. Knowing how to use a multimeter works the same as using a voltage tester.
Wrapping Things Up
Clear as mud? Good. If you remember nothing else, it’s that you typically only measure Voltage directly across an outlet. With the right equipment, you can safely test any circuit around the house or car. What are some of your best practices? Leave our apprentices a tip on how to use a voltmeter below!
