
Before I even begin my review of the LEDLenser XEO19R Headlamp, let me start with an apology – we try to find a balance between being thorough and concise in our reviews, but there’s so much to go over with this headlamp that being brief just ain’t gonna cut it. So, let me encourage you to grab your favorite brew and settle in for a bit. Of course, you’re also welcome to skip around as you see fit.
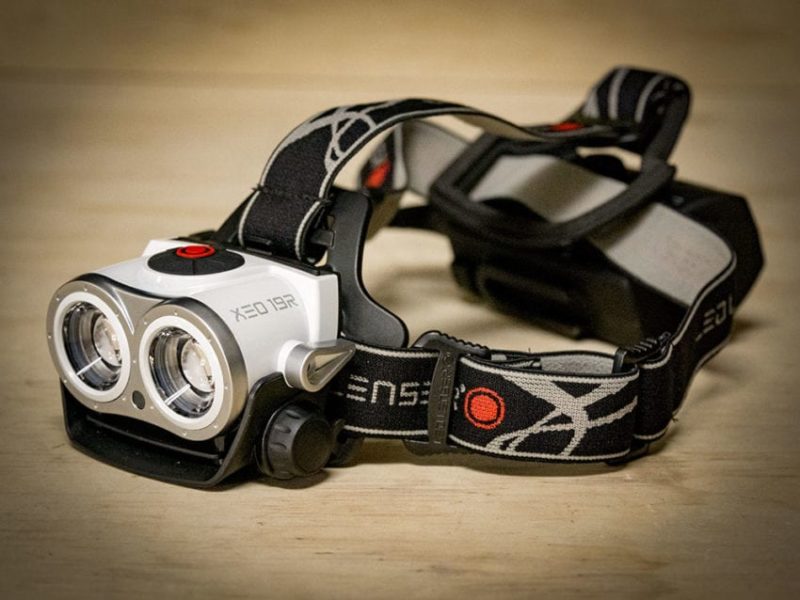
The LEDLenser XEO19R Headlamp is the flagship of LEDLenser’s headlamp line. A quick look will immediately give you the impression that it is a very different design from the norm. A closer look will only confirm your initial thoughts. But it goes way beyond the headlamp design for this model as we also need to dive into the accessories that come with the kit.
When I first saw the XE019R last year, it immediately went to the top of my wish list for both professional and recreational use. Professional use is pretty obvious. We all need lighting on the jobsite at some point whether there’s no lighting inside a house we’re working on or it’s simply dark outside. From a recreational standpoint, I enjoy mountain biking and had a nighttime excursion planned as part of my testing for this unit.
First Impressions
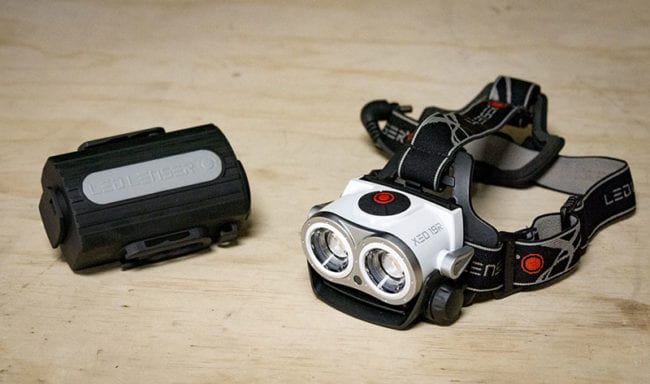
When I opened the package that my LEDLenser XEO19R Headlamp came in, I was surprised to see how comprehensive it is. You have the headlamp itself, the lithium-ion battery pack, and a multitude of accessories that are included. You’ll find that the size and padding of the case is warranted to protect the investment you’re making. And make no mistake, at $279, this is not a headlamp to be taken lightly.
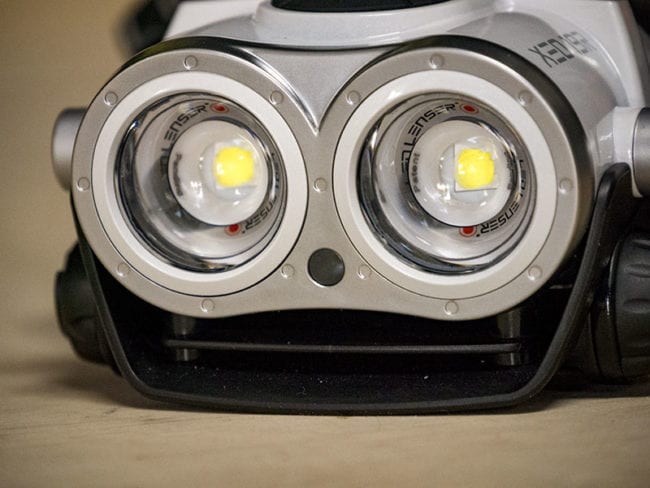
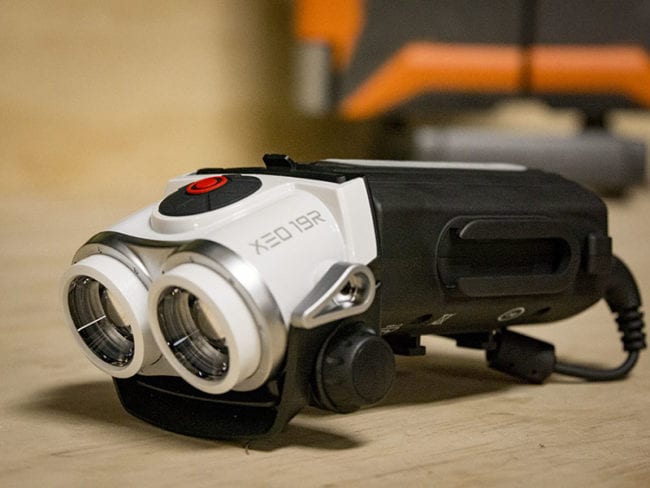
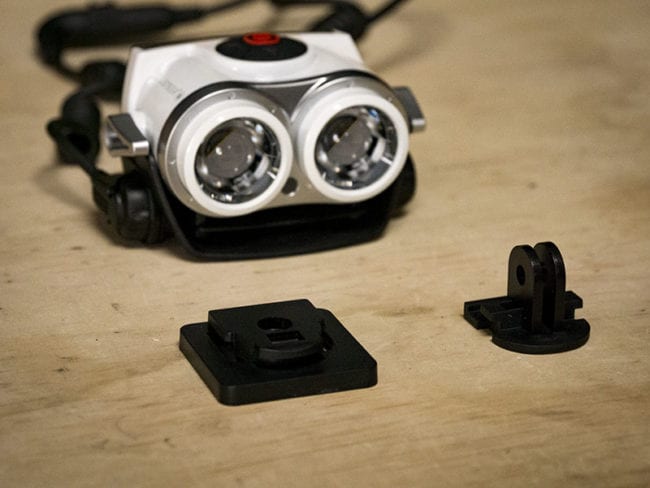
At first glance, the XEO19R gives you the impression that you’re staring at a robot like Wall-E or Johnny 5, depending on which generation you belong to. That’s because this is a dual lamp system and is one of several attributes that sets this headlamp apart.
When you find the battery pack two things will likely come to the forefront of your mind. The first is that this is a massive battery pack for a headlamp. The second is that there is some serious question as to whether or not you want that much weight attached to your head. Fortunately, LEDLenser is thinking way ahead in that department.
Light Up Your Life
Light Output
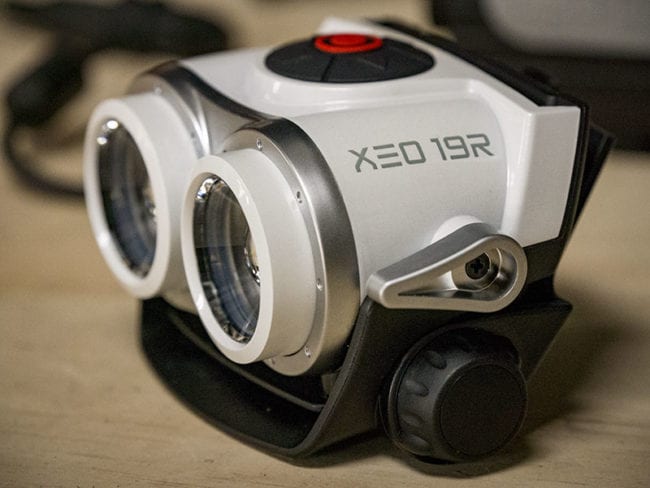
One of the first things that grabbed my attention with the LEDLenser XEO19R is the fact that it is capable of putting out 2000 lumens. Like you’d expect from this class and price point, the beams are adjustable. The really cool thing is that they are independently adjustable. On either side you’ll find a silver dial that allows you to adjust the beam from flood to spot. Since they are independent you can adjust them to any combination you want whether it’s two spot beams, two flood beams, or a combination of both and everything in between.
Lens focusing isn’t the only independent option. Each LED light is also capable of being powered independently of the other. Figuring out how to operate them is where things get a little complicated since the manual is almost entirely pictures. While I did eventually get everything figured out, I wished for written instructions more than once. But back to the task at hand…
Power On
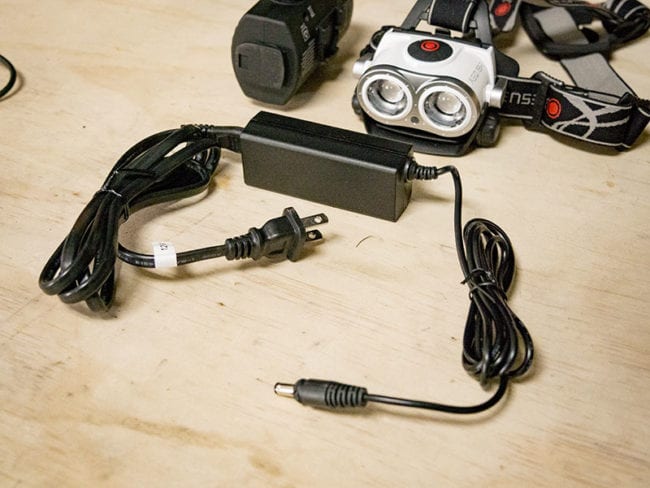
Before you power up the lamp, the first thing you need to do is charge a battery pack. This will likely take a couple of hours at a minimum (full charge cycle is listed at 8 hours) and you’ll notice that the charger is much more robust than the standard micro USB chargers that many rechargeable lights use.
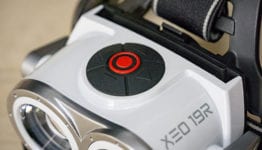
When your battery is charged, connect it to the unit. I suggest using the extension cord to give you some distance between the battery and the lamp while you figure out the settings. The power button is located at the top of the unit and a simple press of the button will turn both lamps on at 25 percent. A second press will give you 100 percent power, a third cycles down to 15 percent, the fourth to high power strobe, and a fifth to shut the unit off.
Additionally, you can cycle through the same power options on one light at a time by using the left and right directional buttons, respectively.
OptiSense
That third mode that starts in 15 percent is actually something called OptiSense. If you look at the very front of your light between the two LED chips you will see a small circular window with an electronic chip inside. This senses your proximity to any object and allows the headlamp to automatically adjust between 15 and 100 percent power based on how far away you are. This is an outstanding innovation for applications where you need your hands to be free yet keep the appropriate amount of light where you are looking.
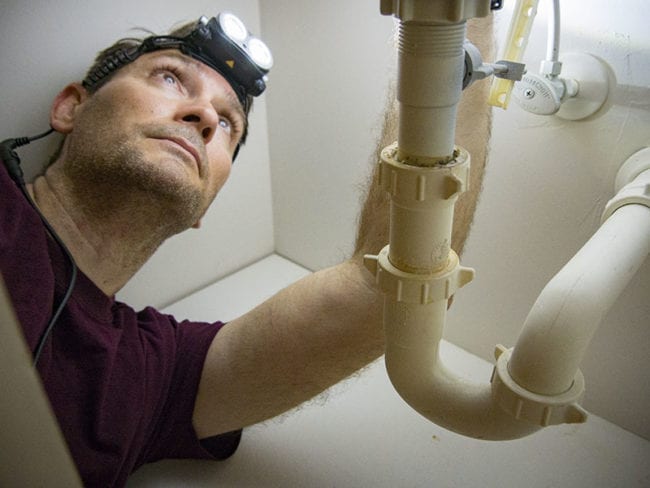
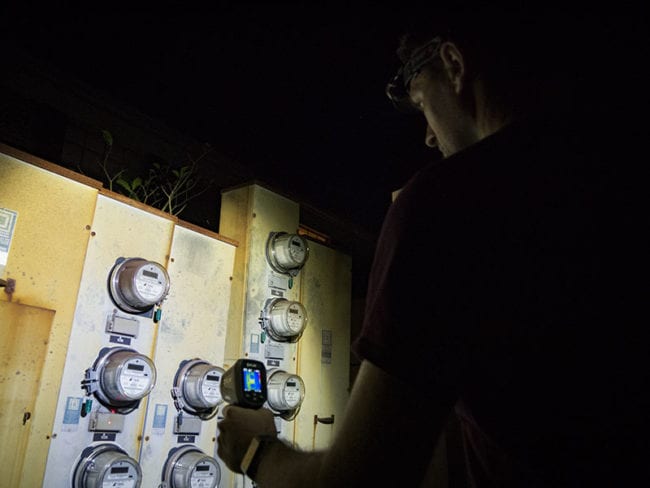
In practice, OptiSense takes a few seconds to adjust. So if you are cycling, hiking, or kayaking after dark, you may be moving too fast for this feature to be particularly helpful to you. However, in situations where you are not moving quite so fast, it’s worth its weight in gold. One of the best uses I found for this is with linesmen working in a bucket or electricians working on a box. As you look from your workspace only a couple feet away from your face then down to the ground or visually following the line around the building, the technology simply adjusts the beam as you go so your hands never have to come way from what they are doing.
Other Modes
Holding down either the left, right, or main power buttons will cycle your power between 15 percent and 100 percent. Simply release the button when you get to the power level that’s appropriate for the exact situation you’re in.
Should you be in a situation where you need even less then 15 percent power – like when you’re trying to make the most of a dying battery – press the back button once for a steady beam or twice for a strobe at five percent power.
The back button also functions as a lock for your system. With both lights off, hold down the back button for five seconds and the unit will lock. While you’re holding it, a low-power light will come on and then flash bright before fading out to let you know it’s locked. If you press any buttons while it’s locked out, you will get a quick burst of low-power strobe to remind you is locked. Simply hold down the back button for five seconds to unlock it and the unit will return to mode one (25 percent) for both lamps.
Holding the forward button for two seconds will put both beams at 100 percent. Pressing it again will cycle it down to low and you can press to continue to switch between the two. You’ll need to hit the main power button to turn it off.
Making Adjustments
You can pivot your lights as you see fit 90 degrees from its original position. Simply grab hold of both sides of the housing and pull it forward. Including the original position, you’ll find seven positive stops to choose from.
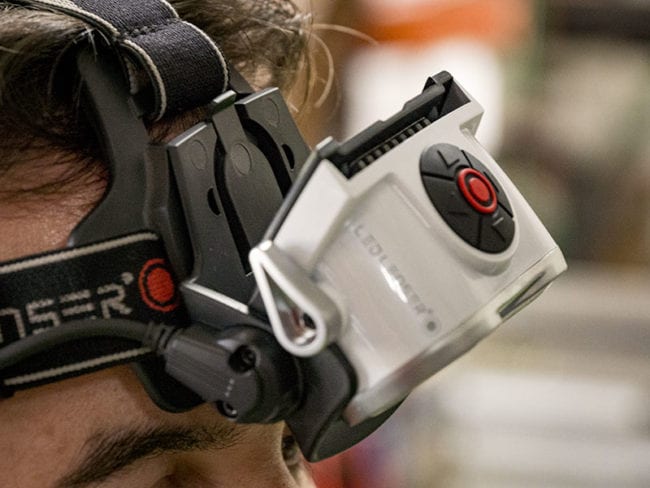
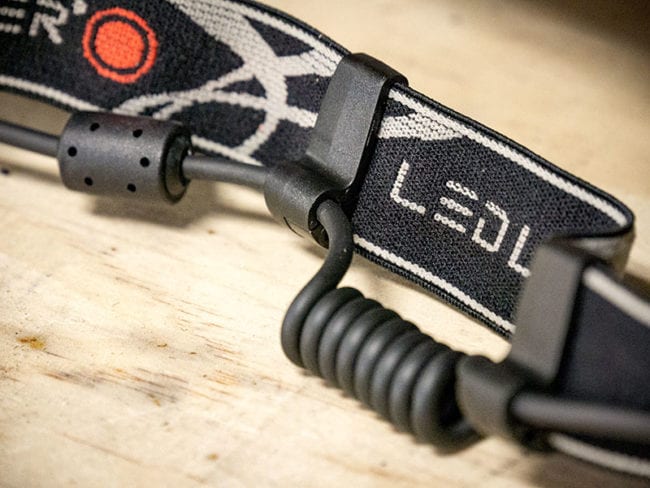
There are adjustment points along the left side and top of the headband to help you find a comfortable fit. The right side of the band features a pair of cord management points to help keep the cord out of your face. It can be attached directly to the battery pack clipped to the back of the headband or further away using the extension cord.
The Battery Pack
As I mentioned before, the battery pack is fairly bulky and you’ll likely want to leave it off of your head for applications where it’s reasonable. The extension cord is more than long enough to reach the pack down to waist level for nearly anyone. I’m six foot two inches tall, and there’s cord to spare when having the battery pack clipped to my belt on my hip or my back.
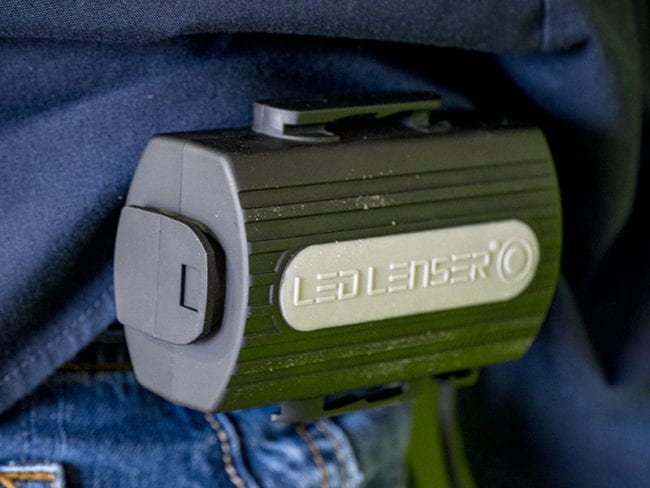
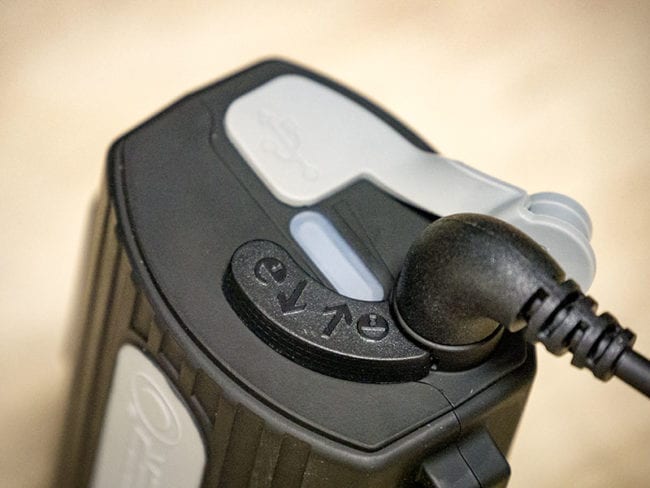
A quick tour around the pack will reveal the USB port. Like you’d expect, it’s designed for charging and LEDLenser includes a cord for you to use with micro USB charging devices. Simply plug in the device you would like to charge and hold down the pack’s power button for two seconds. That button is actually kind of hidden at the end of the LEDLenser name on the front. Pressing this button once will also illuminate your charge indicator.

Along with your input ports you’ll also find a cord lock. Once you have the power cord plugged in, push up until you feel it click into place. While the lock is easy to disengage, I found that it was a bit tough on my thumb to fully engage closed, but perhaps this will loosen up over time.
Run time is rated between 4 and 20 hours depending on your light output settings and charge time can take up to 8 hours. I didn’t test these claims specifically (who wants to sit around for 20 hours waiting for a light to fade?), but the run time stats are based on ANSI FL1 standards, so they’re from a reliable standardized test.
Time to Accessorize
The included accessories with the LEDLenser XEO19R are what will fit it to your unique lifestyle. The first thing you’ll need to do is release the light from the headband. This looks more complicated than it really is. Pivot the lamp to reveal the release and push it forward while you push the lamp up away from the mounting point. For the cord control points, use your left thumb and forefinger to secure one of the cord locking points and with your right thumb, push the base part to unlock it.
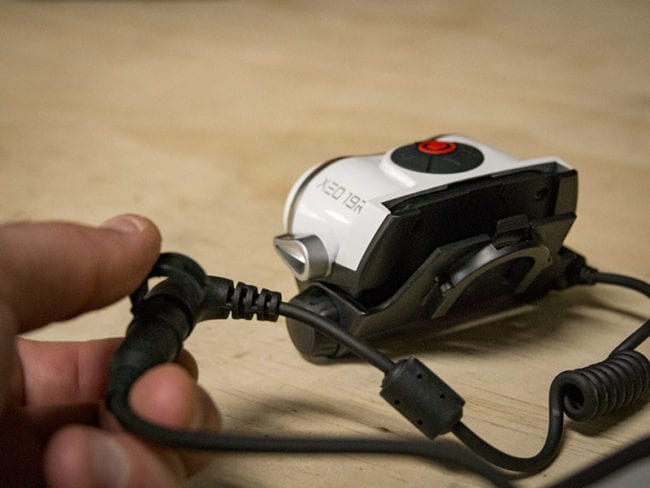
Extension Cord
The extension cord is easy enough to use. Simply plug it in at the end of the attached cord on one end and run it to the battery pack on the other. The only thing that might trip you up is that there is a lock on the extension cord you have to release. Just lift it up with your fingernail, attach it, and lock it back in place. Both this and the cord lock on the power supply ensure that you don’t inadvertently lose power due to a loose connection.
LEDLenser XEO19R Handheld Light
Opposite the connection ports, you’ll see a clip point where you can attach the lamp unit directly to the back, creating a handheld unit. Also on the battery pack you’ll find a point to attach the belt clip. Once installed, you can place it anywhere on your belt for waistband to keep the weight off of your head.
The tilted angle of the lamp along with the width of the battery pack in this configuration is a little strange compared to a flashlight. Still, it’s very effective and easy to use.
Cycling
When preparing the unit for biking action, there are two accessories that work in tandem. The first is a handlebar mounting system for the light itself. Simply remove the two base pieces by unscrewing them until you can pull them fully off, position the mount where you would like it on the handlebar, and screw the base mounts back onto the tightening bands to secure. Push the release back to disengage the locking mechanism, slide the lamp unit on, and push the lock back in place to secure the unit.
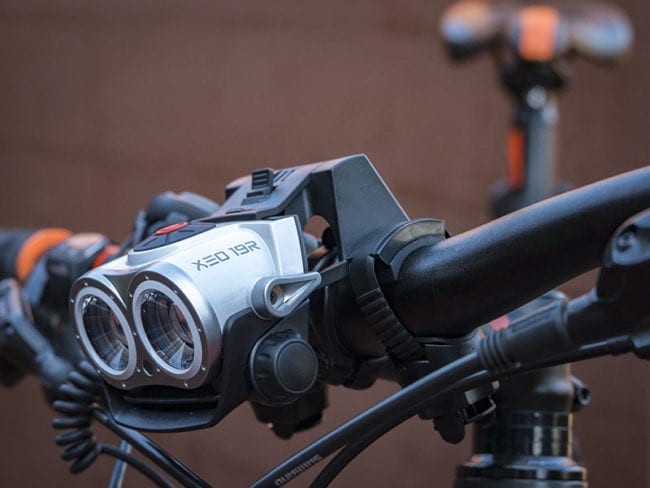
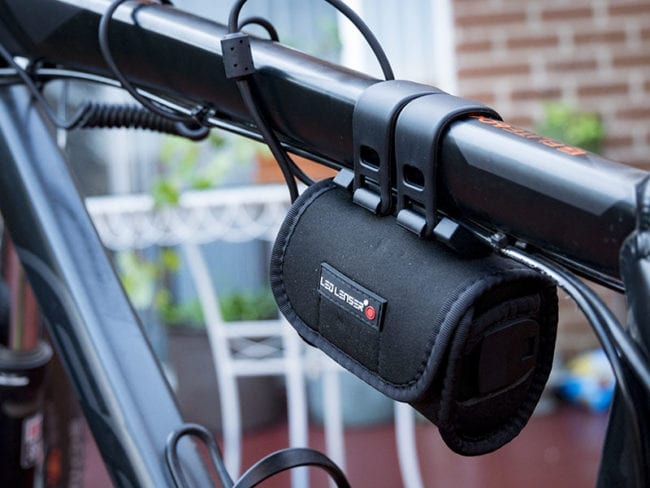
The second piece of the mount is for the battery pack and attaches to the top tube of your bicycle. Slide the mount in place on top of the battery pack and then use the two rubber straps to secure it below your top tube.
The handlebar mount is brilliant and should work on any bike. Modern tapered top tubes on performance-oriented bikes will leave you bringing the battery mount back to your seat post due to the short length of the rubberized mounting straps. The negative here is that you need to use the extension cord. I had to wrap it around the top tube to keep it in check. This mounting system will be best for bikes with non-tapered top tubes and performance cyclists will want to stick to the helmet mount.
Helmet Mount
The LEDLenser XEO19R helmet mount is pretty straightforward. This is simply a clip point with an adhesive backing pad that you can attach. You’ll notice the mount is already curved to match your helmet’s design. Two adhesive backing pads are included along with Velcro straps in case you need additional security.
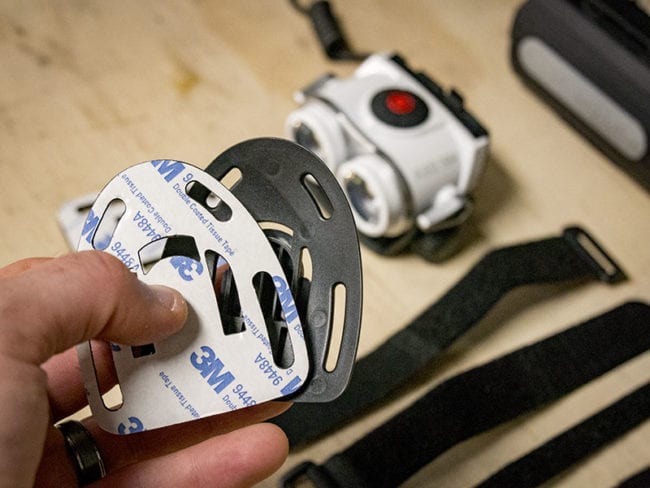
If you’re thinking about using this on your bike helmet, you may want to consider forgoing the adhesive pads and using only the Velcro straps since modern vented elements don’t offer much surface area for the adhesive.
I found that mounting the light on front of my helmet presented two issues: the natural position of looking slightly down with your eyes up on a properly fit performance bike leaves the light pointed at the ground more than in front of you. You can tilt the light down, but not back up. The second issue is that the Velcro straps will irritate the snot out of your forehead. You can alleviate both by mounting on top of your helmet and tilting the light to your optimal position.
Other Mounts
The tripod mount is really self-explanatory for anyone who has ever used a tripod. Similarly, the mount for your GoPro is equally simple to install.
Performance
Working Inside
I had three main goals when testing the LEDLenser XEO19R. First, I wanted to see how it would do on interior work both in poorly lit applications and after dark when no lighting is available. This is where having the OptiSense technology really shined. As I moved from room to room and from plumbing to breaker boxes, there was absolutely no need to put my hand on the unit to adjust the power level.
With a distance to effective lighting diameter ratio of roughly 2:3 (~70 degrees), I found that there was adequate width to the beam and more than enough light output to keep my workspace lit up. There really wasn’t a need for any additional width. I used both lights for some work and just one for others. In large spaces, I liked the lighting power of both, but it was overkill in confined space.
Working Outside
Outside is where the LEDLenser XEO19R does its best work. From single home jobsites to larger properties like apartment complexes, there is plenty of light no matter what perspective you’re looking from. I found that in work areas, I tended to leave one beam on at full width in OptiSense mode and left the other off. When moving around the jobsite, I used the combination of one full width beam and one tight spot beam. This is particularly helpful if you’re making a security sweep of the site.
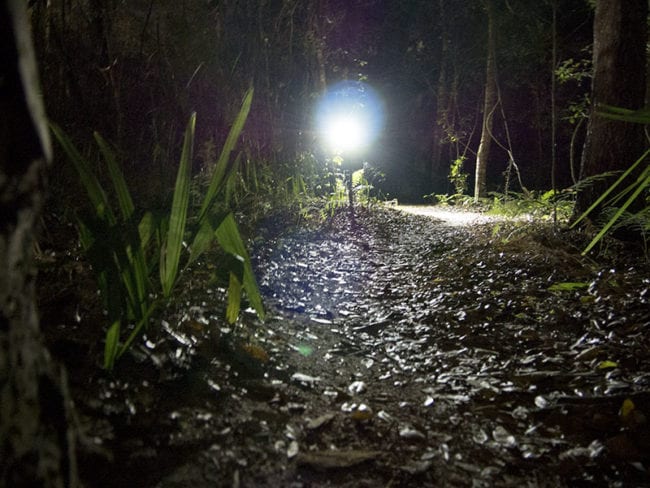
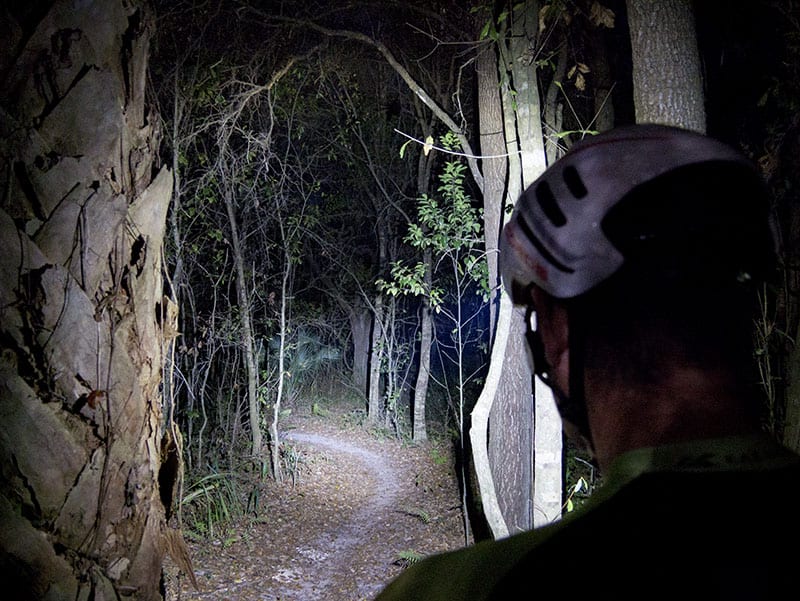
Mountain Biking
For mountain biking, I used a similar combination of full flood on one beam and the tightest spot on the other to give me plenty of light in both direct line of site and peripheral vision. I switched to 100 percent power here though since OptiSense is a little slow to react to the tight turns and changing conditions of the wooded trail.

Light Quality
When you’re looking at the quality of light output, you’re really looking for how symmetrical the beam is along with artifacts that give it an imperfect throw. Individually, each light has a pretty even throw at its widest lens position. As you dial into your tight beam, you’ll notice a blueish pupil develop through the middle before it tightens up all the way. In spot mode, the throw loses quite a bit of symmetry, but this is hardly unique to LEDLenser – it’s one of the trade-offs of having an adjustable lens.
As you can imagine, having two lights lends the LEDLenser XEO19R to a throw that doesn’t quite make a perfect circle. It’s much more noticeable up close and the two beams quickly blend into each other in just a few feet. For the light snobs out there, these points may be important. The reality for us on the jobsite is that the rest of features of this light make these imperfections a moot point.
The Bottom Line
The LEDLenser XEO19R Headlamp is without a doubt the most feature-rich personal light I’ve ever owned. It will take a little toying around with before you have all of the settings figured out to use on the fly, but the result is a fantastic amount of versatility for both professional and recreational use.
Two features stand out above the rest. First, two adjustable lenses allow me to dial in the combination of spot and flood beams to match the application I’m working in. Second, OptiSense technology manages the light output effectively when I’d rather not have to move my hands to the light source.
Multiple accessory options give you the ability to customize your XEO19R to cycling, helmets and hardhats, tripods, and even your GoPro mounts. Beyond that, belt clips let you move the weight of the battery pack from your head to your waist and anywhere else you can find a thin clip point.
To say that the LEDLenser XEO19R is a very well-thought out design feels like an understatement, but it’s a valid claim. Backed by a 5-year warranty, I can recommend it to any Pro or recreationalist that needs the ultimate in versatility and light output from a headlamp. Just keep in mind that getting the best also means paying the price – in this case, $279.
LEDLenser XEO19R Headlamp Key Features
- 5 in 1 use: Headlamp, handheld torch, bike light, helmet light, emergency light
- Dual focus rechargeable hands-free light with 2 x CREE LEDs
- IPX6 superior dust and water protection
- Charging status display and low battery warning indicator
- X-Lens Technology: Two separate reflector lenses with independent focusing
- Smart Light Technology (SLT): Boost, Low Power, Power, Opti-Sense (automatic dim), Strobe, Emergency
- Advanced Focus System (AFS): Flood beam to sharply focused spot beam
- Opti-sense active light measurement automatically adjusts light output to suit surroundings thus preserving battery life
- Thermal Speed Cooling System: High-speed leads to better LED cooling resulting in a brighter light output
- Lithium-ion rechargeable battery/power pack incorporating handy USB port for accessory charging
- Up to 2000 lumens
- Maximum 300 m beam distance
- 4 – 20 hours run time
LEDLenser XEO19R Headlamp Specifications
- Model: LEDLenser XEO19R
- Battery Type: Li-Ion Battery Pack
- Rechargeable: Yes
- Recharge Time: 8h
- Weight: 16.85 oz, 478 g
- Waterproof Rating: IPX6
- Max Output: 2000 lumens
- Max Throw: 300 meters
- Includes: Travel Case, Power Supply, Tri-Pod Attachment, Li-ion Rechargeable Battery, Neoprene Battery Pouch, Extension Cord, Go Pro Mounting Bracket, Helmet Mounting Kit, Bike Mounting Kit
- Warranty: 5 years
- Price: $279.99
