As we conclude the series on woodworking measuring and marking tools, this time we are focusing on how to draw circles, arcs, and curves in wood. When doing woodworking projects we often use a compass, dividers, and circle templates. There is more to these tools than just drawing circles.
Table of Contents
How to Draw Circles and Arcs in Wood Using a Compass
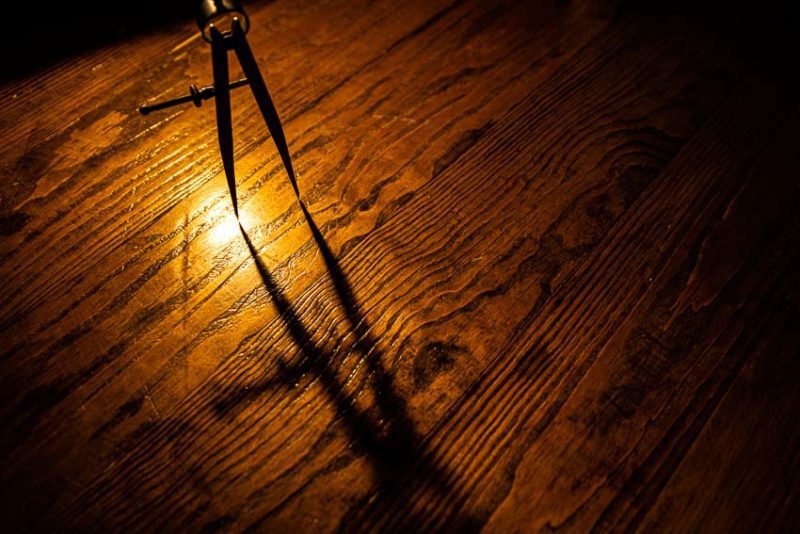
Compasses can range from the $4 model you can buy at the local drug store to a Staedtler Mars professional set costing well in excess of $100. I purchased my Staedtler Mars for drafting classes in college 30 years ago and have been using them ever since. Look for a compass with an extension bar. This dramatically increases the diameter of the circles you can draw with it.
I took a 20 hours a week cabinetmaking class while in college. We were required to buy a $4 General Tools compass/scriber. It uses a regular pencil, and I use this one on the jobsite instead of my Staedtler Mar compass.
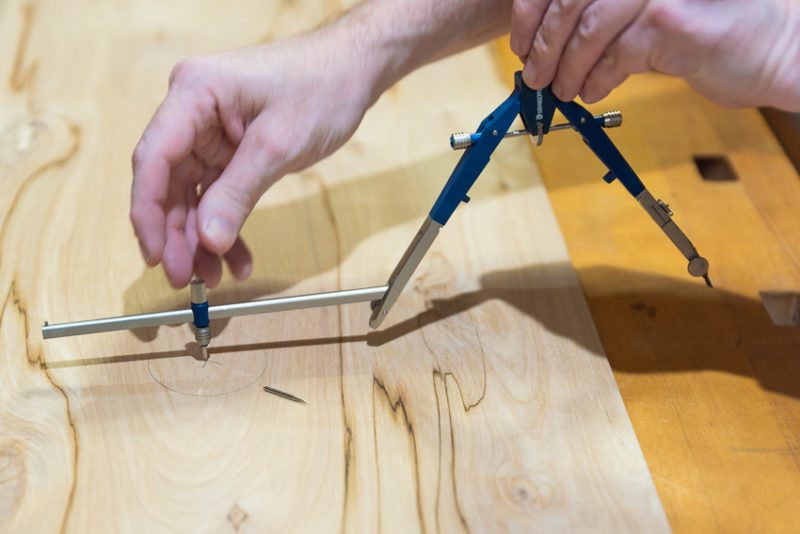
A beam compass is a compass made of a solid beam, a spike on one end, and a pencil on the other end. With mine, I can draw circles and arcs in wood or any other material up to two feet in diameter. Trammel points are spikes that attach to a wooden yardstick and convert it to a beam compass. Many home improvement centers or hardware stores will give you a promotional yardstick for free that is the perfect size to work with these. This lets you draw a circle almost up to six feet in diameter.
Using Dividers When Transferring Measurements
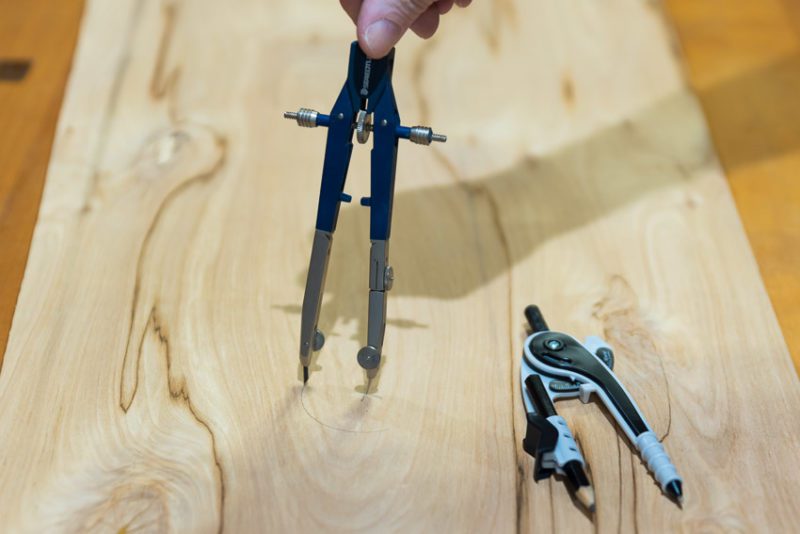
The most important use of dividers is for transferring measurements. When measuring with a ruler or tape measure, you are depending on your eyes to visually line up the markings and your marking instrument. Dividers lock in the measurement and transfer them much more accurately. This is especially useful for repeating patterns such as laying out dovetails or box joints.
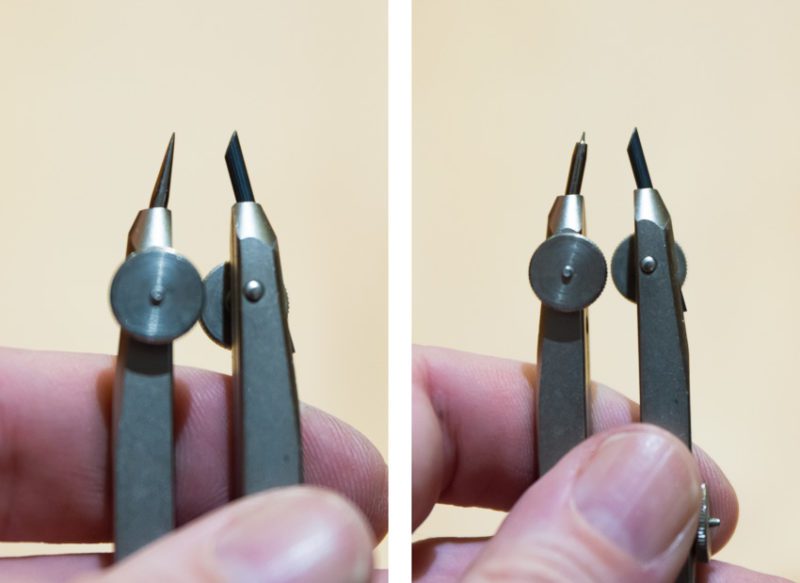
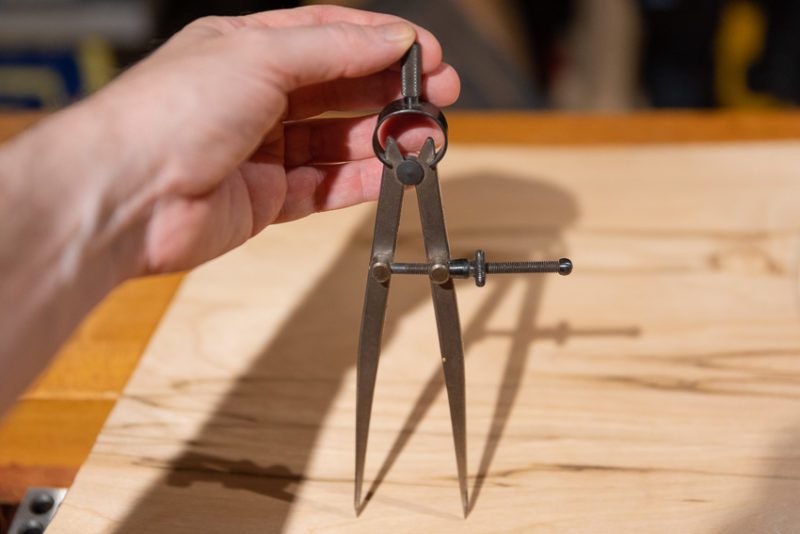
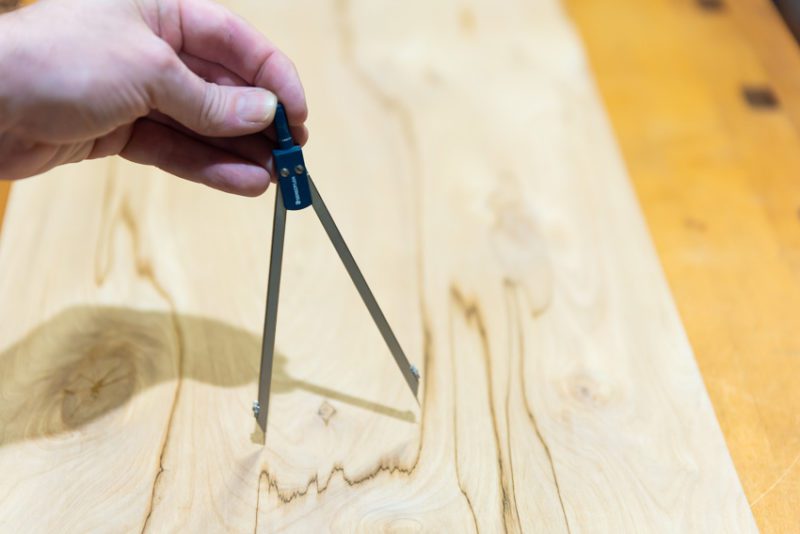
Woodworking dividers and toolmaker dividers are the same things. They are more robust than their draftsman/navigation counterparts. They have a spring at the top that keeps the legs in tension and a screw shaft with a nut arrangement on one side. This lets you lock in a measurement without having to treat the tool carefully while maintaining the precise distance between the legs. You are able to use woodworking dividers as a compass—scratching, instead of drawing, circles or arcs onto the wood. A draftsman divider is much too delicate to draw circles.
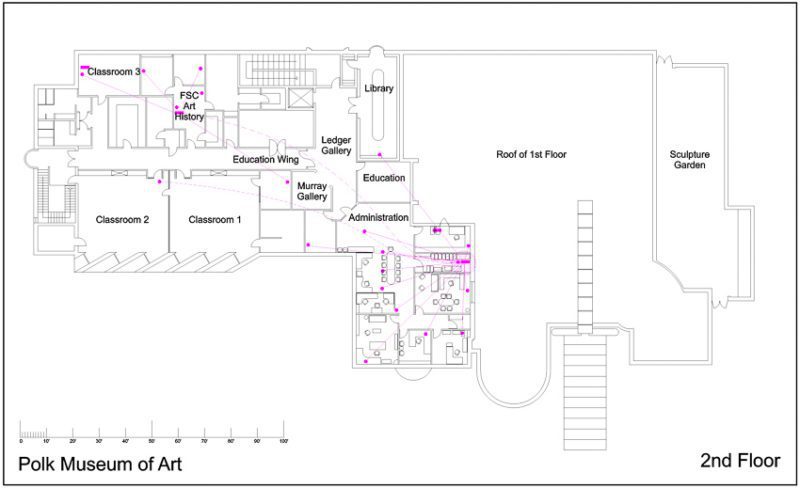
Walking off distance on maps and nautical charts is something often done with drafting dividers. Place the points on the scale at the edge of the map or blueprints. Open the legs to the distance that works best for your purpose. Place one leg on the starting point and literally “walk” the dividers end over end along a line toward your end goal. I use this method for calculating how much cable I need to run when installing a new network drop at the Polk Museum of Art where I work.
Scribing to Match Curved Shapes
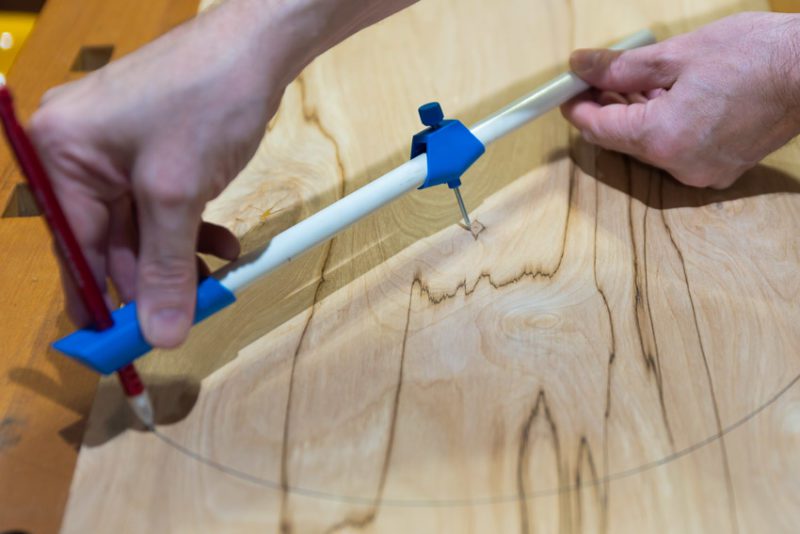
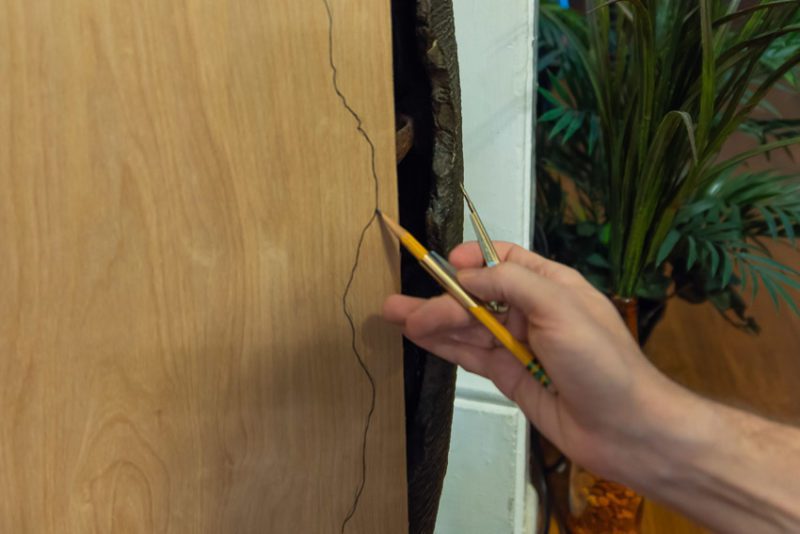
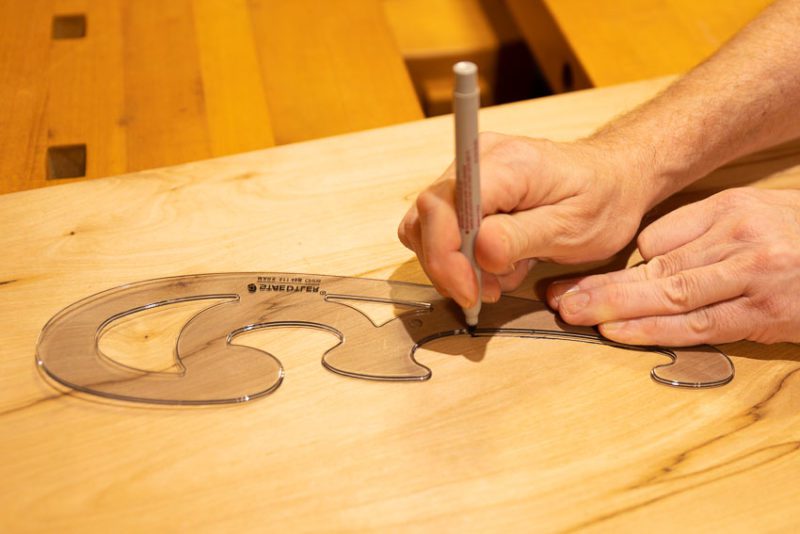
One of the most useful features of a compass has nothing to do with drawing circles or arcs in wood. This was why we were required to buy the General Tools compass/scriber in my cabinetmaking class, even if you had a precision compass. When you need to cut a board to fit exactly against another shape, you scribe it. This works even if the shape is highly complex stonework like around a fireplace.
To scribe an edge, set the distance between the legs at the maximum distance you will need, plus a little extra. Hold the material you are scribing the pattern onto tight against what you are scribing. It is very important that you do not let the material move or you’ll have to start over. Place the spike leg against the stonework/woodwork/etc and put the pencil leg on the material you are scribing onto. Carefully follow the contour all the way down to transfer it to the new material, being careful to keep the compass at a consistent angle. It should look like the photo below.
String as a Compass for Drawing Circles, Arcs and Ovals
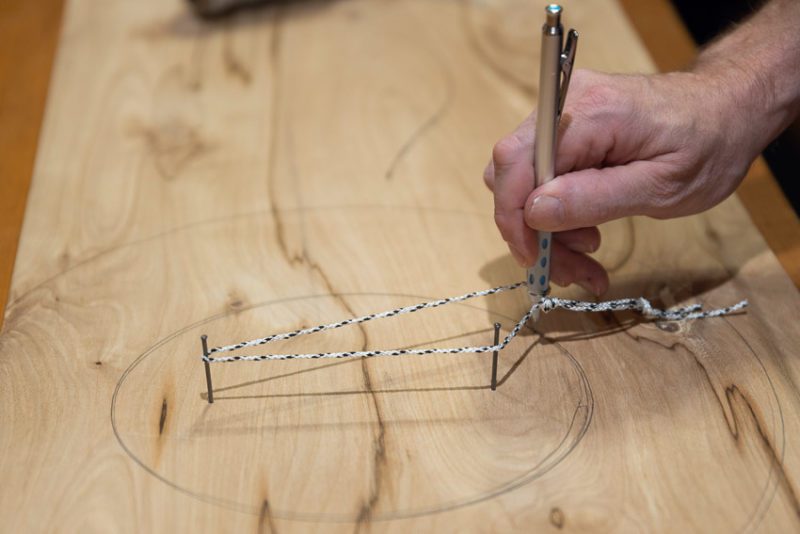
When learning how to draw curves in wood, never forget the usefulness of string as a compass. Drive a nail (or spike in the ground) in the center of your circle. With string tied to a pencil or spray can, your compass can be as big as a football field or larger.
If you drive two nails/spikes and tie a loop as shown in the photo, now you can draw ovals instead of circles. Spread out the nails, you change the shape of the oval. If you shorten or string, you change the shape of the oval yet again. Give it a try!
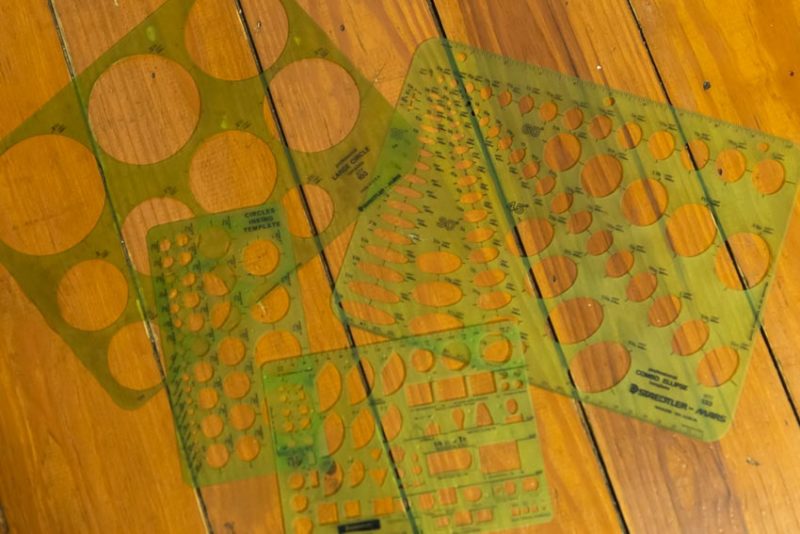
Using Circle Templates
Circle templates, along with oval templates, are useful for drawing circles and arcs in wood. I most often use them to draw the round edge of a corner that I will then sand or saw off. This is much faster than using a compass because you don’t have to find the coordinates of the center of the circle or arc.
Using French Curves
A French curve is used for drawing curves instead of arcs like a compass. They come in multiple sizes and a variety of patterns. To use a French curve, find an area on the tool that gives you the most visually pleasing curve and draw the line between your two points. Sometimes you will not be able to find a single segment that will work. Instead, you have to combine short sections from different parts of the curve into a single graceful line. This is where having multiple curves in your measuring and marking tool kit is helpful. If you want to know how to draw curves in wood without using a compass, this is how.
How to Draw Circles, Arcs, and Curves in Wood – Conclusion
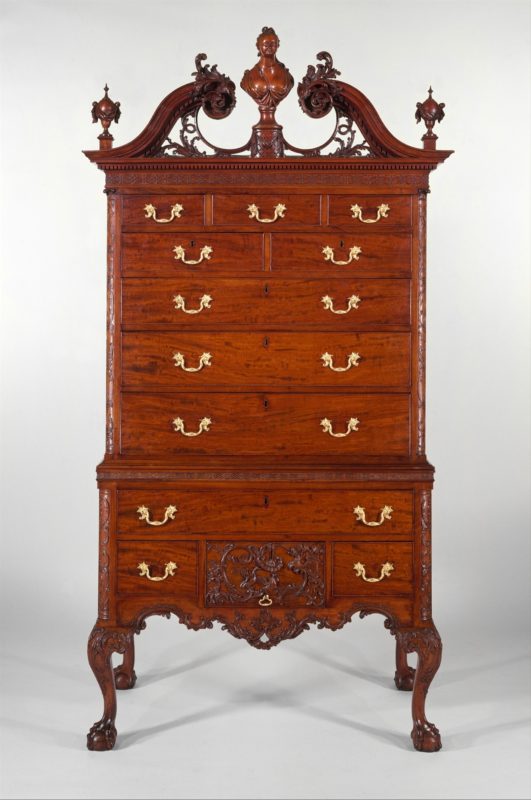
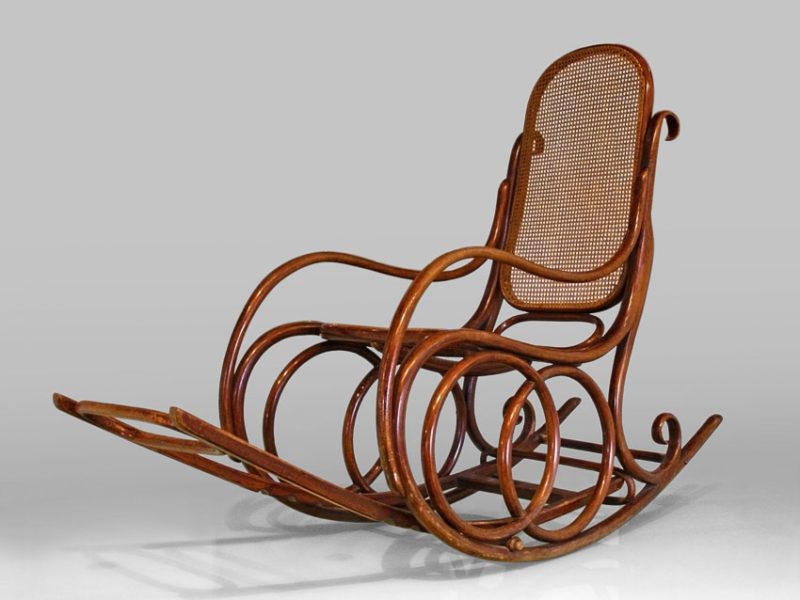
Drawing circles, arcs, ovals and curves is a necessary task for most woodworkers. A circle is easy enough, but with the same tools, you can do many more tasks as well. You can spend all your efforts building blocky furniture with nothing but a rounded corner here there. At some point, you are going to want to progress to something more elegant and include sweeping or intricate curves. At some point in the twentieth century, woodworkers realized the human body is made up of nothing but curves. One thing that distinguishes modern furniture is that it often has more curves than straight lines in it to be comfortable.