
If I could have only one woodworking measuring and layout tool, other than a tape measure, it would be a 12” combination square. It is, without a doubt, the most versatile layout tool I own. A speed square comes in a close second. Some of the many uses for a combination square are not immediately obvious.
Table of Contents
- Buy a Quality Combination Square
- Size Matters
- When Accuracy Counts, Scribe a Line, Don’t Draw it
- Using a Combination Square as a Tri-Square
- Using a Combination Square as a Hook Ruler
- Using a Combination Square as a Marking Gauge
- Using a Combination Square as a Depth Gauge
- Using a Combination Square on a Height Gauge
- Using a Combination Square as a Ruler
- Center Finding on Round Objects
- The Protractor Head
- Conclusion
Buy a Quality Combination Square
When buying a combination square, one name comes to mind: Starrett. They invented the tool and are known for making perhaps the best quality combination square around. It operates smoothly and is the most accurate you can buy. Price remains the only drawback. At well over $100 for the 12-inch model, Starrett combination squares run ten times more expensive than some of their competitors. I suppose quality comes with a price.
A more affordable option would be iGaging or Woodriver. I own both, and they are extremely accurate. While they do not operate as smoothly, each costs half of what you pay for a Starrett.
For the budget-conscious, I recommend either Empire or Irwin. These excellent tools will last you for years. When you compare the budget models with the midrange combination squares, it is obvious they are not in the same class. The iGaging and Woodriver have much thicker blades (rulers) that use hardened steel.
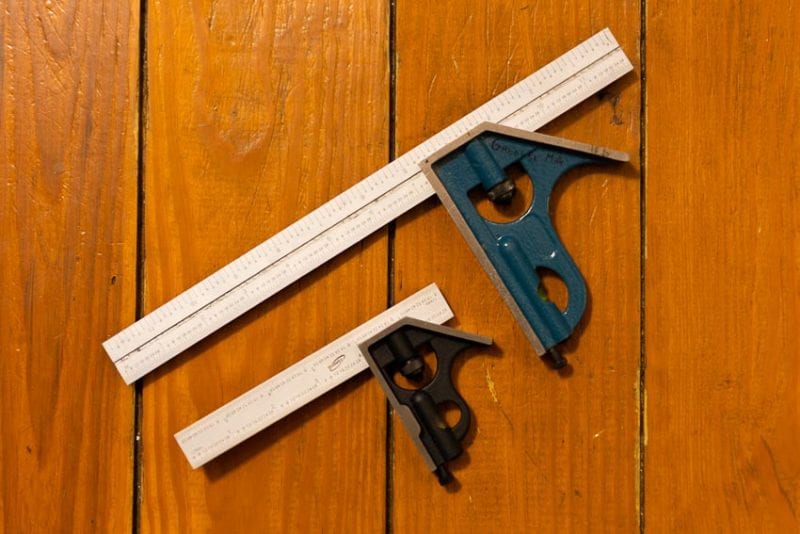
Size Matters
As I mentioned, if I could only have one combination square, it would be the 12-inch model. However, 75% of the time, I use my 6-inch square model. I keep my 6-inch square right in my shop apron pocket. Combination squares actually come in sizes up to 24-inches. At that size, I would stick with a 24-inch Starrett. For every 1″ of length you add to a square, any amount that square is out of 90 degrees is multiplied. I previously wrote an article on how to check bubble levels and squares for accuracy.
When Accuracy Counts, Scribe a Line, Don’t Draw it
No matter how sharp your pencil lead is, you won’t get as sharp a line as you will by scribing it with a marking knife or an awl. Most all combination squares come with built-in scribes.
I have aluminum tri-squares, but I don’t like to scribe a line with a marking knife. If I angle the knife the wrong way, I can cut a nick in the square. The stainless steel of a combination square’s blades makes sure the edge stays nick-free.
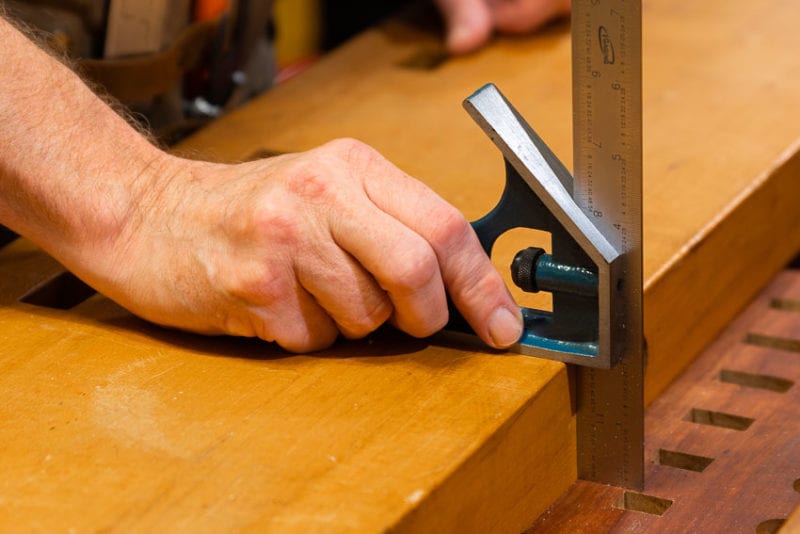
Using a Combination Square as a Tri-Square
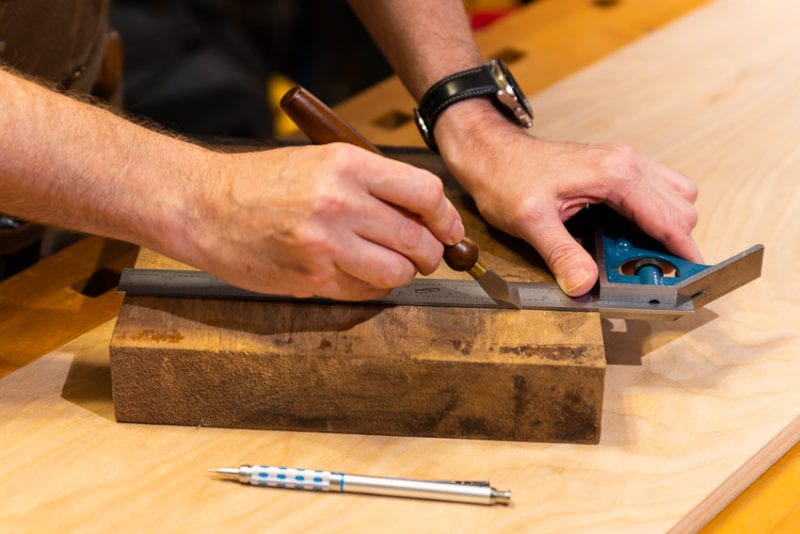
Tri-squares are some of the earliest forms of woodworking measuring and layout tools. The Egyptians and the Romans used them. A combination square in its simplest form is an adjustable tri-square with the head that moves up and down the length of the blade. The combination square can measure both 90 and 45 degrees, something most traditional tri-squares cannot.
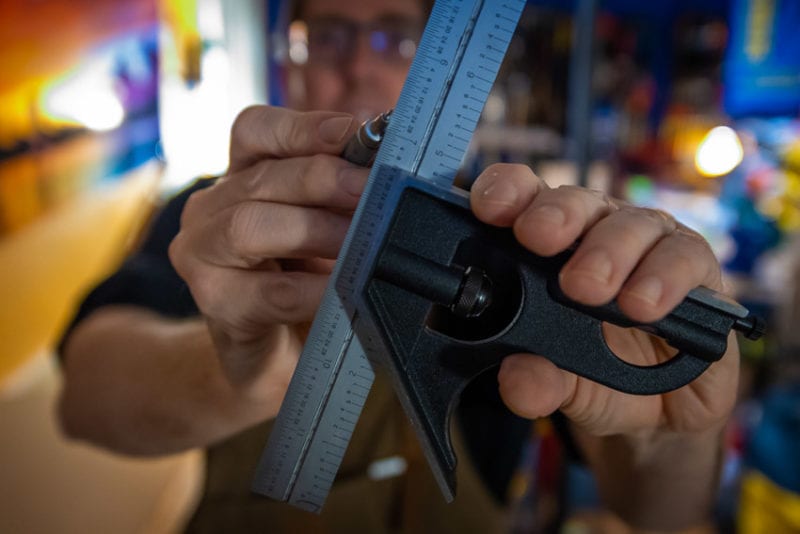
When using a combination square to layout 90 or 45 degrees, make sure the anvil is pressed tightly against the wood. The anvil is the part of the square’s head that touches the wood at 90 degrees. The shoulder is the part that touches at 45 degrees. When using any square, make sure dust is not trapped between the anvil and the wood.
Hold your pencil or marking knife at a constant angle when you mark your line. Any variation in the angle you hold your pencil will cause the line to be out of square.
Using a Combination Square as a Hook Ruler
A hook ruler is a ruler that has a small 90 protrusion that lets you hook it over the edge of a board. This is faster and more accurate than trying to hold 0” by hand on the edge of the board. A combination square will do the same thing if you set the head to read 2” on the ruler. You can then hook the head on the edge of the board to do your measuring. Just remember to compensate for the ruler starting at 2” instead of 0” like a real hook ruler.
Using a Combination Square as a Marking Gauge
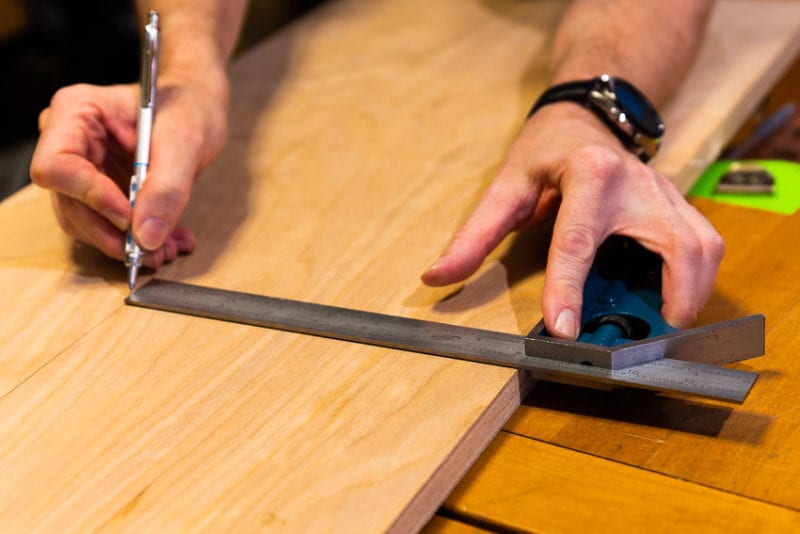
Instead of setting your measurement to 2”, I will often set it to the measurement I need from the end of the ruler. When placed on the board, the very end will be where you make your reference mark. This proves most useful when doing production runs of the same component and all boards need the same measurement.
If you need to draw a line parallel to the edge of a board, set your combination square to the correct measurement like you are using it as a hook rule. Then put your pencil at the very end of the ruler and slide the entire combination square down the length of the board. Keep your pencil registered against the end of the blade while moving the square. This is what a marking gauge does, except you don’t have to hold onto the pencil or marking knife.
Using a Combination Square as a Depth Gauge
A depth gauge spans across a hole, channel, or cavity and allows you to measure to the bottom of it. A combination square can do the same thing if you rest the anvil against your surface. Next, loosen the blade so it slides to the bottom of the hole, then retighten the adjustment knob. The measurement at the anvil is the depth of the hole. A dedicated depth gauge has a slimmer rod that drops down to make the measurement, so it fits in smaller holes.
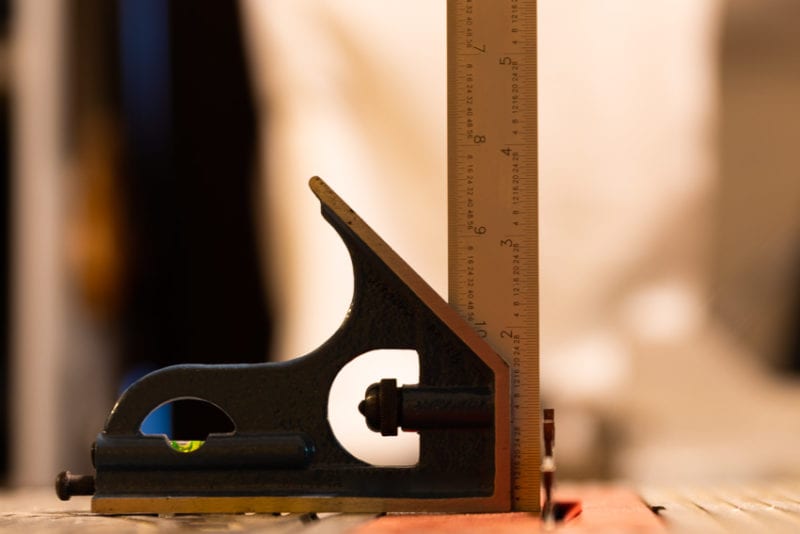
Using a Combination Square on a Height Gauge
Set the anvil so it lines up with 0” and place the anvil on a table saw or router with the blade sticking straight up in the air perpendicular to the table. Align the ruler so it is just touching your saw blade or router bit and you have a convenient way to measure the height of your blade.
Some woodworkers prefer to set the measurement they need on the combination square instead of 0”. Hold the end of the ruler on the table and raise the blade or bit until it just touches the anvil. This gives you the height, but you must make sure the end of the ruler is perfectly flat against the table or router base. I don’t like this method. It is too easy to introduce a slight angle in the ruler which will throw off your measurement.
Using a Combination Square as a Ruler
It is possible to take apart the combination square by loosening the adjustment knob and sliding the head off the blade. This lets you use the blade as a standalone ruler. Putting everything back together is a real pain, so I don’t take it apart unless I have to. Rulers are cheap, so I would rather have a separate ruler.
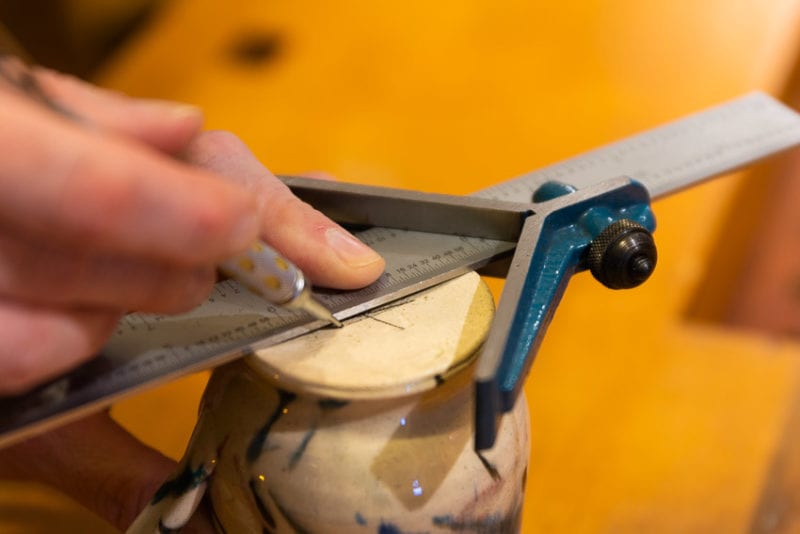
Center Finding on Round Objects
If you buy your combination square as a set, you can get one with a center finding head in addition to the 90/45 degree head. This is a V-shaped attachment that slides on the ruler after you take the 90/45 degree head off. This attachment goes against the end of the round object. Mark a line across the end of your round object. Now rotate the combination square 90 degrees and draw a new line. Where the two lines intersect will be the exact center of the round object. This is useful for marking the center of dowels when you need to put a screw in the end.
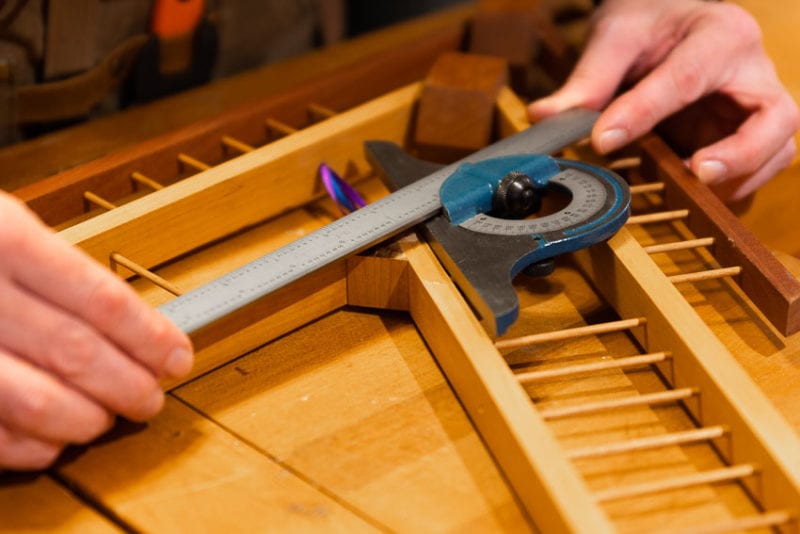
The Protractor Head
When you buy a four-piece combination square, it includes a protractor head. This head lets you change the angle of the blade to anything you want instead of just 90 or 45 degrees. My work has lots of angles in it. I find the protractor head so useful I bought a second combination square set so I can leave the protractor head on the second one. If I owned a lathe, I would buy a third set to have a dedicated center finder.
Conclusion
Combination squares are incredibly versatile. I can’t imagine being a woodworker or even a metal worker without one… or in my case six. You should definitely pick up a less expensive model to start. Once you realize just how much use you can get from this tool, you may want to step up to a nicer set.
