
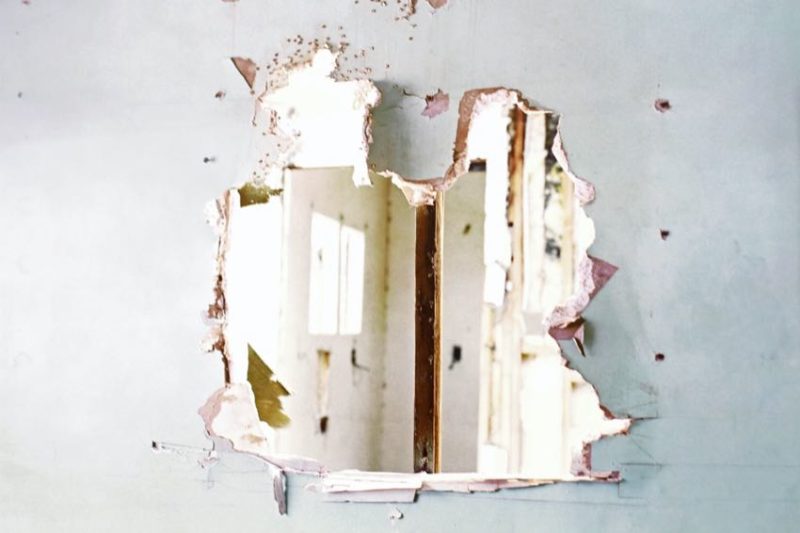
So you finally got around to removing that paneling or tile and RIP! Off comes some drywall paper (also called facing) along with it. Now what started as a fun update project has turned into an annoying repair project. The damage isn’t deep, but it’s unsightly. So what’s the right way to repair it? Well, why don’t you ask us a hard question? We’ve tackled patching a hole in drywall, and this will be easier than that. How to repair torn drywall paper and patch it up is a Pro tip you’ll want in your back pocket.
Looking to replace instead of repair? Check out our guide to how much it costs to install drywall!
How to Repair Torn Drywall Paper Step-By-Step
1. Remove Loose Paper Using a Utility Knife
You’ll surely have some ragged or hanging paper left when you begin to repair torn drywall paper, so use a razor or utility knife to remove it. The edges of the tear should be smooth against the wall.

2. Important: Seal the Exposed Gypsum
The gypsum will absorb moisture from latex paints, so you must seal it to prevent blisters. You can use some drywall primer and sealer or even old oil-based paint that you told yourself you’d use or throw out but haven’t done either.
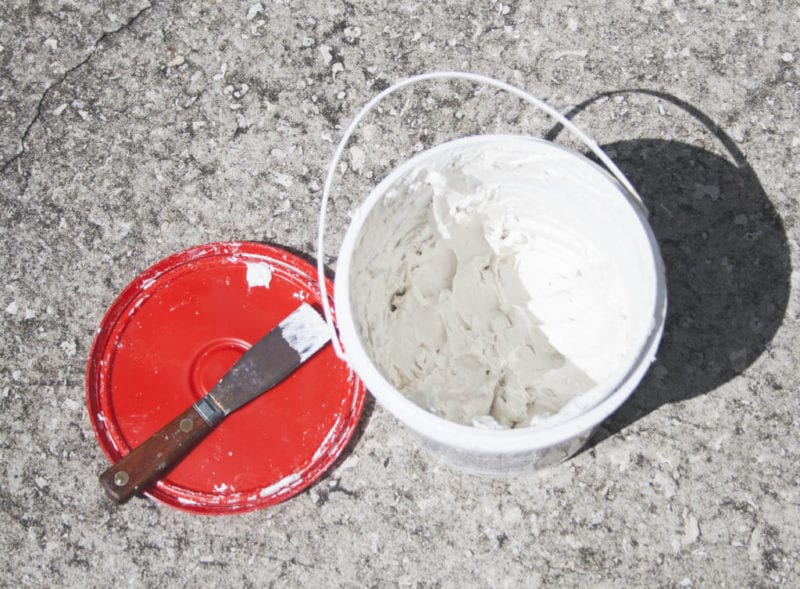
3. Cover the Area with Joint Compound
Use a putty knife to spread a thin layer of joint compound (drywall mud) over the area. More than just filling the torn area, drywall mud creates a new surface. As you continue to repair your torn drywall paper, make sure the joint compound extends roughly an inch or so past the edges of the tear. Apply the mud as evenly as possible. It may still look uneven or pock-marked, especially if you’ve never done this before. Not to worry—read on.
4. Sand the Area
It’s common to use fine sandpaper such as 120 grit to sand the area. For larger areas, you can turn to a bigger tool like the Hart 20V random orbit sander. We’ve even used an oscillating multi-tool with a sanding accessory.
However, we prefer a wet sand before the joint compound has completely cured. Wet sanding doesn’t create those fine airborne particles or dust on the floor. It gently removes the area’s high spots and fills in the low spots.
The curing time depends on temperature and humidity—as well as which type of joint compound you chose. We like to give the area around 45 minutes to harden up. Touch the compound to make sure it’s not so wet that it comes off on your fingers. It should be firm but pliable. Use a damp sponge to gently sand the area and create a smooth surface with the rest of the wall.
If you prefer dry sanding or need to wait until everything dries completely, you can also pick up some sanding sponges to help you get the job done.
5. Apply another layer of joint compound
What’s better than one layer? Two, of course. When you repair torn drywall paper and want a quality finish, a second layer will likely be necessary to make the mud coverage wide and smooth enough to blend in. You’ll never notice the area once it’s painted if you do it correctly. You’ll likely want to repeat the sanding step as well.
6. Paint
Here’s where the evidence of the tear disappears. Paint the area, and enjoy that invisible repair. Be sure to check out our quick clean-up painting tips, too.
If you have to repair torn drywall paper, hopefully, this Pro tip will help. If you’re a professional tradesman, and you have drywall tips, add them in the comments below.
