
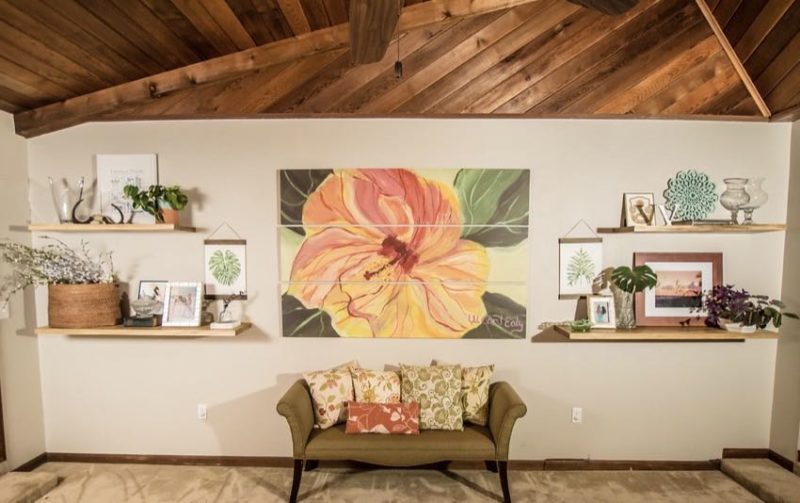
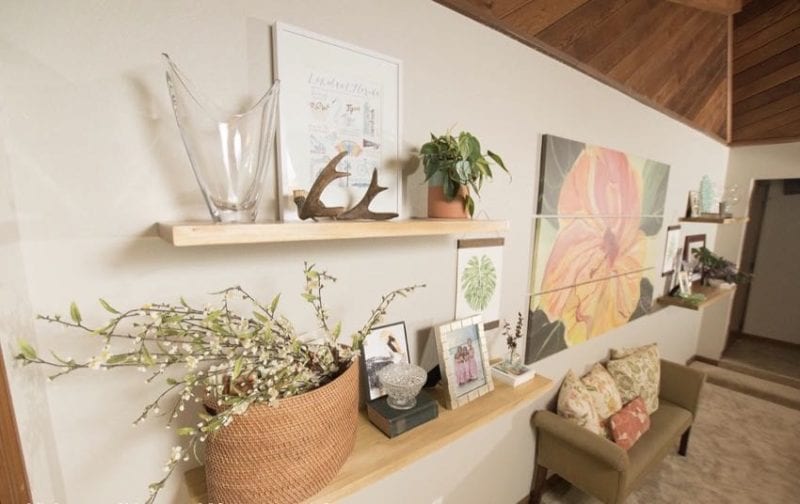
I love our house, but from the moment we bought it, the focal wall in our family room proved to be a design challenge. First of all, it’s massive. Secondly, there are steps on either side of the room, which are only about a foot from the wall. This meant that when we tried to put furniture against the wall, it blocked the steps. I finally decided that floating shelves were what I wanted. Not wanting to make it too easy on myself, I also decided that I didn’t want to see any brackets, pipes, or use a kit. I figured I might as well make a step-by-step DIY tutorial on how to make a floating shelf so others could benefit from my hard work.
We’re going to get through this together. In the end, I promise your shelves will look amazing! If you want to install a prebuilt shelving system, skip over the design section and start here.
Table of Contents
Designing My Own DIY Floating Shelves
I didn’t want these DIY floating shelves to be too boxy. I also didn’t want to use veneer around the edges. A solid piece of wood should give me the look I wanted. For the installation, I need a method to give the illusion they levitated on the wall. No wonder my husband tapped out and had me start doing these projects myself. (Yes, he did eventually end up helping!)
After researching a TON of DIY floating shelf tutorials, I finally came across this one by Brit from House Updated. She used 2×12 framing lumber for the floating shelves in her kitchen, and they look amazing. I immediately read up on how she’d done her shelves and got to work on my own version.
Choose Your Wood
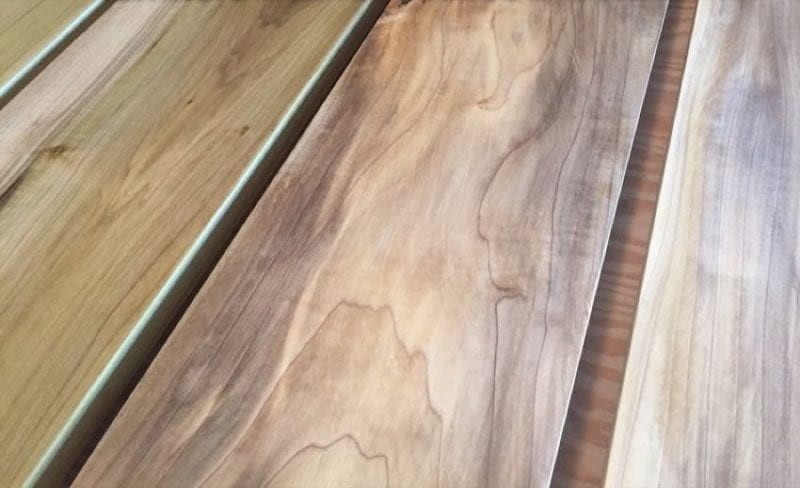
I went to my local lumber mill and checked out the selection of wood. The design of these shelves is so simple, you could make them out of just about any type of wood you wanted. Walnut is a gorgeous option, but who can afford four large slabs of that? Not this girl.
If you want the walnut look without the walnut price, thermal-treated poplar is an excellent option. It’s got a very similar rich brown color with amazing grain patterns, but for a fraction of the cost of walnut. I nearly went with the thermal-treated poplar for my shelves, but instead, fell in love with the purples, greens, browns, and silvers running through the natural poplar and ended up buying four slabs of 2×12 solid poplar.
If you don’t have a planer or joiner, ask the lumber mill to square up your slabs and plane them to a smooth finish for you (for an additional charge).
Assemble Your Materials List
- 12″ lengths of 5/8″ threaded rod – at least two per shelf (three if mounting a very long shelf)
- 2×12 lumber, cut to the desired length of your floating shelf (make sure you find nice straight boards)
What Tools You Need for Installing a DIY Floating Shelf
- Cordless drill
- Level
- Stud finder
- Tape measure
- 1/4″ drill bit
- 1/2″ drill bit
- 5/8″ drill bit
- Drill bit extender that locks onto the drill bit
- Mallet
- Tap guide (optional, but recommended)
- Stain, oil, wax, or other finish
- Superfine #0000 steel wool
Now that you’ve picked out your lumber and know what tools you need, let’s get to work!
Mark Your Studs
The real first step is marking the locations of the studs in your wall. You need to use them as a guideline for how you want to place your DIY floating shelves.

I put blue painter’s tape on the wall to make sure I knew exactly where I wanted my shelves. These aren’t shelves you’re going to want to move after a couple of months because you aren’t happy with the location.
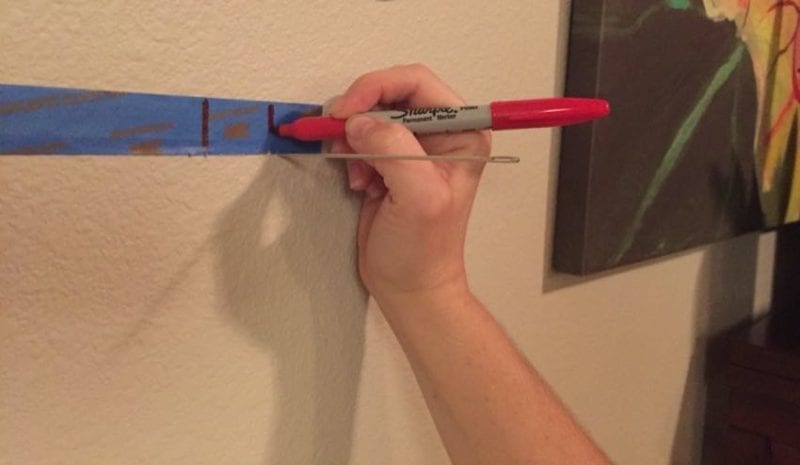
To find the exact edges, consider using a small drill bit to drill to the sides of the stud. I happened to use a large needle. You need to drill into the exact center of each stud to ensure adequate shelf support. Remember, each stud is only 1.5″ wide, so be sure to drill straight, my friend!
Start out with a small pilot hole of about 1/8″, then work your way up to 1/4″, then finally 1/2″. You need the holes to be perfectly level so the threaded rods go in straight.
The holes in the studs need to be just smaller than the threaded rod so that when you screw the rods into the studs, they’ll fit good and tight.
Pro Tip: Consider using a cross line laser to lay out shelves that need to go side-by-side. It helps you ensure they look level from across the room and counteract any potential inaccuracies in floor evenness when measuring manually.
Screw the Threaded Rod into the Studs
I found a pipe wrench was helpful for screwing the threaded rod into the studs by hand. The threaded rods need to go into the studs a full 3 inches.

Remember to keep those threaded rods straight! Use a level!
Staining or Finishing the Shelves
I loved the natural tone and woodgrain of my poplar, so I opted not to stain the shelves. Instead, I applied Danish oil to make the colors pop and to seal them.
Next, I rubbed on furniture wax using four-aught super-fine steel wool (#0000), then buffed them to a nice sheen with a terry cloth.
Feel free to stain, paint, or otherwise finish your shelves according to your taste.
Drilling the DIY Floating Shelf Mounting Holes
I used a tap guide to help me drill perfectly straight holes into my soon-to-be floating shelves. These corresponded with the rods which were already mounted into the wall studs.
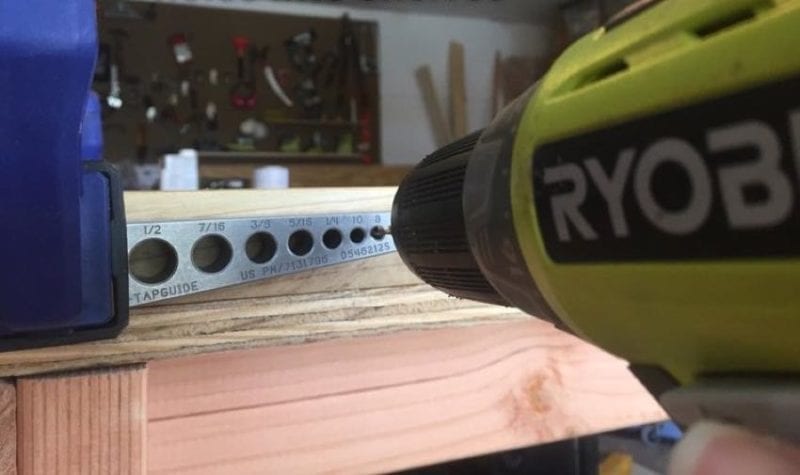
Again, start with a small pilot hole, then work your way up to a 5/8″ drill bit. Each finished hole will need to be a total of 9″ deep, which puts a huge strain on your drill and the bit. I used a Ryobi cordless drill and it managed to get the job done just fine.
DIY Tip: Every couple of inches, back the drill bit out and clean sawdust out of the hole. If using an extender for your bit, make sure it locks onto the bit so it can’t come out in the hole. A vacuum helps!
Mount Those DIY Floating Shelves
If your shelves aren’t sliding on easily, waller out the hole on the shelf a little bit more. (Is “waller” even a proper word? Or just Southern slang?)
These DIY floating shelves may end up needing a bit of encouragement from the business end of a rubber mallet. Mine sure did.
Finally, Enjoy a Glass of Wine
I’m not going to lie, these were a beast to install. But now that you’re done you deserve a reward! Hopefully, you found some helpful tips to help you avoid making too many mistakes along the way.
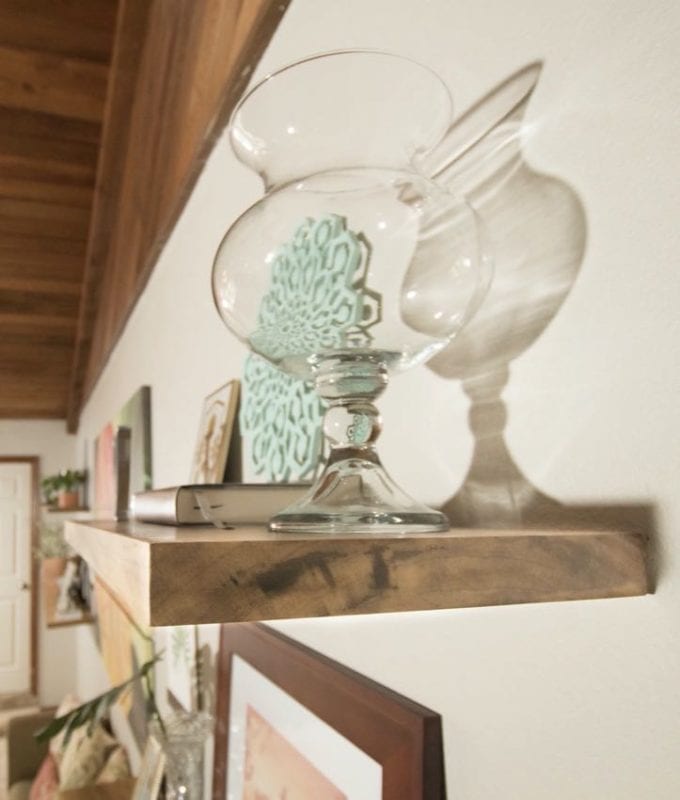
Now that you’re all finished, go enjoy your new floating shelf display!
