
You can have the best stud finder but if you don’t use it properly, you’re still making life hard for yourself. Understanding how to use a stud finder can ultimately save you a lot of frustration and money on repairs. Our Pros actually use these tools quite a bit, and we asked them to share their best practices.
A great example of needing to know how to use a stud finder comes when mounting a TV bracket on the wall. You want to make sure to drill into the studs—not just the drywall. Actually, this goes for any heavier items you plan to mount on your walls. Unless you enjoy replacing both drywall and the object you’ve mounted to it, let the frame of the house support those heavier items. For success, you need to know how to properly locate stud centers.
Table of Contents
Which Stud Finder Should I Buy?
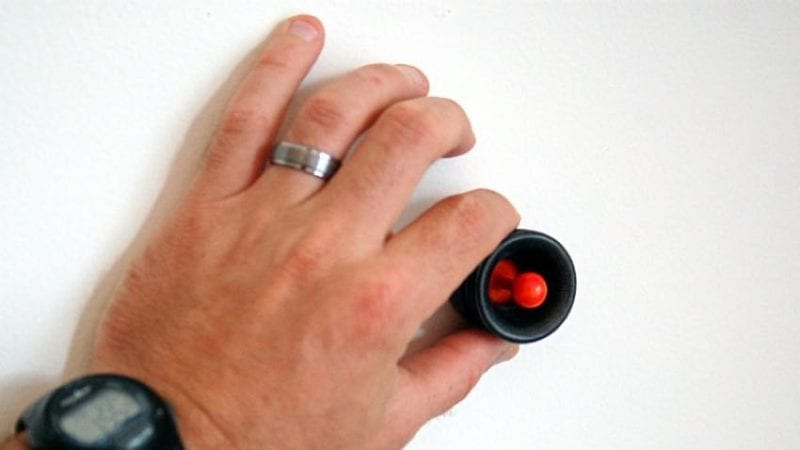
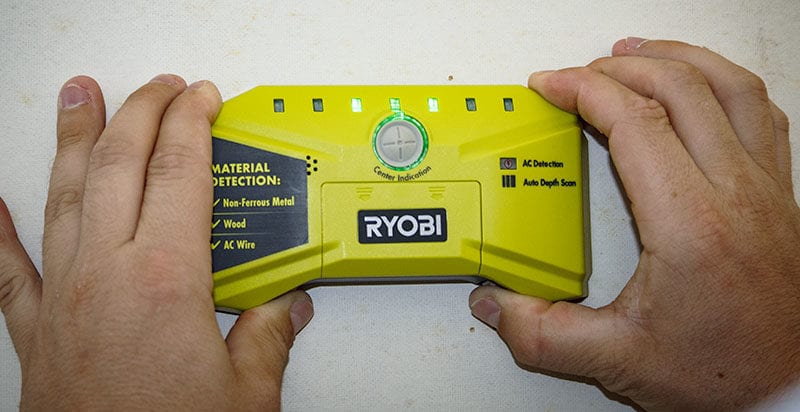
You’ll have a better idea of how to use a stud finder when you settle on a model. Stud finders come in many shapes, sizes, and technologies. Some magnetic stud finders like the StudPop locate studs by identifying metal screws and nails in the wood. These won’t necessarily help you find the exact center of the stud, however. Magnetic stud finders range from features on traditional density models, to novel versions that actually “stick” to the wall when they find a screw or nail:
Our Pros suggest models that read material density. These help you locate the edges of studs, letting you hone in on the center. Of these, we like Franklin stud finders.
How to Use a Stud Finder to Hang Things
Check Your Batteries and Bases
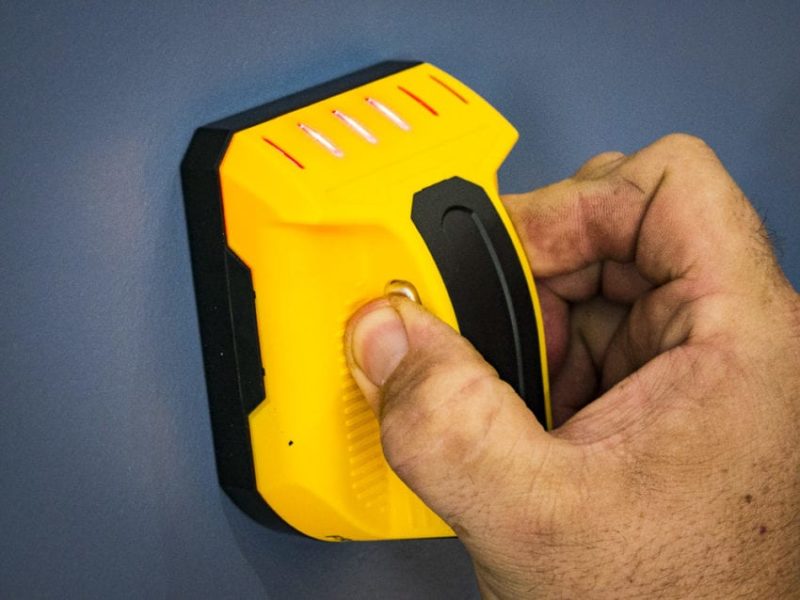
First things first. As with any tool that operates on a battery, you’ll want to make sure to use fresh ones. Weak batteries can give off false readings, and you want accuracy. Also, make sure the contacts on your stud finder don’t have any crud getting in the way of placing them firmly against the wall.
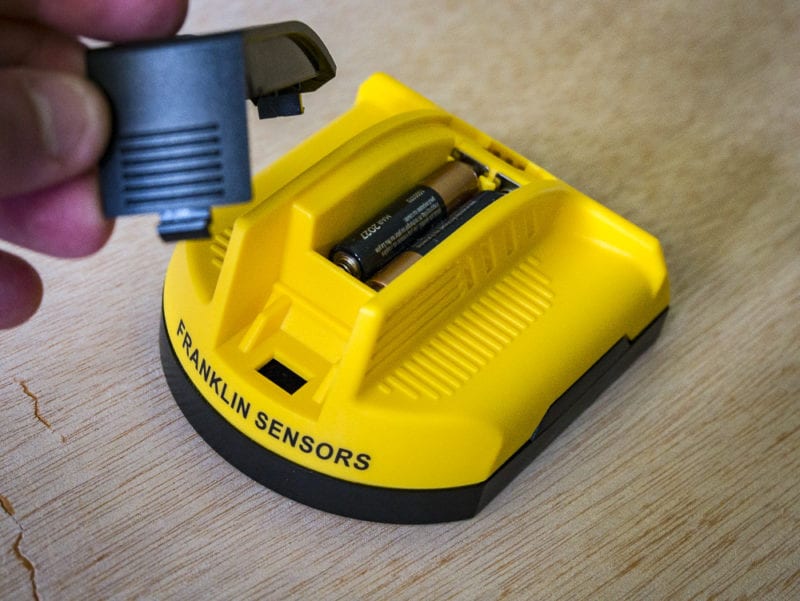
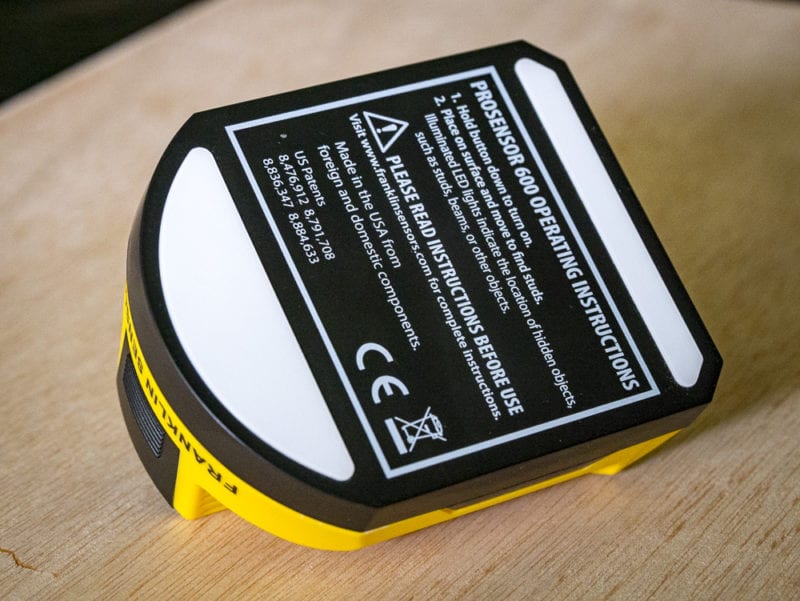
Figure out where you want to hang or secure your item. For the sake of having an example to work with, let’s imagine again that you’re mounting a TV to the wall. Decide where you want the top of the TV to hang. Next, measure down from the top of the TV to the topmost mounting hole of your TV bracket. Mark this as the approximate height to locate and mark your studs.
Find Local Studs in Your Area
Building codes should ensure that the studs in your house are properly spaced from one another—typically 16″ on center. When looking for that first stud, you’ve basically got a 2-ft wide space in which to scan.
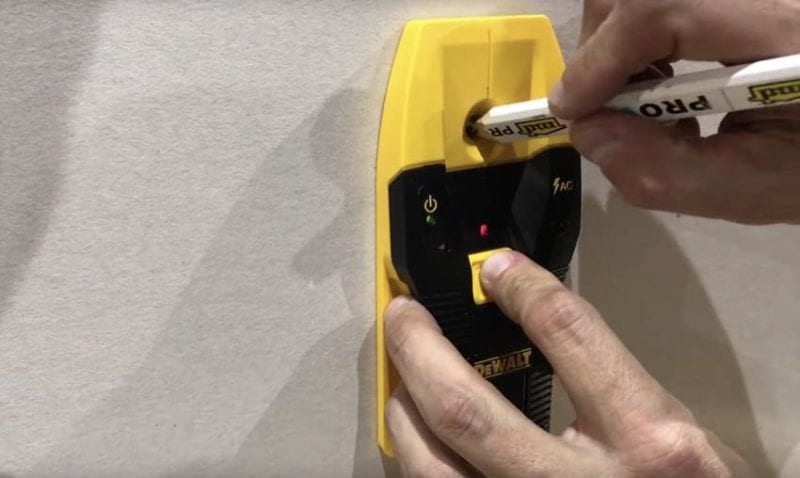
Figure out where you’d ideally like to drill. With the flat side of stud finder pressed firmly against the wall, press the activation button. Then, move your tool to the left about 12-inches.
Slowly move your stud finder back to the right, being careful to keep the stud finder flat against the wall and upright.
With most models, you’ll know you’ve hit paydirt when your stud finder starts blinking or beeping at you. You want to double-check where the alert started by reversing a few inches and going back over the same spot.
Editor’s Note: You may need to calibrate the stud finder—though most are self-calibrating. If not, read your owner’s manual to understand how to do this.
Mark It Down
Grab that pencil and mark where the stud is. If you’re using a center-finding stud finder, mark the edges of the stud, so that you can locate the center. Ideally, when you drive your fastener into the stud, you want to aim there.
Double-Check Your Work
You may know how to use a stud finder, but that doesn’t remove the risk of reading a false positive. Metal piping, brackets, and other unforeseen material in the walls can trick the tool into seeing something that’s not actually a stud. However, if you have found the right spot, you can tell by searching for studs on either side of your mark. You should be able to find the next 16 inches away from your initial markings.

Now that you’ve identified your stud location(s), go ahead and install your mount, bracket, or whatever without any lingering anxiety about whether you hit the right spot!
Editor’s Note: If the goal is to drive a larger anchor into a stud—like a lag screw for a television mount, pre-drill the hole first. This not only helps the anchor work as designed (without splitting the stud), it also confirms the presence of a stud in that location.
Drywall or Plaster? Block or Framing?
Most electronic stud finders only give you accurate readings against drywall. I’ve had some limited success using one to get a general idea of where studs are in plaster, but they aren’t typically designed to penetrate that material. You’re better off using a magnetic stud finder if you have plaster walls.
You also want to be conscious of whether you’re looking for a stud in an interior or exterior wall. On block homes, exterior walls have furring strips that run vertically. That’s the best place to anchor, but it still requires the use of concrete fasteners. You also don’t want to drill in between those strips over the top of an outlet or near a switch. This is where a stud finder with a built-in NCV (non-contact voltage) sensor can help out.
Keep that 16-inch-on-center rule in mind. Once you confirm the position of one stud, measure from there to find others. Then confirm with the tool.
If you’ve got any tips or tricks on how to use a stud finder that we may have left out, feel free to add them to the comments below.
