
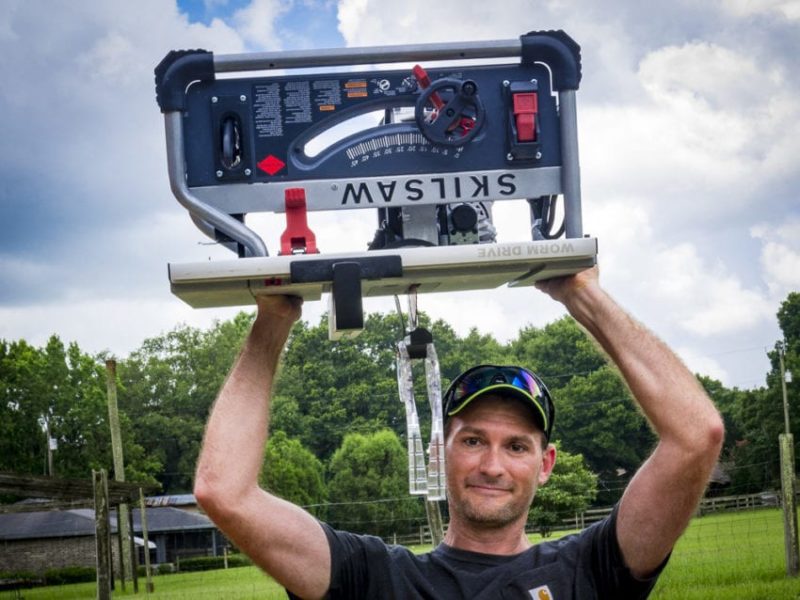
Even the best table saws require lots of respect. While these tools help finish carpenters get lots of work done on the jobsite, you want to be very focused and intentional in how you go about using one. A large number of table saw accidents and injuries happen every year. These tools can instantly turn from “helpful tool” to “unforgiving devourer of thumbs.” We enjoy having all of our fingers intact and where God intended them. We reckon you do as well. We invited some of our Pros to give us their key tips on avoiding table saw accidents.
Editor’s Note: Just starting out? Don’t miss our how to use a table saw guide.
Table of Contents
- Table Saw Accidents and Injuries are 100% Avoidable
- Avoiding Table Saw Accidents When Making Cross Cuts
- How Accidents Happen When Making Rip Cuts
- How Table Saw Injuries Occur When Making Dado Cuts
- Make Sure You Set the Proper Blade Height
- The #1 Reason for Table Saw Accidents is Kickback
- Always Use the Riving Knife (or Splitter in Older Saws)
- Push Sticks Prevent Table Saw Accidents
- Positioning Your Body to Avoid a Potential Accident
- Proper PPE Helps Prevent Table Saw Accidents
- Got Any Tips We Missed?
Table Saw Accidents and Injuries are 100% Avoidable
Every table saw accident or injury can be avoided. If not, these tools would have been outlawed years ago. It comes down to respecting the tool, following the safety recommendations, and paying close attention to what you’re doing at all times.
While table saw advancements like what we see in the SawStop Jobsite table saw provide some level of increased protection, even SawStop recommends following all safety protocols. You always want to know where your fingers, hands, and arms are at all times and you never want to remove the blade guard without using another safety device. And that, only when making a cut where the blade guard interferes and gets in the way.
And with that out of the way—let’s talk about maintaining table saw safety when making particular types of cuts.
Avoiding Table Saw Accidents When Making Cross Cuts
The type of cut you’re looking to make dictates how table saw accidents might occur. The three primary cuts are cross-cuts, rip cuts, and dado cuts. Each presents a particular challenge. Using proper technique helps you maintain safety when making any cuts with a table saw.
Cross-cuts—appropriately named—cut across the grain. You use the miter gauge or sled for these types of cuts. Use the included split guard and riving knife and slide your miter gauge into the appropriate slot. You want the gauge on the side that has more material.
Most table saw accidents happen on cross-cuts when you fail to stay on one side of the cut and your arm goes over the top of the blade. You want both hands supporting the material around the miter gauge. Then, when you slide it forward, you keep both hands safely to one side of the blade. Keep your hands and any forward pressure away from the cut side.
Safety Tip Summary: Never put one hand on each side of the blade when you push the miter sled forward. Apply forward pressure to only one side to avoid injury.
How Accidents Happen When Making Rip Cuts
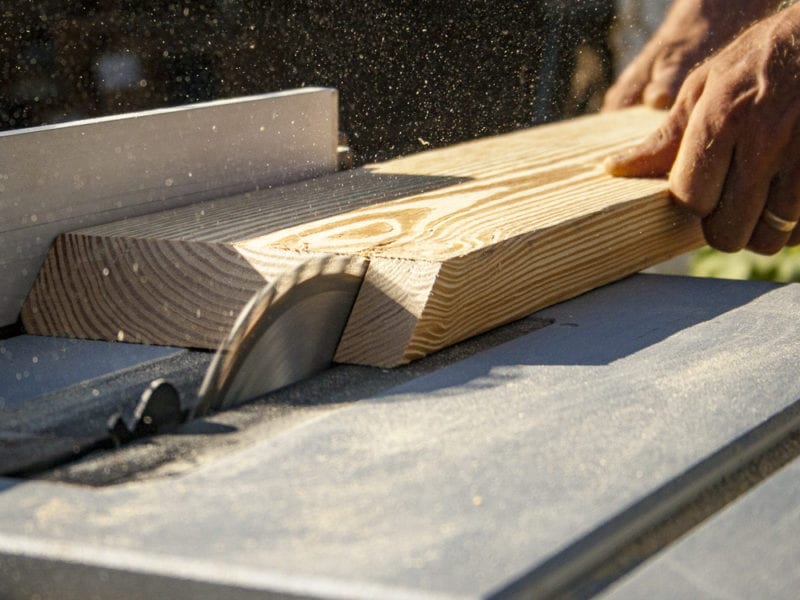
A rip cut entails cutting down the length of the board. This is the classic cut where you’ll use the fence to provide support, accuracy, and a square edge. Most table saw accidents when ripping lumber. There are a variety of reasons for this. First, you have a blade spinning back towards you. Second, you’re feeding a board between a spinning saw blade and a stationary rip fence. Third, a rip cut entails a bit more proximity to the blade since the material spends a longer amount of time in the cut.
You can avoid a table saw accident when making rip cuts. It simply involves being cautious and following the right steps. Even where you stand matters (not directly behind the blade). You also want to properly use both the blade guard and the table saw fence.
Keep the board both level to the table and square against the fence. You can make some practice cuts using scrap pieces of wood to get the feel of a new saw.
Your Hand Position Matters
You NEVER want your hands or fingers to go between the blade and the rip fence. It doesn’t matter how experienced you are. Eventually, you’ll lose focus or something will happen and your fingers could come into contact with the blade. This goes triple if you cannot use the blade guard due to a thinner cut.
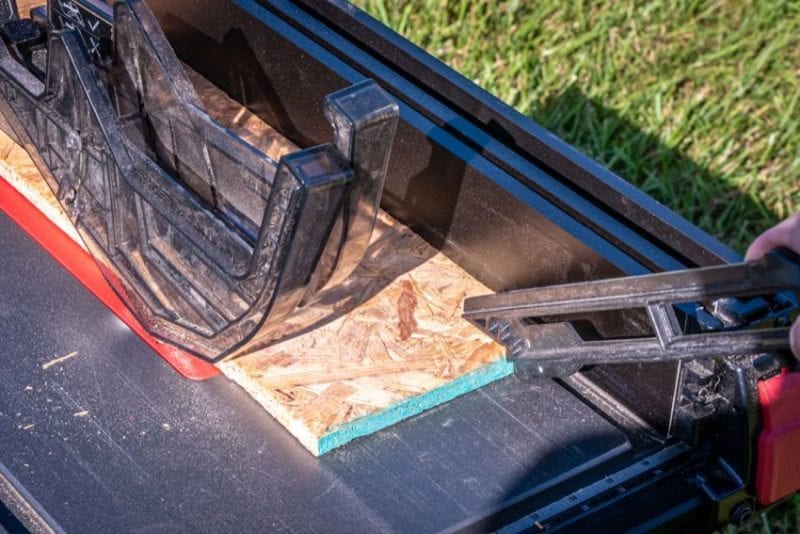
Safety Tip Summary: Rip cuts force your hands closer to the blade than cross-cuts. As you feed the board through, use a push stick when the end of your board reaches the table edge to keep your hands clear. If you lost the push stick that came with the saw—make a new one from a scrap of 1/2-inch plywood or similar material.
How Table Saw Injuries Occur When Making Dado Cuts
You’ll use a dado cut when you need to make a wide or trenched cut. This style forces you to switch out the blade for a dado stack. You must also slow down the feed speed to achieve quality results. The blade height determines the depth of the dado.
We don’t hear of many table saw accidents and injuries due to the use of a dado stack. However, you do need to pay attention to several key potential areas of concern. You can encounter kickback when you don’t apply sufficient pressure to the top of the board. It can lift up while running across the top of the blade stack. You also want to ensure the dado stack is properly staggered so the teeth don’t all line up.
Finally, if the piece you are ripping ever comes up off the blade, take special care when getting it back into position. Never push back down on it overtop of the blade. Rather, you want to re-feed the material through the dado. This keeps your hands from accidentally encountering tej dado stack if the wood suddenly shifts backwards out of the way.
Safety Tip: As much as you might want to, don’t use both the miter gauge and the fence at the same time. Doing so causes the blade to bind up in the wood. Also make sure the saw supports the dado stack you want to use. You need the correct throat plate width as well as proper clearances on the arbor. For some saws, the iuse of a dado stack may reduce the efficiency of the blade brake. Even the SawStop table saw requires a different safety mechanism when using a dado blade.
Make Sure You Set the Proper Blade Height
Not everyone agrees on what height to set the table saw blade. Some table saw injuries might be prevented, however, by simply doing this step correctly. To avoid exposing more of the blade than necessary, set the table saw blade height to where the teeth fully extend past the top of the board…and no more. Too low, and you risk not getting enough bite on the material and creating additional friction.
A higher blade height reduces tear-out from the bottom of the workpiece and forces the teeth of the blade to travel through less material. This makes it easier on the motor. However, it also exposes more of the blade. Just stay aware and mindful of the blade at all times.
If safety outweighs a marginally better finish, you’ll set the blade height to expose only about 1/8″ of an inch of the blade while ripping plywood or other building materials. You might wind up with a bit more tear-out at the bottom of the board, but you reduce your exposure in the event of something encountering the blade. You also typically need to reduce feed speed when the blade is lower.
Some Pros have accused this method of welcoming kickback. In reality, the pinching action around the back of the blade causes kickback—regardless of the tooth angle or blade height.
The #1 Reason for Table Saw Accidents is Kickback
Kickback is the #1 reason for table saw accidents and injuries. The reason is that kickback often includes a subsequent action that draws your hand towards the blade when working up close with the saw. Many seasoned Pros like to ditch the table saw blade guard and anti-kickback pawls. We don’t recommend anyone do this—seasoned or not. The blade guard protects you from debris and provides one more layer of protection for your fingers.
Kickback Defined
Kickback is what happens when the material encounters the backside of the blade while it spins. That more or less launches the material back at the user—often at high speed. Kickback can lodge a 2×4 into the wall behind you or cause a piece of 3/4-inch oak to punch through a piece of plywood. It’s frightening when it occurs and reinforces the fact that table saws demand our respect.
We don’t know of a single case of someone losing fingers while using a blade guard. 100% of cases seem to be people who have removed the guard for one reason or another.
Anti-kickback pawls protect you from the board jumping back at you when cutting. They have teeth set opposite to the direction your board moves. If kickback happens, these teeth bite into the wood, keeping it from launching back at your body.
Safety Tip: Make sure the waste piece winds up on the opposite side of the blade than the fence. When the waste piece gets sandwiched between the blade and the fence, it can bind and kick the wood back.
Clearly, certain cuts require the removal of the blade guard and/or kickback pawls. Sometimes you need a thinner rip cut or you need to bevel the blade in such a way as to make the use of the blade guard impractical or impossible. In those cases, you simply have to be very very careful.
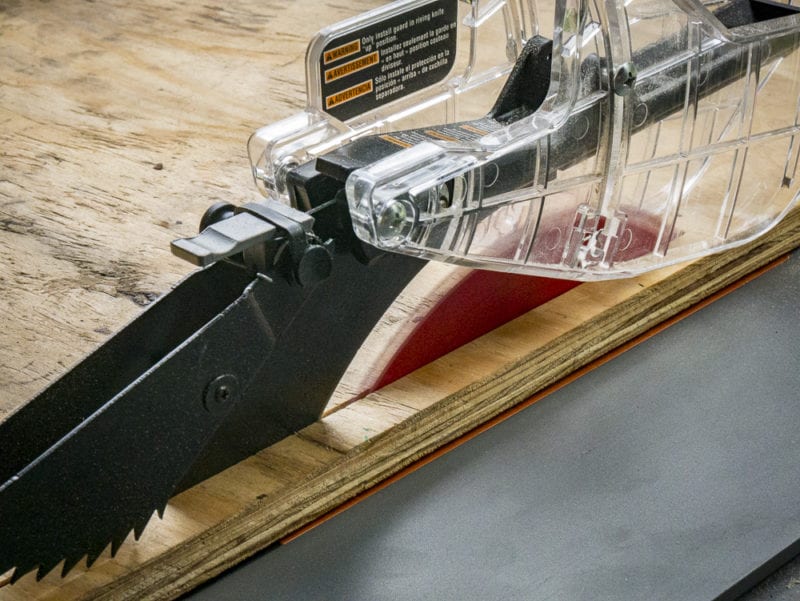
Always Use the Riving Knife (or Splitter in Older Saws)
Even when you need to remove the table saw blade guard, you want to continue using the riving knife. We can’t overstate how much this one device helps reduce kickback. Sometimes fences fall out of alignment, forcing the waste piece toward the backside of the blade. Other times, natural stresses in the wood grain cause the material to spring back. Either situation causes the wood to pinch the rear of the blade. This can result in table saw kickback.
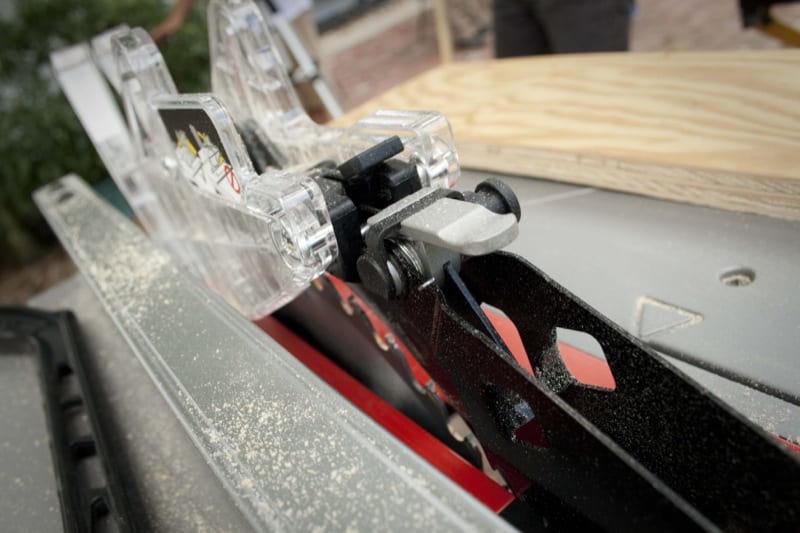
While splitters (older saws) and riving knives (newer saws) keep the wood forced apart to reduce the chances of kickback, their designs differ. A splitter remains fixed in position, no matter the blade height. A gap can form between the blade and splitter, which can become problematic with thinner stock. A riving knife always stays in a fixed position to the blade. This eliminates any gaps between the blade and the riving knife.
Unless you enjoy the thrill and suspense of your work material possibly flying back on you at 200 miles per hour, you should definitely keep the riving knife installed at all times. Many table saw injuries could have been prevented if the operator had installed the riving knife.
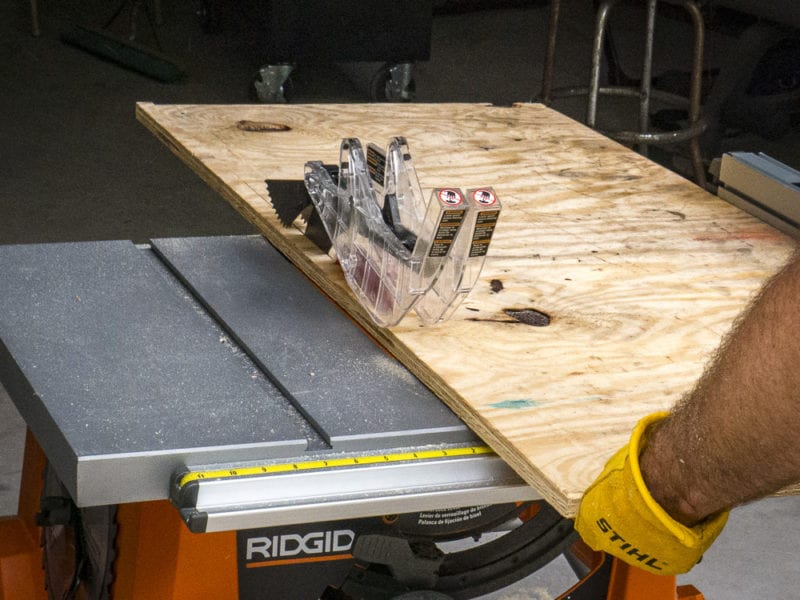
Push Sticks Prevent Table Saw Accidents
Sometimes, with short or narrow boards, you’ll need to make cuts that won’t leave your hands a whole lot of room to work safely. When you find yourself in this situation, grab that push stick. Every Pro-level table saw comes with one and they give you some distance between the blade and your hand. As noted above, you can quickly make one out of scrap material should yours go missing.
Positioning Your Body to Avoid a Potential Accident
Despite all of the safety and anti-kickback features in place, you never want to tempt fate by standing directly behind the saw blade. Instead, step to the side slightly. If the saw kicks your board back, it will go past you or—at the very least—deflect off of you instead of striking you directly.
Seriously, we can’t state this enough. If you can get to the side of any spinning blade—do so. This holds even more true with a table saw since the blade essentially spins toward the operator. If a kickback event occurs, that material comes right at you. Compare that to a miter saw where the material is drawn (very rapidly) toward the fence.
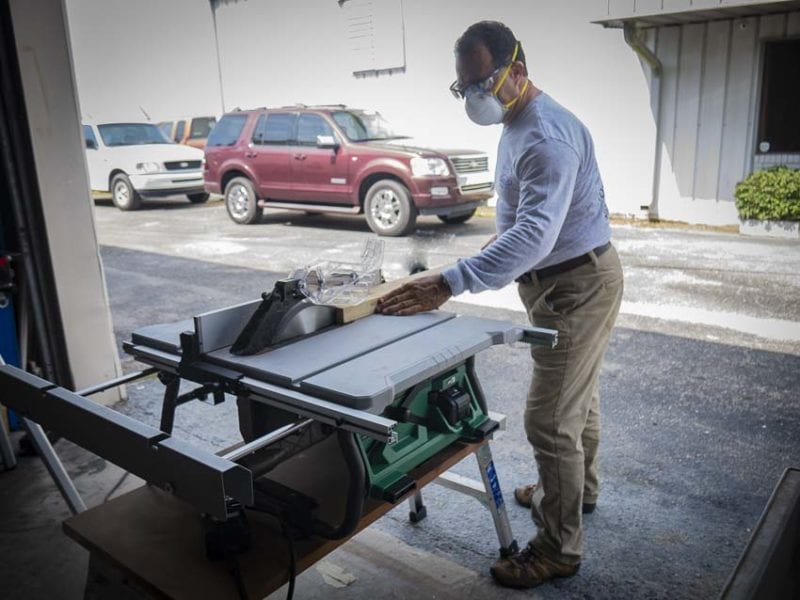
Proper PPE Helps Prevent Table Saw Accidents
Eye Protection
The first step in avoiding table saw accidents begins with the rule: always protect your eyes. Most table saws work well with dust extractors. There’s still a chance an errant wood chip will get rifled back at your eyeballs. Throw on those safety glasses just in case.
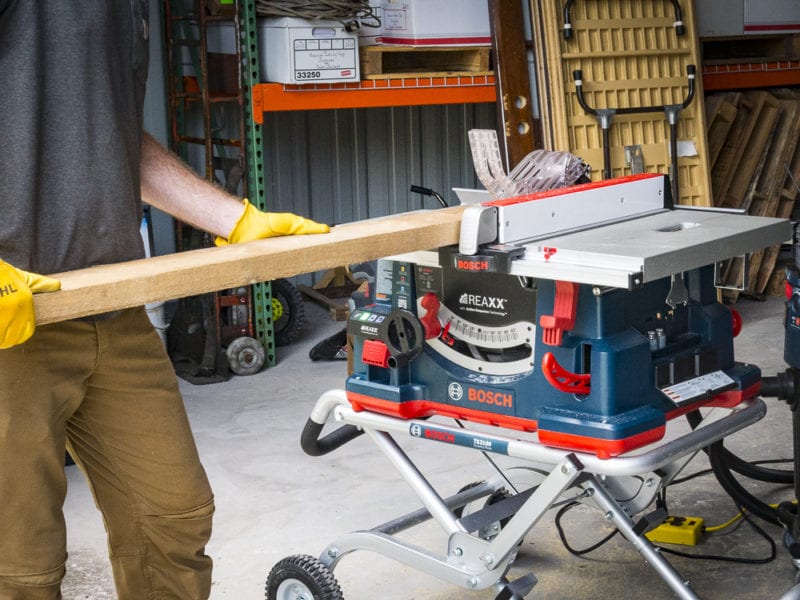
Work Gloves
Work gloves can help you avoid splinters while handling wood. Gloves simplify wood handling since you can just grab the material and work with it. However, we (along with most manufacturers) do NOT recommend wearing gloves when operating a table saw.
Why?
Gloves could get caught in a blade while feeding material through the saw—pulling your hand into the blade. Since gloves extend further than your fingers, you may accidentally overextend your reach and contact the blade. Since the gloves cover your fingers, you may not even be aware when this occurs.
Hearing Protection
Finally, consider wearing some hearing protection. You’ll find any sort of hearing protection useful, as the table saw likes to make a ton of noise.
Got Any Tips We Missed?
We’re not perfect—we may have missed something. After all, table saws get a lot of use doing a lot of different types fo projects. That lends itself to a variety of experiences among its many users.
If you have any tips, tricks, or ideas we missed about how to prevent table saw accidents, please add them in the comments below.
