

Table saws and track saws are great, but not everyone has the budget for them. Knowing how to make rip cuts with a circular saw is a skill you’ll need until you add one or both of those other tools.
There are a handful of ways to make it happen and with the exception of the most precise requirements (we’re looking at you, cabinetmakers), they can be accurate enough for the majority of your projects.
How to Make Rip Cuts with a Circular Saw
Start With an Accurate Cutline
You can make the most beautifully perfect cut right over the top of your cutline, but if it’s not in the right spot, it doesn’t help at all.
There are several ways to make your cutline accurate. One of the most basic is to mark your measurement on each end of the board and use the edge of your tape measure to trace the distance between them. You have to be fairly gentle since it’s easy to bump the tape and move it.
A more stable method is to lay a straightedge, T-square, or level down to trace a connection between your marks.
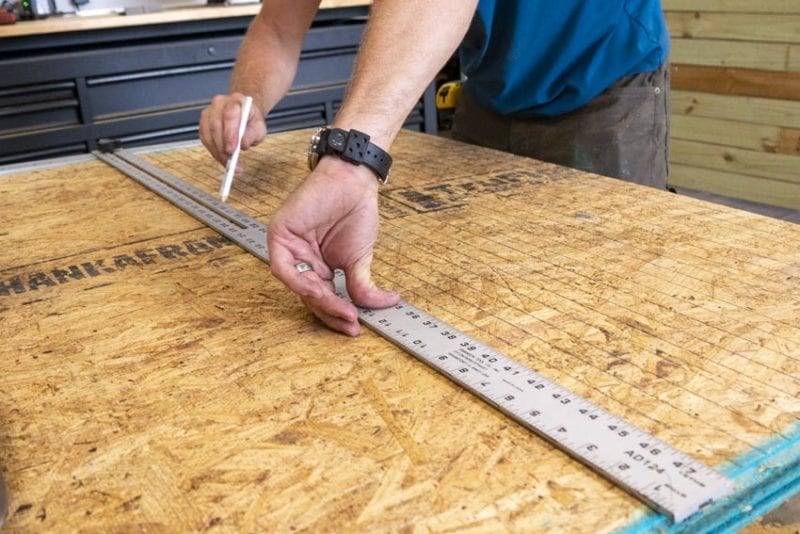
If your board is longer than your straightedge, you can mark your measurement in increments and connect them one at a time until you get to the end.
You might be tempted to use the edge of a board instead. That can work, but you need to be sure the edge is perfectly straight or you’ll just end up scribing a line that moves with the board’s edge.
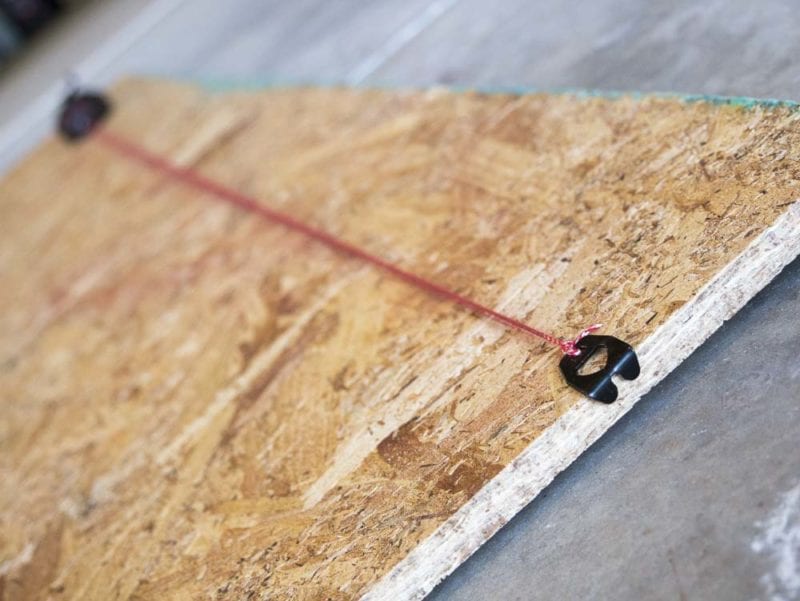
Using a chalk line is a very common way to lay down a line quickly. Just be sure to line up your hook exactly on one mark and pull the line tight over the mark on the other end before popping it.
Buy a Track-Ready Circular Saw
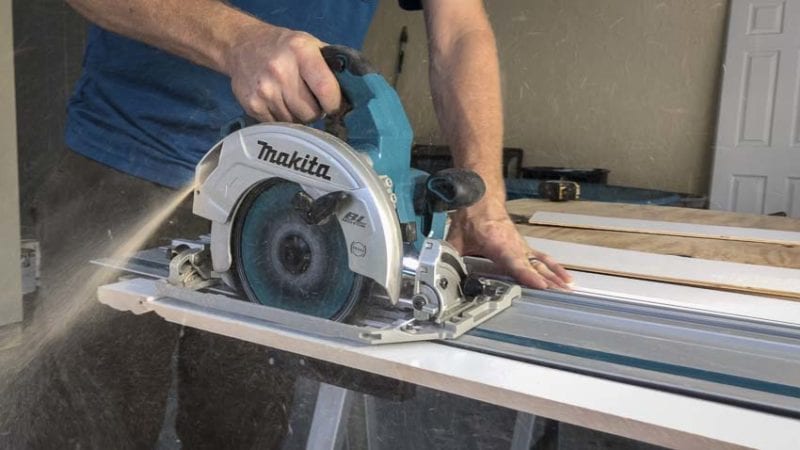
Some circular saws, such as Makita’s XSH08, have a shoe that’s compatible with the brand’s track system. Simply add the track lengths to cover the length of your cut and use them when you need them.
It’s the most accurate way to make rip cuts with a circular saw without buying a track saw or table saw. Still, the tracks can be pricey and bring your total cost up.
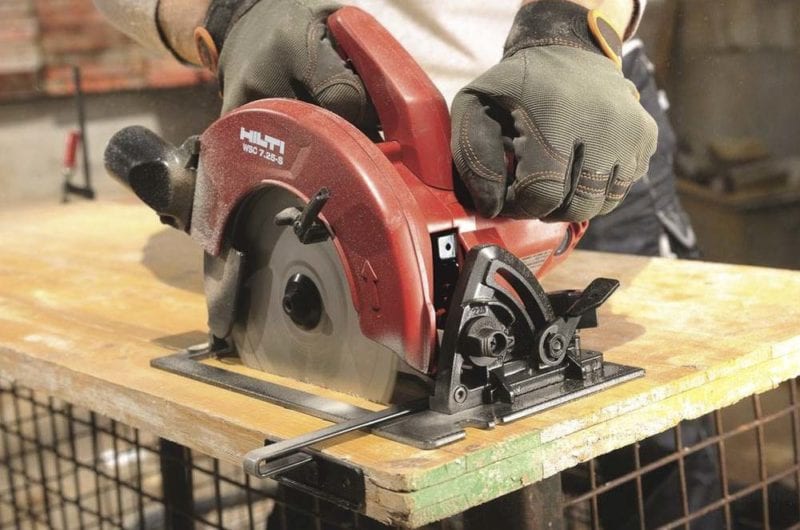
Make a Rip Cut Free-Hand
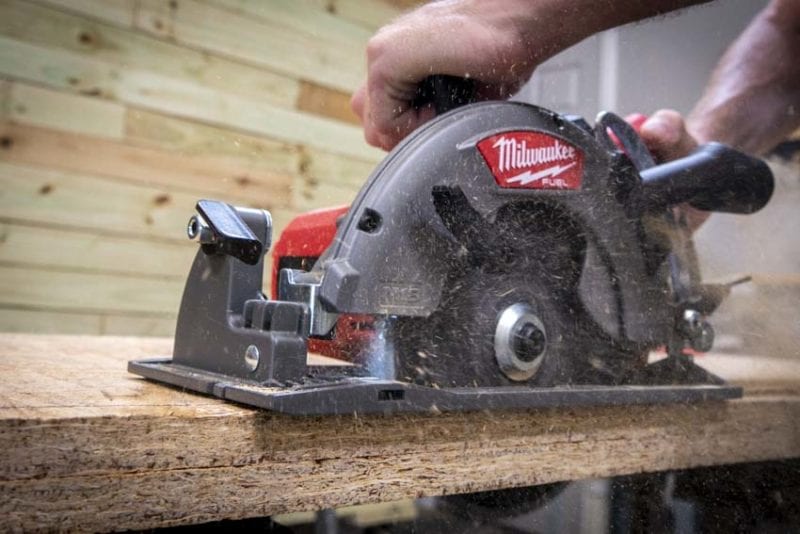
It’s certainly possible to make a rip cut freehand if you’re okay with being off a blade width or so either way. This takes the least amount of setup time but tends to be the least accurate.
To do it, bring your saw up to the board and push the blade against your cutline to check your starting position. Pull the saw back a touch and pull the trigger to let the blade spin up.
As you move the saw forward, go just far enough to verify that you’re cutting right on your line. Once you know you’re on, go ahead and start pushing the saw through, keeping an eye on your blade and line.
A cutline blower is a big help since you need to watch it through the entire cut.
If you’re confident in the 0° and 45° notches on your saw, you can follow those instead of watching the blade.
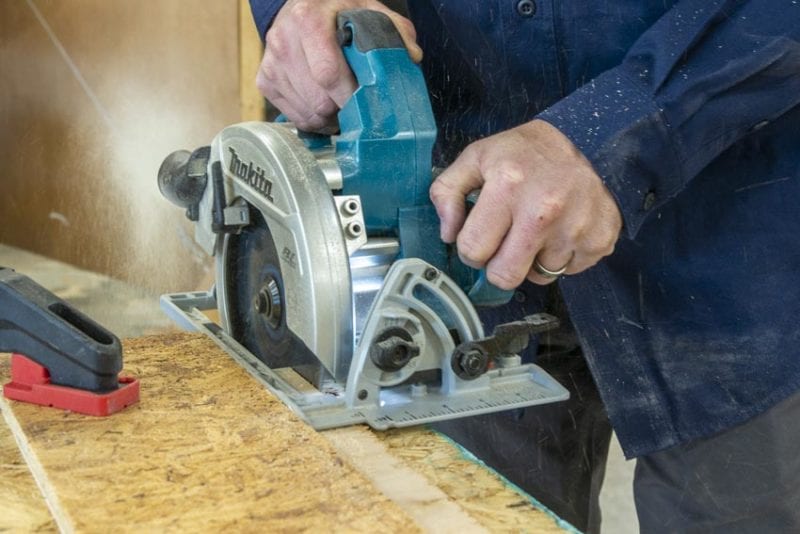
Use a Rip Cut Fence to Make Rip Cuts with a Circular Saw
If you look at the shoe of your circular saw, nearly every model has slots to install a rip cut fence (AKA edge guide). These are typically metal T-shaped bars that slide in and lock down with a thumbscrew.
Once you make your marks on the material, hold your circular saw with the blade touching the mark. Slide the fence into the shoe until it hits the side of the board and tighten down the thumbscrew to lock it down at the correct distance.
Pull the saw back a touch, spin the blade up, and cut with a slight pull in from the side to keep the entire fence edge flat against the board.
The downside of making rip cuts with a circular saw and a rip fence is that it’s as straight as the edge of your board. It’s usually fine on most sheet goods, but dimensional lumber isn’t always as straight.
Another consideration is that the fence only reaches so far. If you’re trying to make a rip cut 23 inches into a 48-inch wide sheet, it’s going to fall short.
Clamp a Straight Edge for Rip Cutting
One of the most common ways we use to make rip cuts with a circular saw is to clamp a straight edge. To do this accurately, you need to know the distance from the edge of your shoe to the blade.
From your cutline, clamp both ends of your straightedge the distance you measured between the shoe edge and blade. Slide the shoe against your straightedge and push the saw forward to make sure the blade touches your cutline.
If it doesn’t, make small adjustments until you get it right on. Just remember you need to move both ends the same amount to get a proper cut. Double-check with a tape measure before you start the cut. Also, give the straightedge a little jiggle to make sure it’s not going to move.
In place of a straightedge, a level works great.
The great thing about making rip cuts with a circular saw using this method is you can set it up anywhere on your material.
Where it can be a challenge is if your material is longer than your straightedge. It’s a pain to stop mid-cut, reset the edge, and start back up again. We keep lengths of 5 feet and 10 feet on hand to make sure we have what we need.
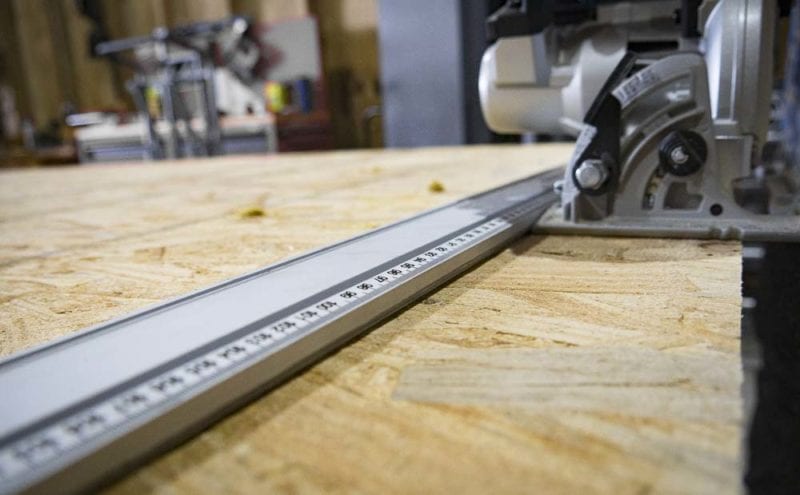
Use an Add-On Track System to Make Rip Cuts with a Circular Saw
It used to be the best way to make accurate rip cuts with a circular was to use a track saw. Most DIYers, even serious ones, and some Pros simply don’t have a budget to add a specialty saw like that. Fortunately, new products are making it easier to get similar accuracy without breaking the bank.
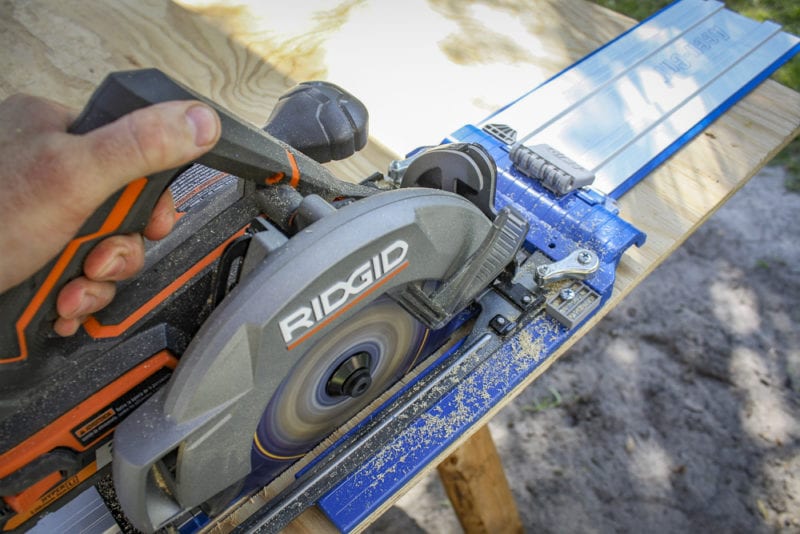
One way to go is an add-on track system such as the Kreg Rip Cut Circular Saw Edge Guide or Bora’s NGX Clamp Edge Guide. These take almost any circular saw and clamp a piece onto the shoe that then glides over a track. Simply use a set of track clamps (often included) to secure the track down and make your cut.
The setup is easier than with a straightedge thanks to a sacrificial edge. The first time you make a cut with the saw you’re going to use, it cuts part of the edge material away, revealing the exact path your blade travels.
One downside is that it does take some time to get everything set up the first time and you might have to repeat the process if take the saw out of the rail adapter. Some folks choose to have a saw that just stays in it and keep a second they use for freehand cuts.
Another downside is that it’s still not as accurate as a dedicated track saw and some models we’ve tested want to lean and create a slight bevel. Still, it can get pretty doggone close if you take your time in the setup phase and keep your saw level while cutting.
Make a Circular Saw Rip Cut Jig
It’s not too much of a stretch to build your own circular saw rip cut jig out of scrap materials. It’s essentially a plywood fence and base. 3/4-inch plywood works great for the fence portion and you simply screw 1/4-inch plywood to the bottom of it.
By making sure you make the base portion extend past the blade of your circular saw, you’ll create an exact blade path similar to the way sacrificial material works with track saw rails add-on tracks on your first cut.
The trick here is to make sure the scrap you use for the fence is both straight and square. Unlike the track systems, you need to be sure and keep the saw against the fence as you make your cut.
Once you have it built, line up the edge of your base with your cutline and clamp it on the bases. Then make your cut.
The upside is it’s a cheap way to make accurate rip cuts with a circular saw. The wood you’re using already scraps from another project and a few wood screws won’t cost you much. It also doesn’t tie up your saw on a rail adapter.
It’s a consumable item, though, and more prone to damage and wear over time. If you’re cutting over the waste edge to keep the motor housing from hitting your base (see photo above), you also introduce the possibility of a slight bevel if you don’t hold the saw level.
Final Thoughts
None of these methods replace a good table saw or track saw, but they can help you get excellent results until your budget has room for one.
Have any tips or questions on how to make rip cuts with a circular saw? Feel free to share those in the comments below!
