

When using a tap and die set, it’s important to understand the terms. “Tapping” occurs when you cut or recut threads into a hole or nut. Most auto mechanics and metalworkers have likely dealt with this issue. It may have occurred in the form of a stripped socket or cut-off bolt, which needed re-threading. Learning how to use a tap and die set lets you fix serious problems in metal that would otherwise leave you high and dry.
Table of Contents
How to Use a Tap and Die Set
You use a “die” to either cut or repair threads onto a bolt or piece of metal. The metal of these thread cutters exceeds the strength of most sheet metals. With the right amount of oil and care, you can quickly and consistently cut or repair threads for machined screws and bolts.
Find the Correct TPI
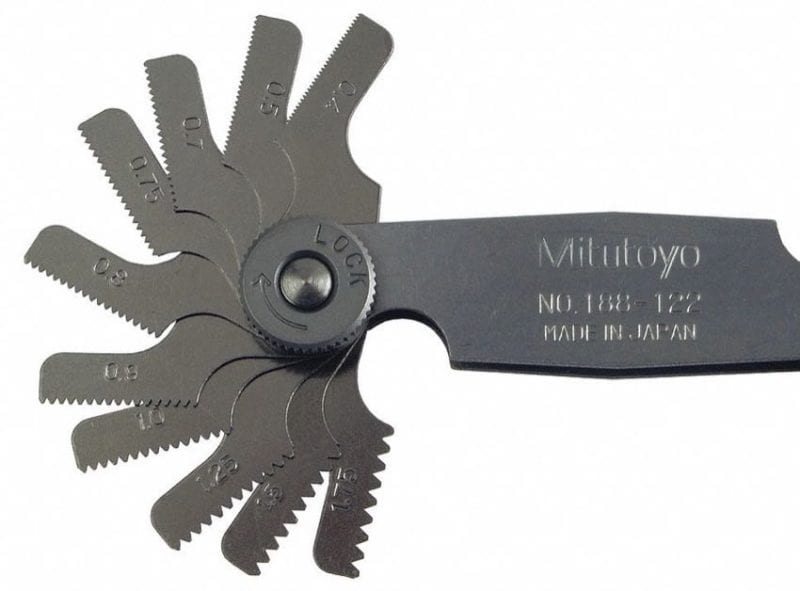
Before you can start threading, you first have to determine the number of threads per inch (TPI). You need this to grab the correct tap and/or die for the bolt, nut, or hole. Most tap and die systems include some kind of gauge. These use a number of different “blades” that help you match the correct TPI of a bolt or nut. Some look a little like a small pocket knife. Many of these thread checkers exist on the market, and you can find one that works well for you.
Select the Corresponding Tap or Die
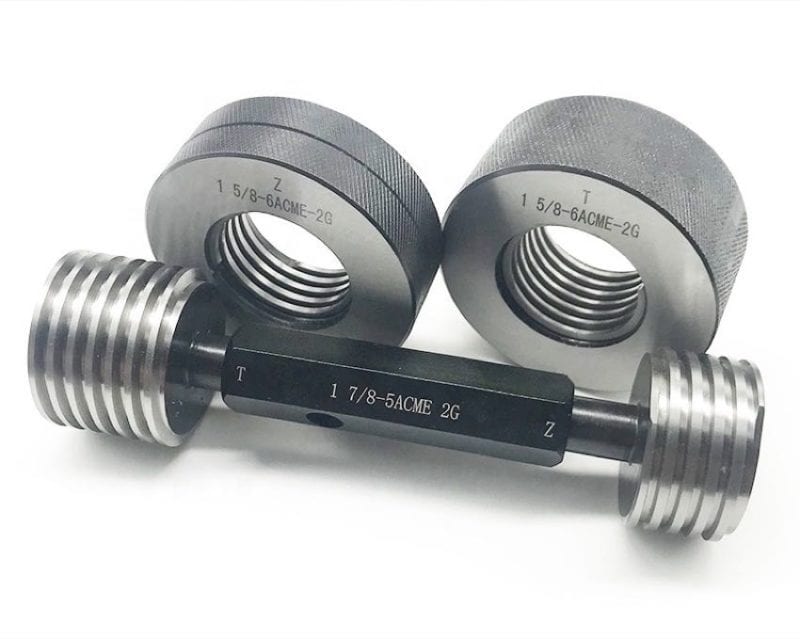
After determining the TPI of a bolt, you can then select the die that corresponds to it. Keep in mind that these sets come in both metric and SAE. Manufacturers also have very small and very extensive kits. Taps and dies both feature tapered threads. This helps them ease into a bolt or nut and gently re-carve the threads as they were intended. Most dies fit into a special wrench that holds them fast. This gives you the required leverage to steer it in the desired direction and guide it along its cutting path.
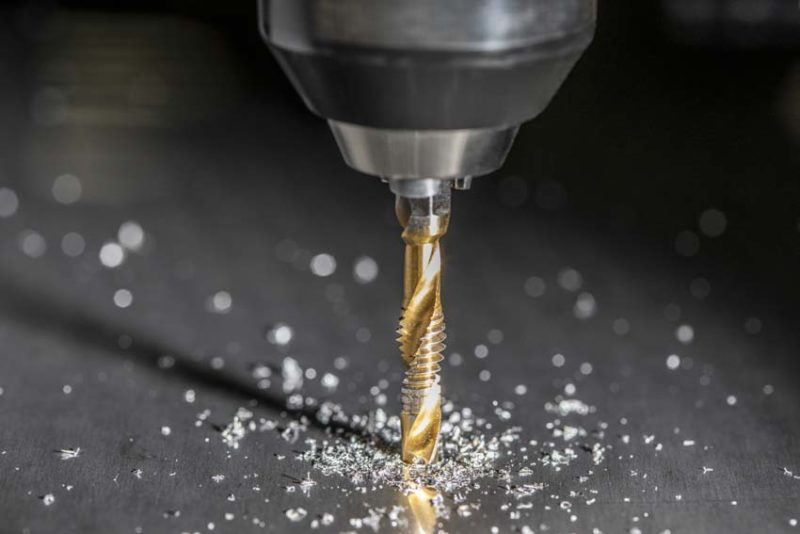
What About Combination Drilling and Tapping Bits?
You may have seen some of the new drill and tap bits. These go into an impact driver or drill, letting you both drill and tap in one step. With how much caution you need with manually tapping holes, it’s a wonder how these work.
But they do.
Provided you stick to the recommended materials and lubricate the bits during use, these provide super-quick hole tapping. We’ve tried them in various sheet metals and plate steel. Lining up your holes and keeping them straight and level presents the biggest challenge with these bits.
Fixing and Repairing Threads in Bolts
Using a die to fix the threads on a cross-threaded bolt takes just a few steps.
Secure the Bolt in a Vise
Start by securing the bolt in place using a vise. Since you don’t want to further damage the threads, we suggest clamping only the head of the hex bolt. If, however, you need to clamp the shaft of the bolt, try one of these methods to protect the bolt threads:
- Use a couple of blocks of wood
- Locate some rubber (like a bicycle inner tube) and place it in the vise jaws
- Use two pieces of leather
Align the Die and Begin (re)Cutting the Threads
Once you have the bolt secured, carefully align the die so that you don’t go down on an angle, but straight down the bolt.
When you begin to rethread the bolt, it may start to heat up. This is inevitable when tightly rubbing two metals together. It’s more apparent when you engage in longer thread lengths. We recommend using a little cutting oil to lubricate the die and keep it cool during use. Most tap and die wrenches have an open top. Use this advantage to add lubricant without removing the die. This also extends the life of your tap and die set.
As you thread the die down onto the bolt, you will feel it quickly begin to catch. Every few turns, you may have to back the die out a bit to clear the threads and allow it to cut better. This is to be expected and is akin to drilling into wood with a large bit. Once the die makes it far enough down that the bolt sticks through the top, you will know you are finished.
Rethreading Holes and Nuts with a Tap and Die
Using a tap to thread (or re-thread) a nut is just as easy. Start by securing the nut in a vise.
Use a Gauge to Find the Right Size Tap
If you don’t have a matching bolt, use a gauge to select the correct size for the nut or hole you want to thread. For those doing a nut on its own, you would want to use the actual matching bolt to set the size. This keeps you from needing to try and muscle the gauge into a worn-out bolt. Based on its location, this may even be impossible.
If you encounter completely damaged threads, don’t panic. You can always drill out the hole and re-tap it for a slightly larger bolt. You can even fill it and re-tap it.
Secure the Tap and Begin Threading
To begin, place the tap into the provided wrench and secure it. Next, place the tap into the nut and begin turning it down by hand, being cautious to keep it perfectly straight to the hole. As with using a die, adding oil is a must. Back the tap out frequently to get rid of debris that builds up in the threads.
Conclusion
That’s all there is to it. Using a tap and die set can really remedy some nasty situations, and it’s the kind of tool that not everyone will need. When you do, however, there’s no other substitute! Knowing how to use a tap and die set well comes with time. Eventually, you begin to get a feel for the process. That speeds up your workflow.
