

We like to write articles that help provide resources to apprentices. If you consider yourself a Pro, check our work. If we missed something, include it in a note below so we can provide the best information possible. Today, we’re taking a look at a couple of terms relating to saws. Regardless of whether you use miter saws, circular saws, or table saws, you need to understand the difference between bevel and miter cuts. If you’re just getting into construction, carpentry, or woodworking, the terms “bevel” and “miter” might be unfamiliar to you. Not to worry, though. After just a day or two on the job, you’ll know exactly what we’re talking about.
Table of Contents
Miter Cuts vs Bevel Cuts
A miter cut simply means that you’re changing the angle of the cross-cut from a perfect 90° to a different angle. This angle goes across the top of the workpiece—moving through the material from front to back. When looking down at a board from above, a miter cut creates a visible angle or triangle shape.
During a miter cut, the blade remains perfectly vertical (square) to the base of the tool. You only change the angle of the cut from the front to the back of the workpiece.
A common cut is making two opposing 45° angles so that your material comes together to make a perfect 90°. A good example of this would be connecting the two pieces that make a corner of a picture frame.
READ
Best Miter Saw for Woodworking, Contractors, and DIYers
How to Use a Miter Saw
Bevel Cuts vs Miter Cuts
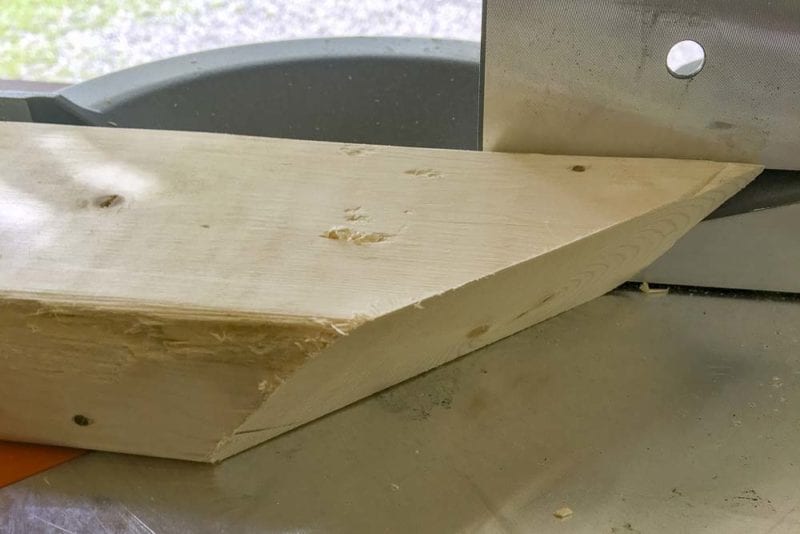
Conversely, a bevel cut allows the blade to tilt left and/or right from its 90˚ angle to the table surface in order to make cuts that move through the board at an angle from top to bottom. A bevel cut changes the vertical angle of the blade. It no longer remains at 90 degrees (square) to the base.
You might use two 45° bevels to bring a pair of baseboards together in a corner.
Making a Miter Cut
Making Miter Cuts Using a Miter Saw
When using a miter saw, unlock the table and pivot the motor and blade to the angle you want to cut. Your material still lies in the same position no matter what miter angle you need. Your blade remains perfectly upright—90 degrees (square) to the table or base.

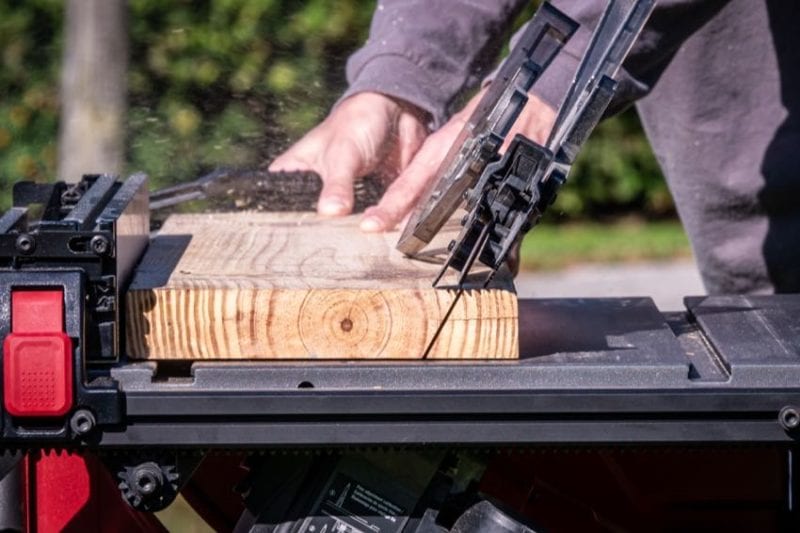
Making Miter Cuts Using a Table Saw
Table saws usually include a miter guide that slides within a groove on the table surface. This lets you change the miter angle of the material while the motor and blade don’t move. This lets the blade cut perfectly perpendicular to the table surface—only changing the angle across the workpiece.
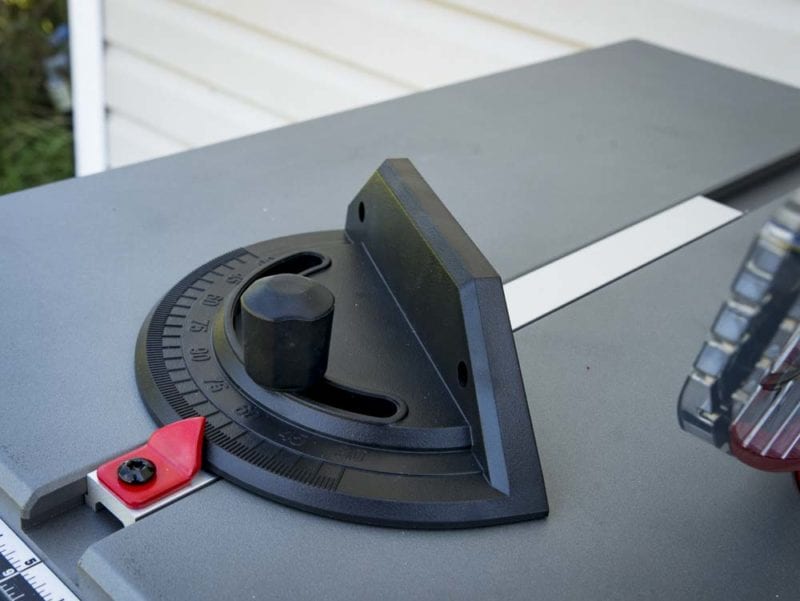
Whenever making a miter cut on a table saw, you MUST remove the fence. With mitered cuts on a table saw, the fence could create a pinch point for the material as it moves through the blade at an angle.
Bevel vs Miter Cuts Using Other Saws
You can run into the bevel vs miter cuts situation on other saws as well. Using a free-standing or benchtop band saw, for example, may include a table that tilts when cutting a bevel. Circular saws, worm drives, track saws, and jigsaws can all make bevel and miter cuts as well. With them, you adjust the angle or orientation of the tool to make a miter cut and the angle of the shoe to make bevel cuts.
Making a Bevel Cut
Making Bevel Cuts Using a Miter Saw
When using a miter saw to make bevel cuts, tilt the motor and blade to make the bevel. The material stays (as always) flat to the surface and tight against the back fence.

Making Bevel Cuts Using a Table Saw
Similar to the above, for bevel cuts using a table saw, the motor and blade tilt to make the bevel rather than the material or table surface. You use the fence to keep the cut straight and place the bulk of the material on that side of the blade.
Making Compound Cuts
When we describe a miter saw as a “compound miter saw”, what we mean is that it has the ability to perform both types of cuts simultaneously. So instead of thinking bevel vs miter, you get bevel plus miter. Combining a miter cut with a bevel cut is called a compound cut, and you see it on more complex installs like crown molding.
Getting a miter saw that bevels both left and right (a dual bevel saw) saves a lot of time since you don’t need to flip the material to make your second cut. Rails allow your miter saw to slide back and forth to have a longer cut. When you see a “dual bevel compound sliding miter saw”, it means you can bevel left and right, miter, and slide. It delivers the ultimate versatility for cutting angles.
Technically, a table saw can also make compound cuts, but this isn’t as common on a jobsite. We see most table saw-based compound miter cuts occurring in the workshop when making furniture or fancy cabinetry.
Wrapping Up the Bevel vs Miter Cuts Conversation
So there you have it. When it comes to the bevel vs miter cutting conversation, you’ll know exactly what Pros are talking about. No matter what kind of saw you plan to use, grab some scrap material first. Then, make a few cuts of each type to see what kind of results you get. Before long, you’ll be making imperfect walls look like a presidential palace when you install crown molding, baseboards, and chair railings with a perfect fit!
