

Skil Offers Accurate Circular Saw Cutting At An Affordable Price
Even if you’re not a high-end woodworker, there’s a ton of appeal to having the cutting accuracy of a track saw. The Skil circular saw track guide offers a compelling option. We got our hands (and circular saw) on a set to help you know what to expect.
Skil Circular Saw Track Guide Basics

First things first—Skil designed this guide system specifically to work with the PWRCore 20 7 1/4-inch circular saw (model CR5440B-00). It’s not a universal track or compatible with Skil’s other saws. While that might be disappointing, the CR5440B-00 is a darn good saw in the DIY/Prosumer space, so give some thought to grabbing one.
Just like professional tracks, these rails are made from aluminum so they’re lightweight, dead-straight, and resist rusting.
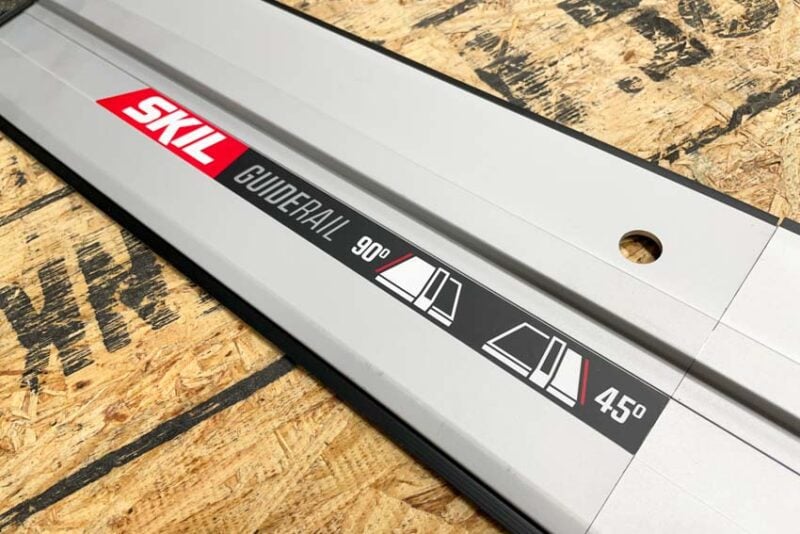
The set contains a pair of 27.5-inch rails that connect to make a 55-inch track. The connection is simple. First, flip the guides upside down and butt the two ends up against one another and locate the connector that’s installed on one of them.

Using the hex wrench that comes in the box (or one of your own), loosen the set screws in the connector. slide it into position so it’s even between the two rails, and tighten the screws back down.
The holes you see in the top corners are for hanging the guides. It’s a good idea to use them so they’re less likely to get bent or damaged leaning against a wall in your garage.
Using Skil Circular Saw Track Guides

Before you attach the saw, pay attention to which direction you’re installing it. The wider side is for 90° cuts. If you need to make a 45° bevel, flip it around so the short side is with the blade.
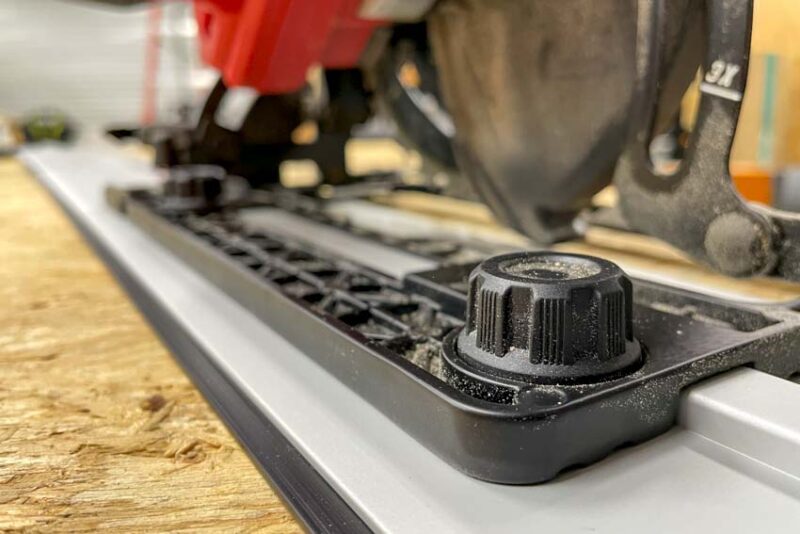
Installing the saw is a cakewalk. Loosen the two knobs on the circular saw’s shoe (shown in the photo below) and set the saw on the guide so that the slot underneath the shoe matches the rise in the track. You may notice there’s a little bit of play in the front and back of the shoe. To eliminate it, tighten those two knobs back down but make sure the saw can still glide on the track.
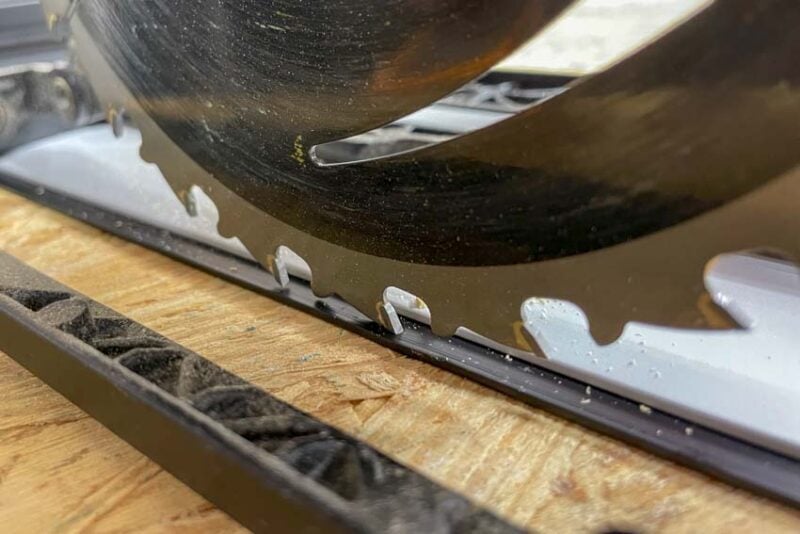
Before you make your first real cut, you need to make a 90° and 45° to prep the splinter guard strips on the sides. Set the depth of the blade so that just a tooth can reach below the strip and make a slow, steady cut over the top of scrap material. You’ll notice that a small bit of the strip gets cut away and that’s exactly what you want.
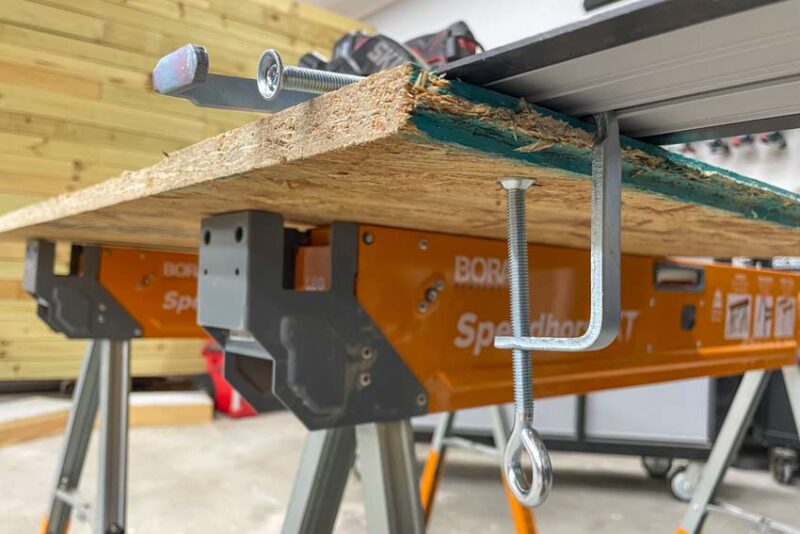
Now that you’re ready to cut, line up the guides so the splinter guard is exactly on the edge of your cutline. Use the track clamps to secure the guide, set your saw up, and cut. If you set up everything correctly, the blade will trace your cutline perfectly.
Pro Tip
Making a cut that you want a finer finish on? Swap out the 24-tooth blade that comes on the saw for a 40, 60, or 80-tooth instead. The higher the tooth count, the finer the finish.
Skil Circular Saw Track Guide Price
Skil packs the set with everything you need to make cuts up to 55 inches long, except the circular saw. If you want to make longer cuts, you can connect multiple sets. Each set is $89.99 at your favorite Skil retailer.
The Bottom Line
By creating a track guide system specifically for its circular saw, Skil avoids the additional sled setup that comes with universal rail systems. You can tell by the saw’s design that the product team had this accessory in mind when they built it, so it’s not an afterthought project that requires jumping through hoops to make work. The setup is easier and there’s less room for error, leaving you with more accurate cuts. And isn’t that the entire point of having a track guide?
